
Let’s face it. If you are a dedicated DIY’er, then you have to be willing to take on new projects which stretch your skills. Otherwise, you wouldn’t make any progress on the DIY highway. The reason that I say “stretch” is that expanding your skill set really means building on your existing skills.
There are some fundamental skills that anyone who builds must have. You have to know how to measure. You have to know what it means to be level, square, and plumb. You have to know how to think in 3 dimensions. For example: if you’re cutting a board into 24″ sections, then you have to take the kerf of the saw blade into account. Thus, you need to measure 24″, 48-1/8″, 72-1/4″, and so on. If you don’t, then every cut will be 1/8″ shorter than the previous one, and that can add up! Or you can cut and the repetitively measure. That’s what I tend to do (easier to keep track of, but takes more time). Building is fundamentally a creative art and, as such, you have to have a feel for materials and you have to like working with your hands. Your intuition also plays a big part and is an invaluable skill in and of itself. Don’t be afraid of it!
The next level is to take stock of the materials that you will be using. This generally takes two forms: (1) the actual material and, (2) the things you need to stick it together. For a wall, that will mean (1) lumber and drywall, and (2) nails, screws, tape, and drywall mud. For a masonry fence (what I happen to be building), that means (1) concrete block (i.e. concrete masonry units, or CMU’s) and caps, and reinforcing materials (rebar, anchors), and (2) concrete (for the footing), and mortar. Don’t forget the wire ties for the rebar and the rebar chairs to elevate your rebar assembly so it doesn’t bottom out in the footing.
Understanding your materials is very important because you will be manipulating these materials to produce your DIY masterpiece. How do I cut it to size? How do I move it around and put it in place and how to keep it there? The answer to this second question is always very important to a DIY’er because, for the most part, you’re the only person there. In fact, the ability to do a job by yourself, without help, can be a crucial factor in deciding whether to go the DIY route, or to hire the job out. That is why I plan on hiring out my sidewalk concrete job.
Then there are the tools. Ah, tools! The MOST important tools that you have (and everybody has) are your hands, your eyes, and your brain. That is why safety is SO important, because it becomes vastly more difficult, if not impossible, to do DIY projects if you are injured. See my previous post on safety. That being said, you just can’t cut wood or rebar with your hands. You need tools, which are basically extensions of your hands that perform a specific task. Tools can be segregated generally into the categories of measure, cut, beat, twist, or squeeze. The tools become more nuanced depending on the material you are working with, and generally can be grouped that way. Woodworking tools are different than metalworking tools, are different from masonry tools, etc.. You won’t use a hand saw to cut rebar, nor will you use a grinder to cut wood. So, to accomplish a project, you will likely have to get tooled up! And each new project can be viewed as an opportunity to add to the tool stable. If you’re just starting out, then obtaining the tools you need may be more expensive than the materials for the project. Fear not. Tools are an investment, and you can use them for the next project (and the next, and the next). Eventually, the ratio of tool to material expense goes way down, but NEVER to zero! There is ALWAYS room for one more tool. As an example, because I am taking on a masonry project for the first time, I had to invest in a number of tools, seen in these pictures.

Masonry Tools That I Bought

Safety Equipment: Gloves, Safety Glasses, Hearing Protection, Breathing Protection. DON’T SKIMP!
Finally, to actually build, you have to apply your tools and your skills to the materials and start the creative process. But what if your skills fall short? Well, you have to self-educate. That means one of two things: learning by doing and making mistakes, and learning from others who have made their mistakes. This reminds me of one of my favorite sayings ever:
Good judgment comes from experience. Experience comes from poor judgment.
So, the BEST learning comes from your own experience (and mistakes) because you’ll remember them. However, that imposes a lot of risk and wasted time, so the BEST approach is to learn as much as you can from others with experience, and then go ahead and get some experience for yourself. That way, your mistakes, which you WILL make, will be less common and of less consequence. Before the Internet, I used to get all of the books and magazine articles I could on whatever subject I needed to study and spent a lot of time going through all of it. Now, the Internet has not only vastly more information on any given subject, but there are also VIDEOS which, for me, make all of the difference. To see a master craftsman with 30+ years of experience showing you how they do it, step-by-step, is almost like being in an apprenticeship program. Except that you don’t have the master yelling at you when you screw it up. That is left as an exercise for the you, the student.
For masonry work, I found a guy called Mike Haduck, who is a master mason in Pennsylvania. He has a YouTube channel (here) which is really good, and he covers every aspect of masonry that I could possibly imagine. He has great humility and in my mind is a great teacher, but why I really like him is because one of his tenants is that “there is no one right way”, meaning that his way is not necessarily the only way that you can produce a good result. It’s just his way. For a DIY’er, just getting insight on any way that works is better than nothing. However, because each job has its particulars and nuances, you have to remain flexible and, when necessary, do a riff on the basic techniques to make things work for you. And, as you get more experienced, you may develop your own ways which you can carry forward to other projects.
Here are some pictures of getting ready for the project:

Ready For The Footing

Pouring the Footing

Footing Completed!

Always sign your concrete work!

Brick Delivery

Building Materials. Christmas in February!
I also had to make a lintel, which is a piece of masonry that spans an opening. I followed Mike Haduck’s You Tube instructions (see here), and here are the pictures of the effort:

Making the Lintel. The 7″ grinder is a new tool Santa gave me for Christmas!
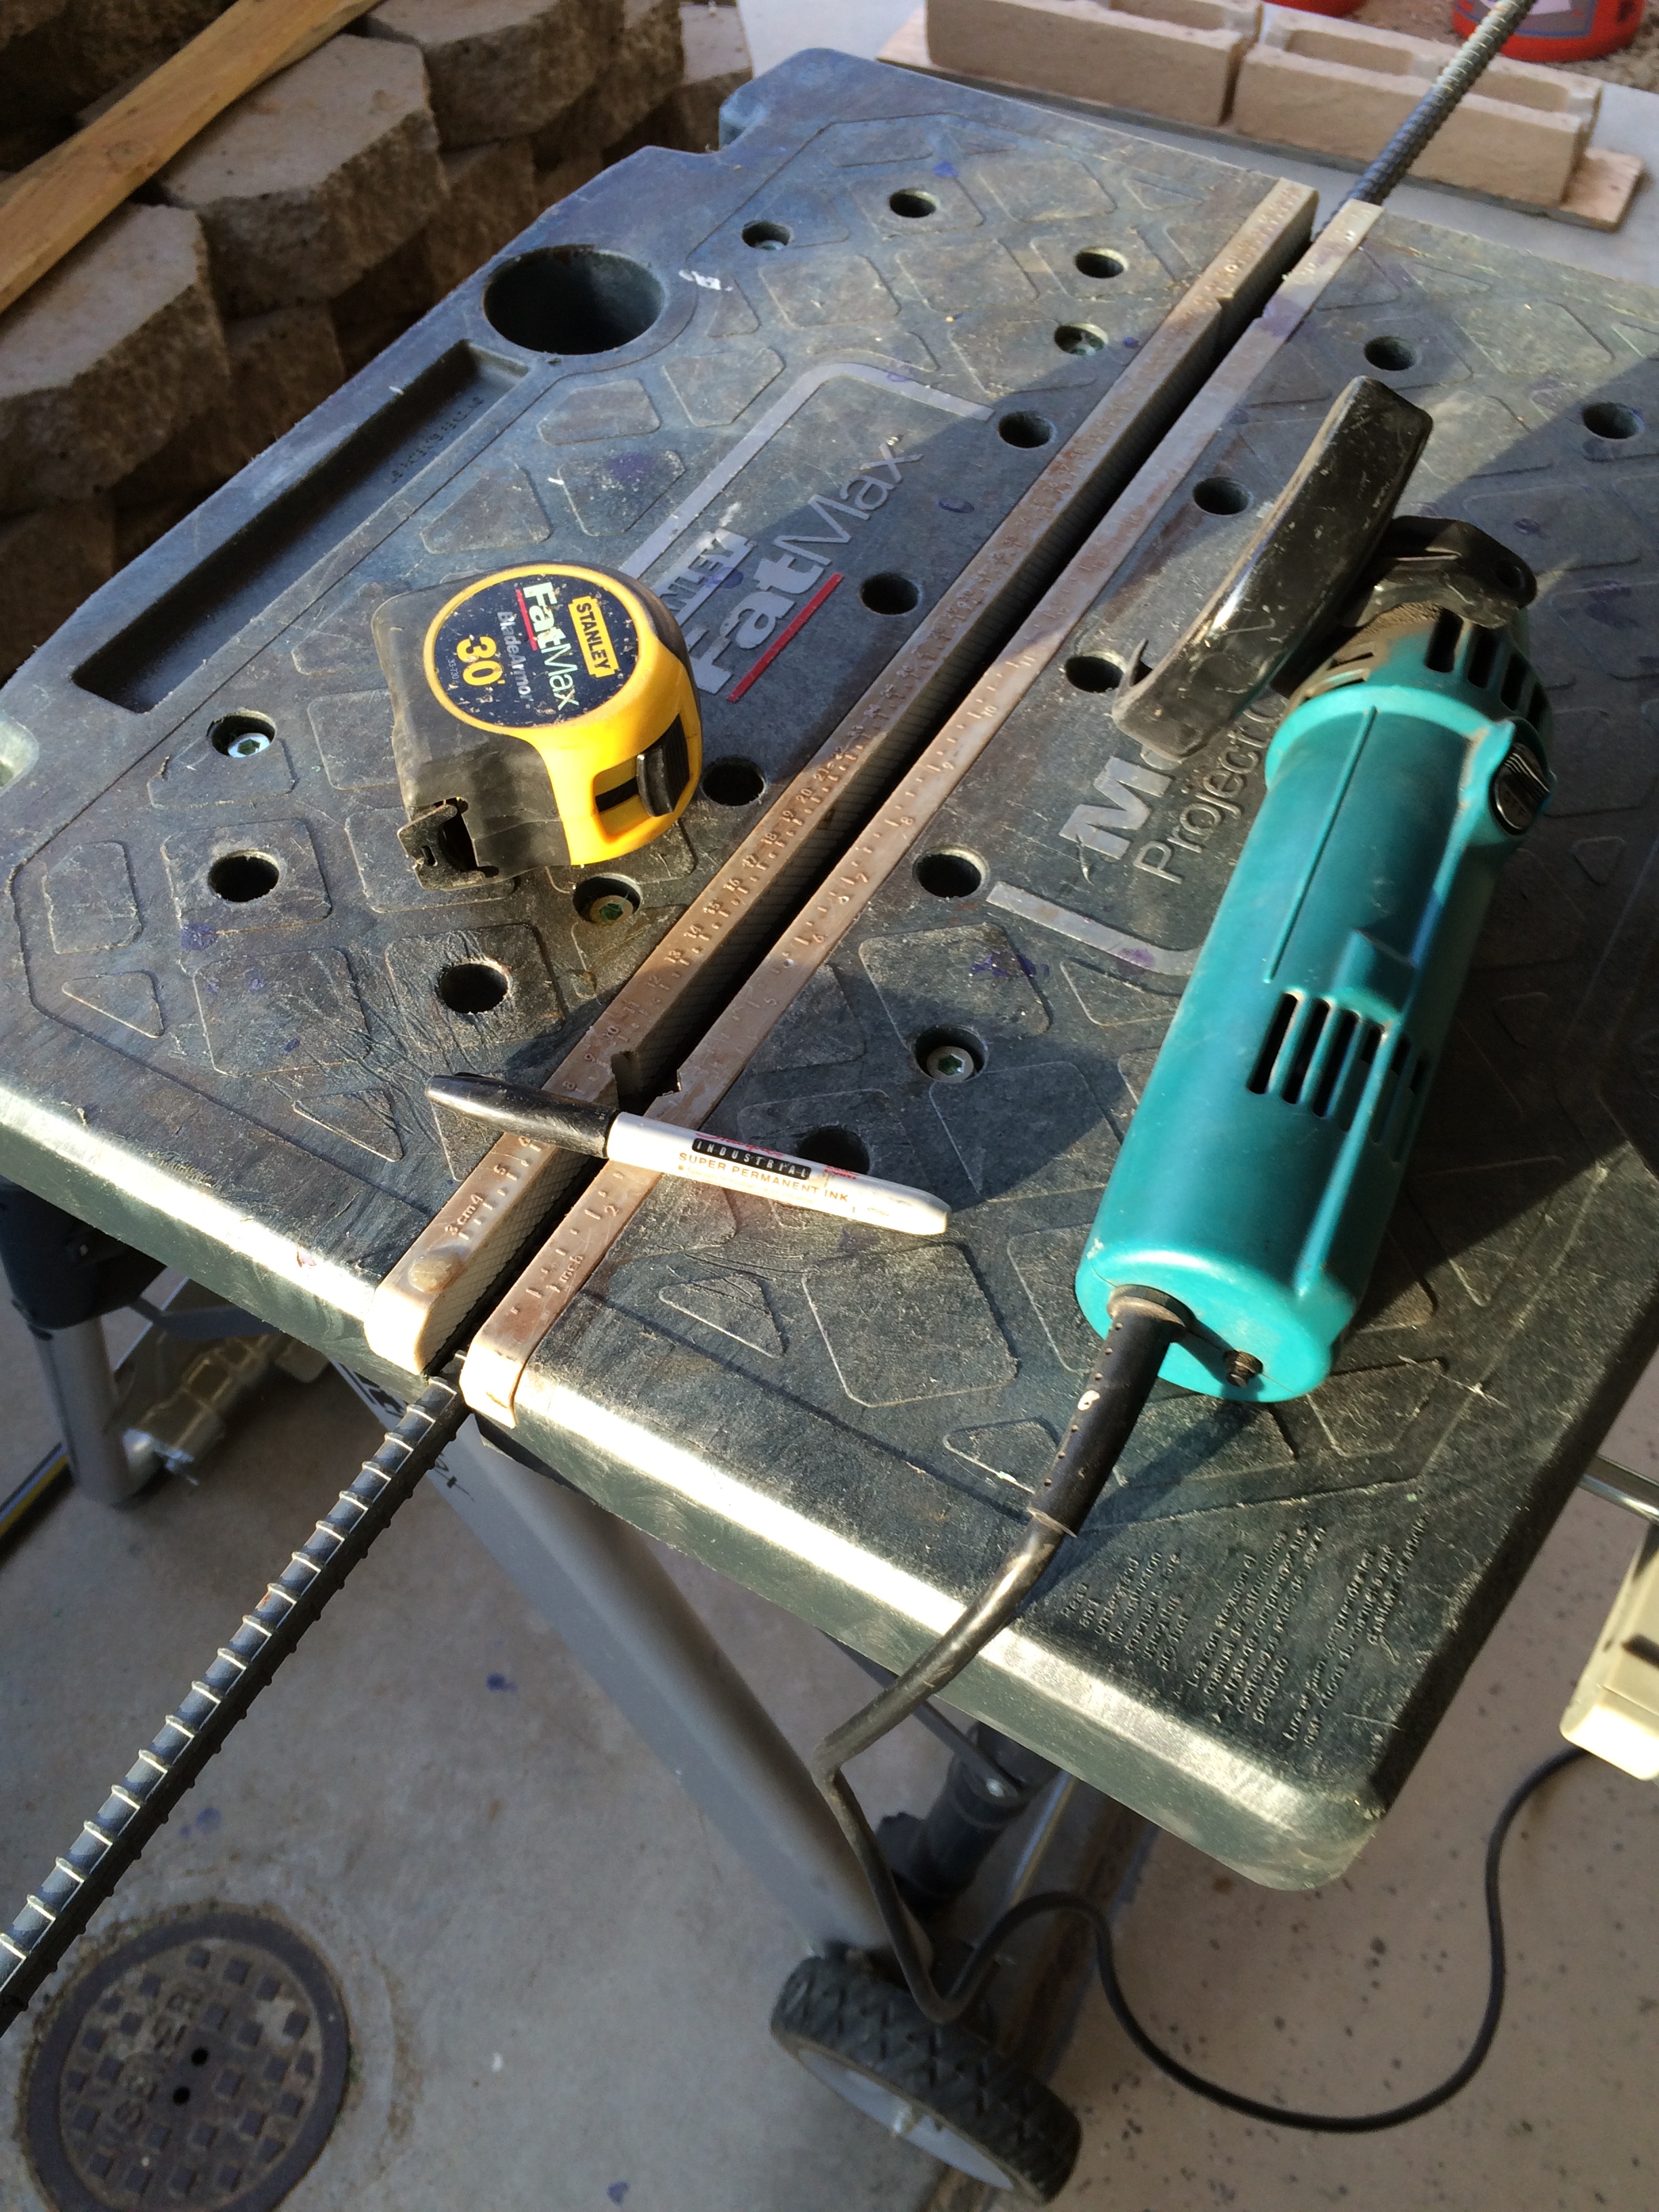
Tools for rebar cutting: Measuring tape, 4″ grinder, work stand (work-mate or equivalent) and a sharpie.

Bent rebar, cut blocks, and mortar, ready for assembly

Finished lintel. I didn’t pound it, like Mike did, so I hope it will be OK.

Time for cleanup. Always keep your tools clean (especially masonry tools) and always clean up after a day’s work. My dad taught me that.
Now, I’m ready for the President’s Day long weekend, and I’m very much looking forward to it. This will be the culmination of a lot of work in that this will be the construction of something that will be actually be permanent and seen by all. Stay tuned…..
