Thus far, most of my posts have been focused on progressing the home remodeling project as a whole. However, as with any thorough home remodeling, there will be a few things that will be seeming unrelated to the main project, and these stem from the inspections that occurred in leading up to the start of the overall project.
In this example, I had a plumber come in and inspect my domestic water drain lines (not to be confused with site drainage for runoff). I actually did this quite a few months ago because I wanted to know if I had any major work lurking in the background and would have to perform additional digging to fix my drain lines. The good news was that my drain lines were in excellent shape. No clogs, build-up, roots, or other “growies”. In fact, I did not need a drain cleaning! However, there was one part of the drain, right below the kitchen sink, that had a crack and was leaking. My plumbing contractor (Eastlake Plumbing)came in and did an AWESOME job fixing the drain. In fact, they re-routed some of the drain in order to fix a problem that the original builder left behind. However, I had to cut a hole in the stucco on the outside wall near the drain in order to give my plumbing heroes the correct access. That left a big hole in the side of my house. I wasn’t sure exactly how to fix it, but I had bought some cheap plywood and some goop with the hope that I could just seal it up and have it done properly when I hired a stucco crew to stucco the addition and “fix” some other problems.
I had deferred this project because I wanted to keep my momentum going with the brick wall and front yard. That turned out to be a good move because, lo and behold, my favorite YouTube stucco guy Kirk and Jason Girodanos posted a video on how to do a stucco repair after a plumbing job. He gave me some key pointers, but more importantly, showed the job from start to finish so that I had a really good example from which to proceed. I bought my materials, and then finally, this past weekend, had a chance to actually start on this project.
The first thing to do is to chip away the stucco from the perimeter of the cut so that you can slide some building paper underneath. Unfortunately, as I broke away stucco and exposed the underlying structure, I found that it had been adversely affected by the water which was constantly leaking out of the drain. Plus, for whatever reason, the original stucco only had one layer of building paper underneath, instead of the required two layers. So I had to remove a lot more stucco than I planned on in order to expose solid material from which to work with.
The other problem was that there were several studs, plus some of the sole plate and the weep screed, which were totally rotted out. Thus, I had to deal with the structural issues first, before I could move forward with the stucco repair. At least my carpentry skills are fairly well-developed, so I was able to cut away the offending materials, and rebuild the ends of the studs by wedging in “cripple” studs at different lengths to form what looks like a finger joint. This gave me some resistance to shear forces, in addition to the gravity forces which were taken by a new sill plate that I attached to the foundation using a “gunpowder” hammer. I also had to cut notches in the new studs to accommodate electrical wiring and then secure them with nail plates.

Demolition is complete Note how the rotten sole plate and studs are removed, and that I cut the studs to make interlocking “fingers” that will provide lateral strength.

Rotted out studs. Like swiss cheese!
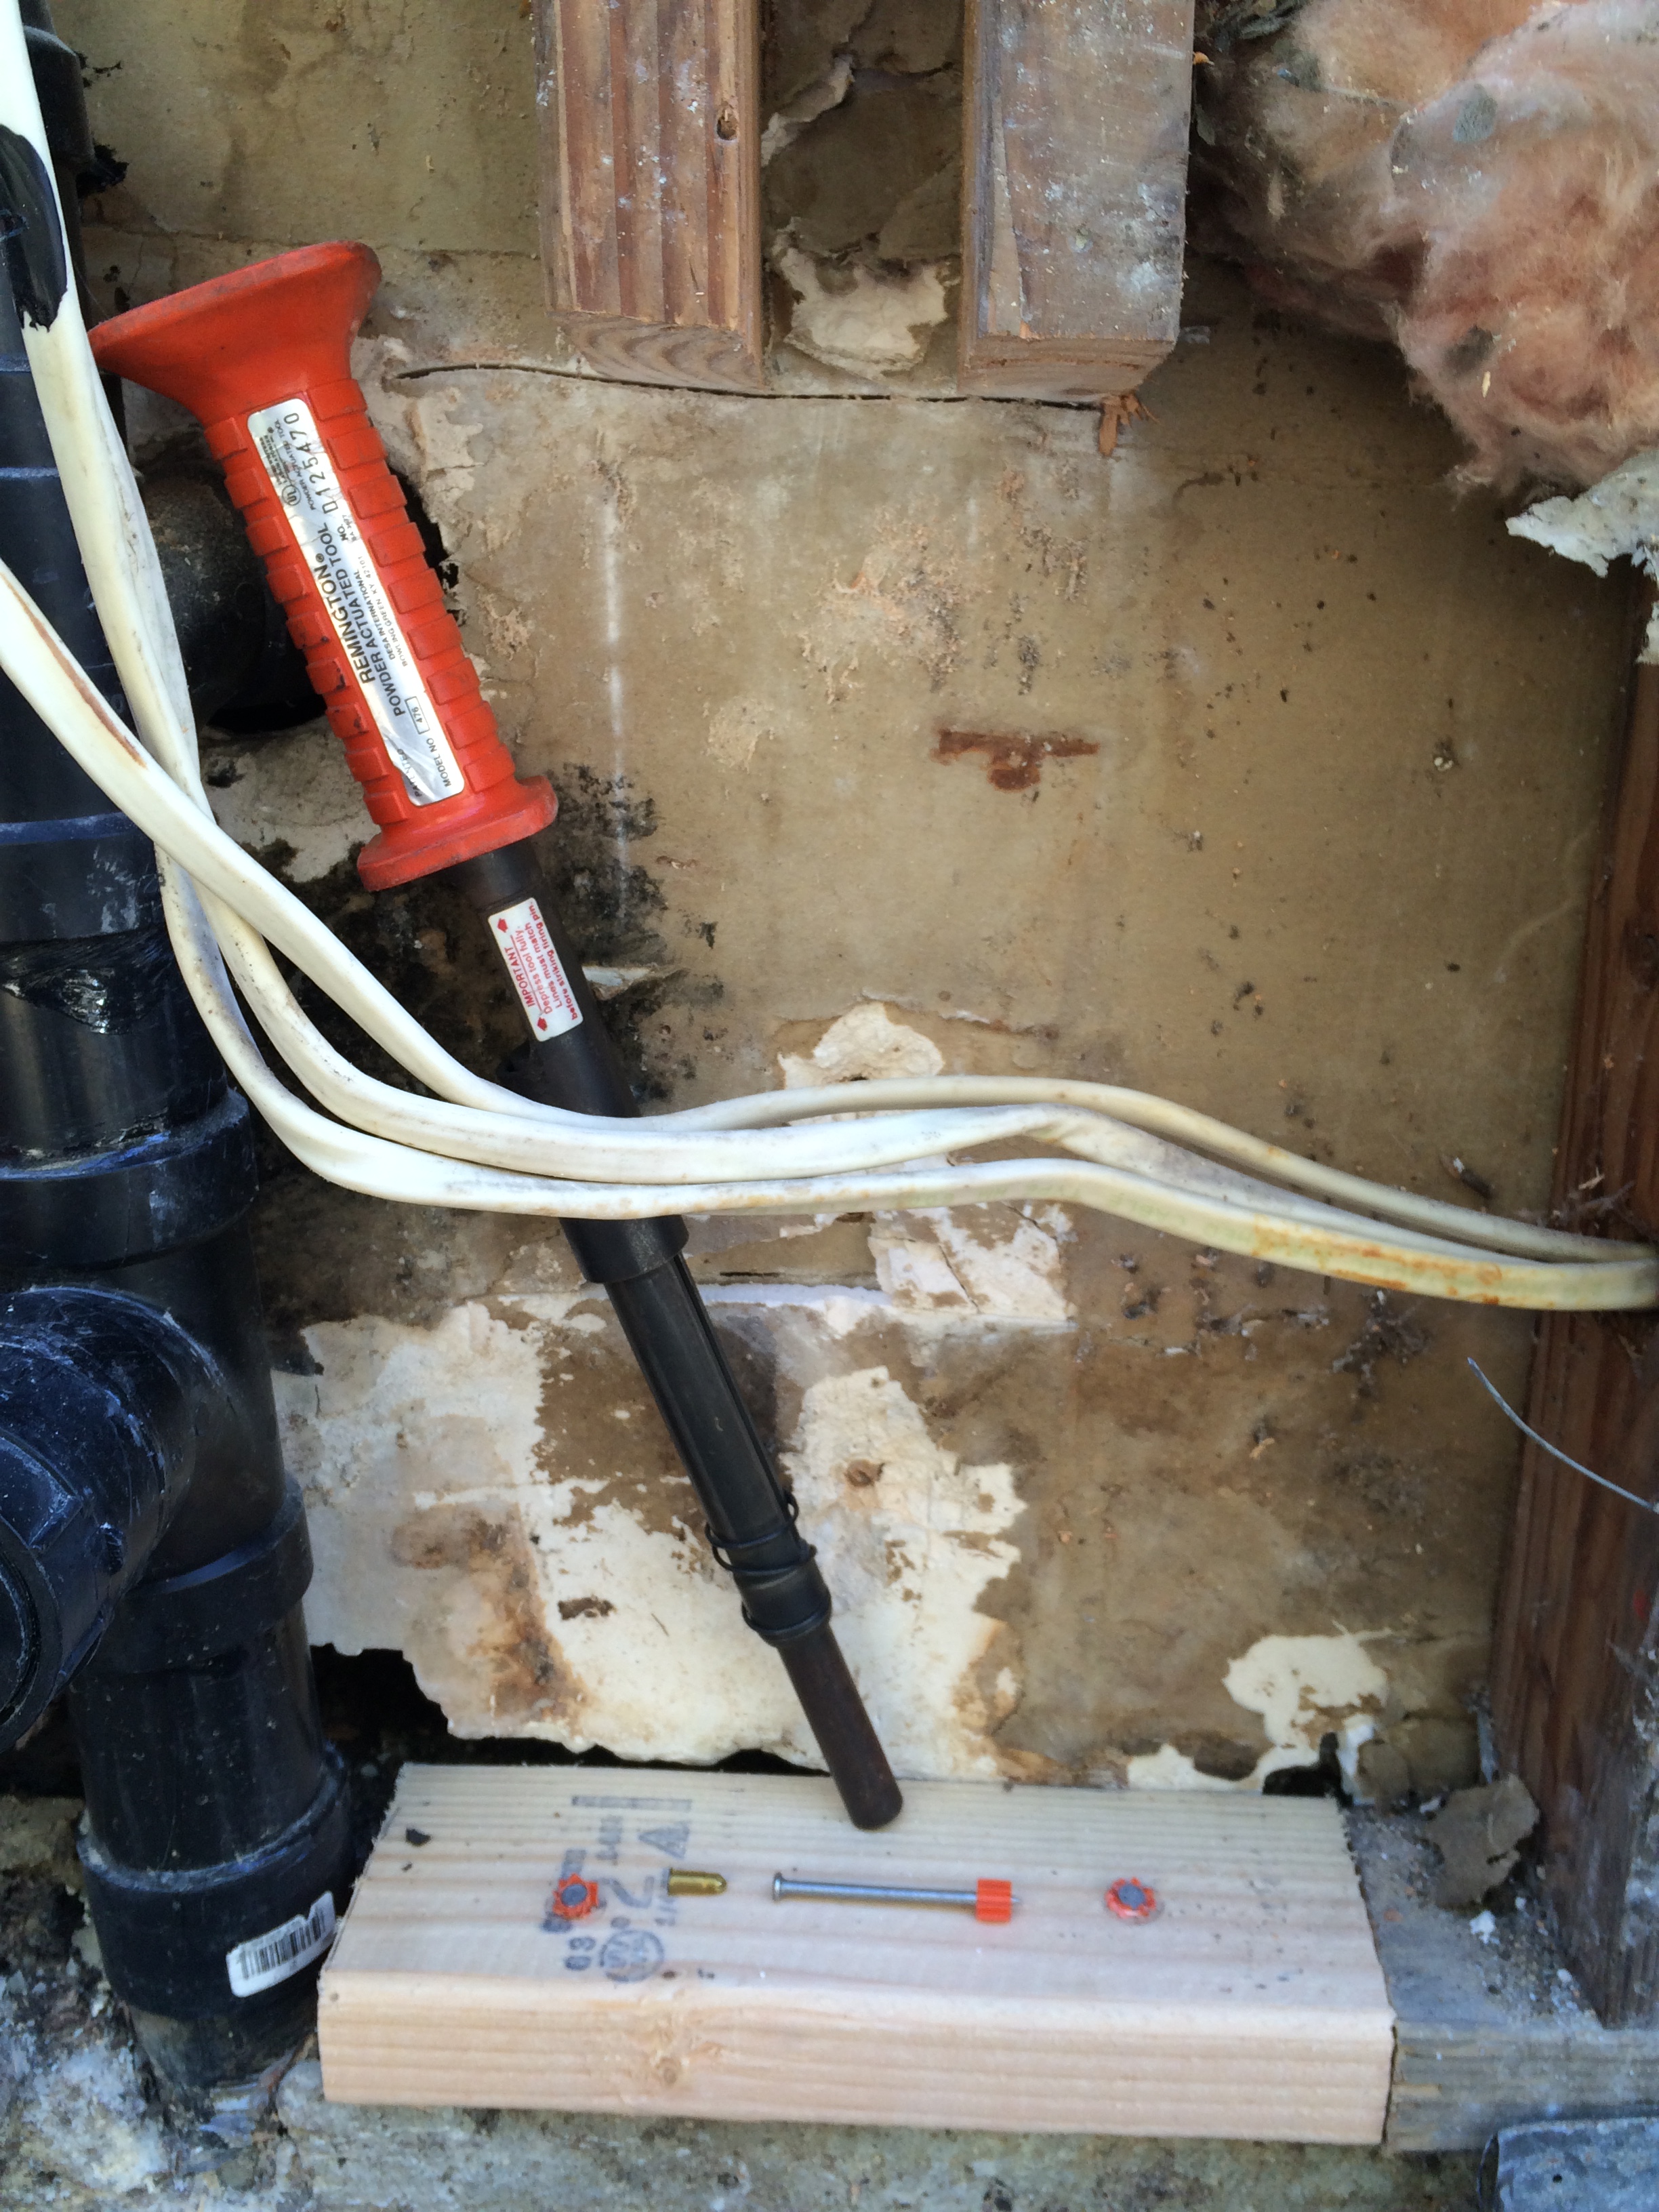
New sole plate installed. This is a “powder activated” hammer, meaning that it uses a .22 caliber shell to power a hammer. The nail has an orange centering bushing that holds the nail in the “muzzle” of the hammer. You whap the end of the tool with your regular hammer, and that fires the shell and drives the nail right into the concrete. I bought this years ago for attaching furring to a concrete wall, and I’ve used it countless times since. A must-have if you want to attach something to concrete.
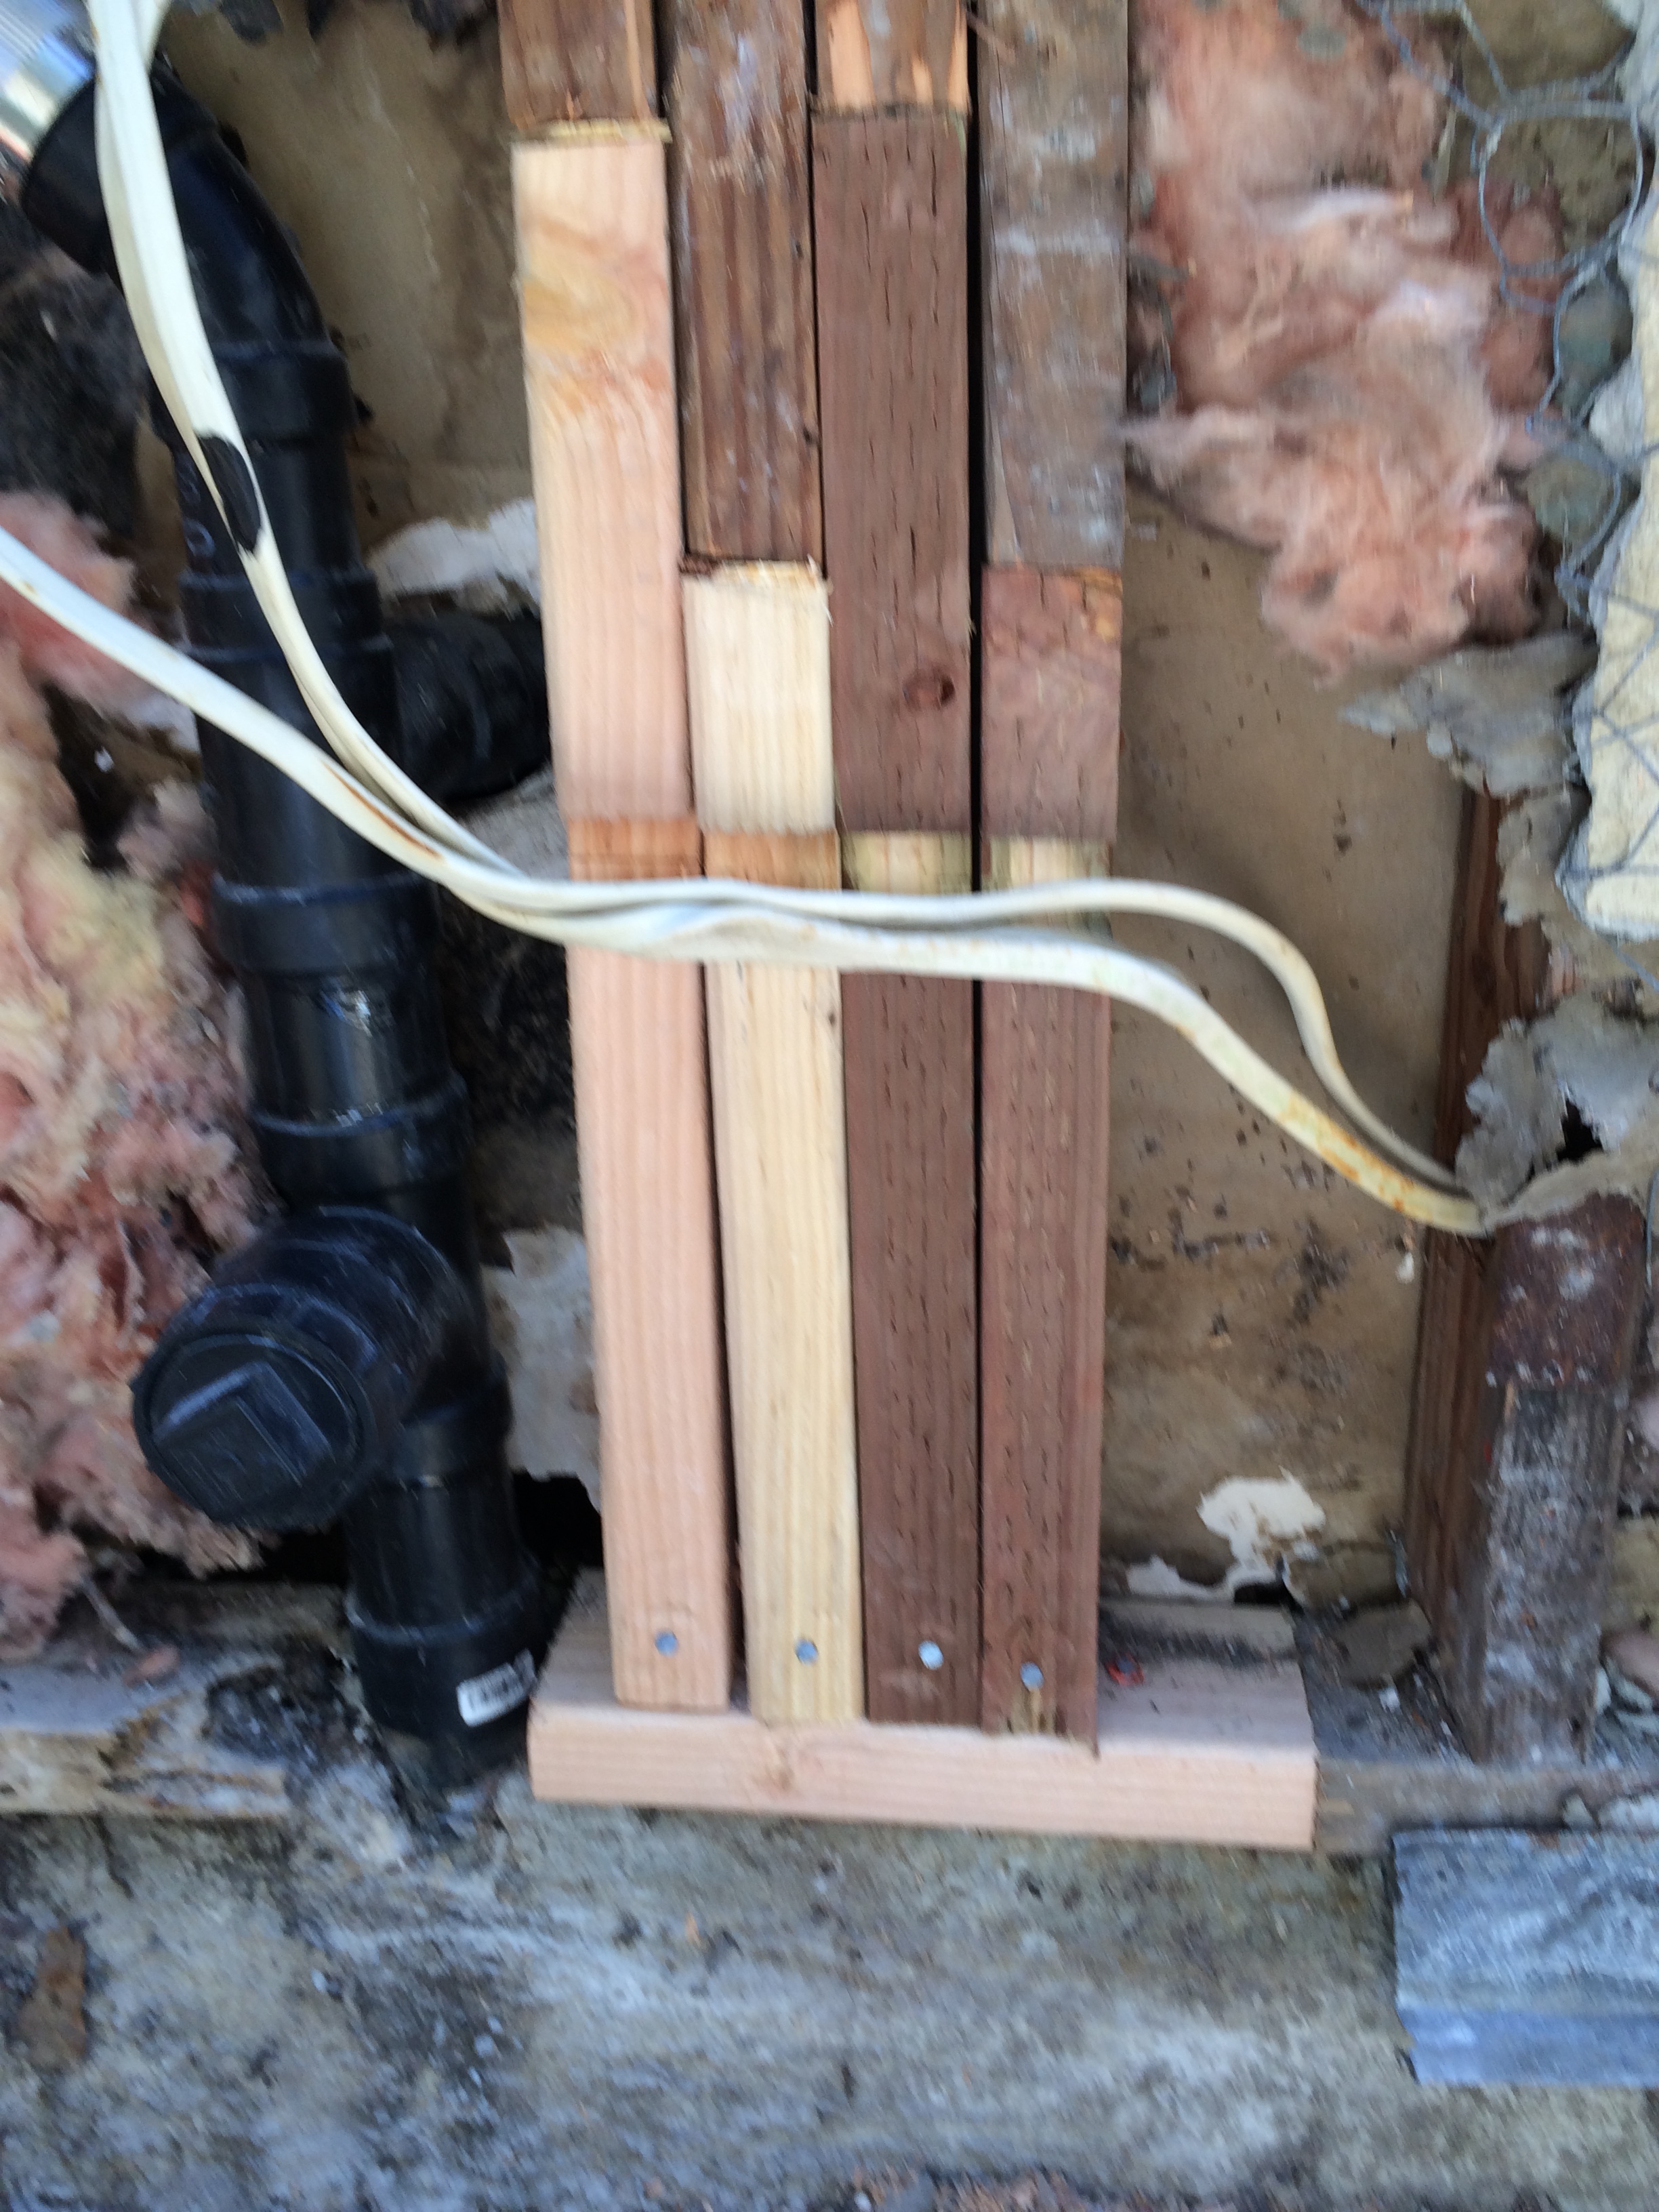
Replacement studs, interlocked, nailed, and notched for the electrical wires.

Nail plates over the wires. Required by code, but also did a good job of keeping the wires in place. Note that I’m fitting the building paper.
The next step was to shove 2 layers of building paper underneath the original building paper at the top edge of the cutout. I thought this would be a major problem, but it turned out to not be so bad. For me, the key was cutting everything the right size and breaking it down into a few separate sheets to make it easier to handle and position.
From there, I had to staple on some lath. I got this lath at a discount because it was folded over and wasn’t a continuous sheet, but for my purposes it was OK. Again, cutting and fitting took several iterations, and I used a number of individual pieces to make things easier to work with. And a lot of staples.
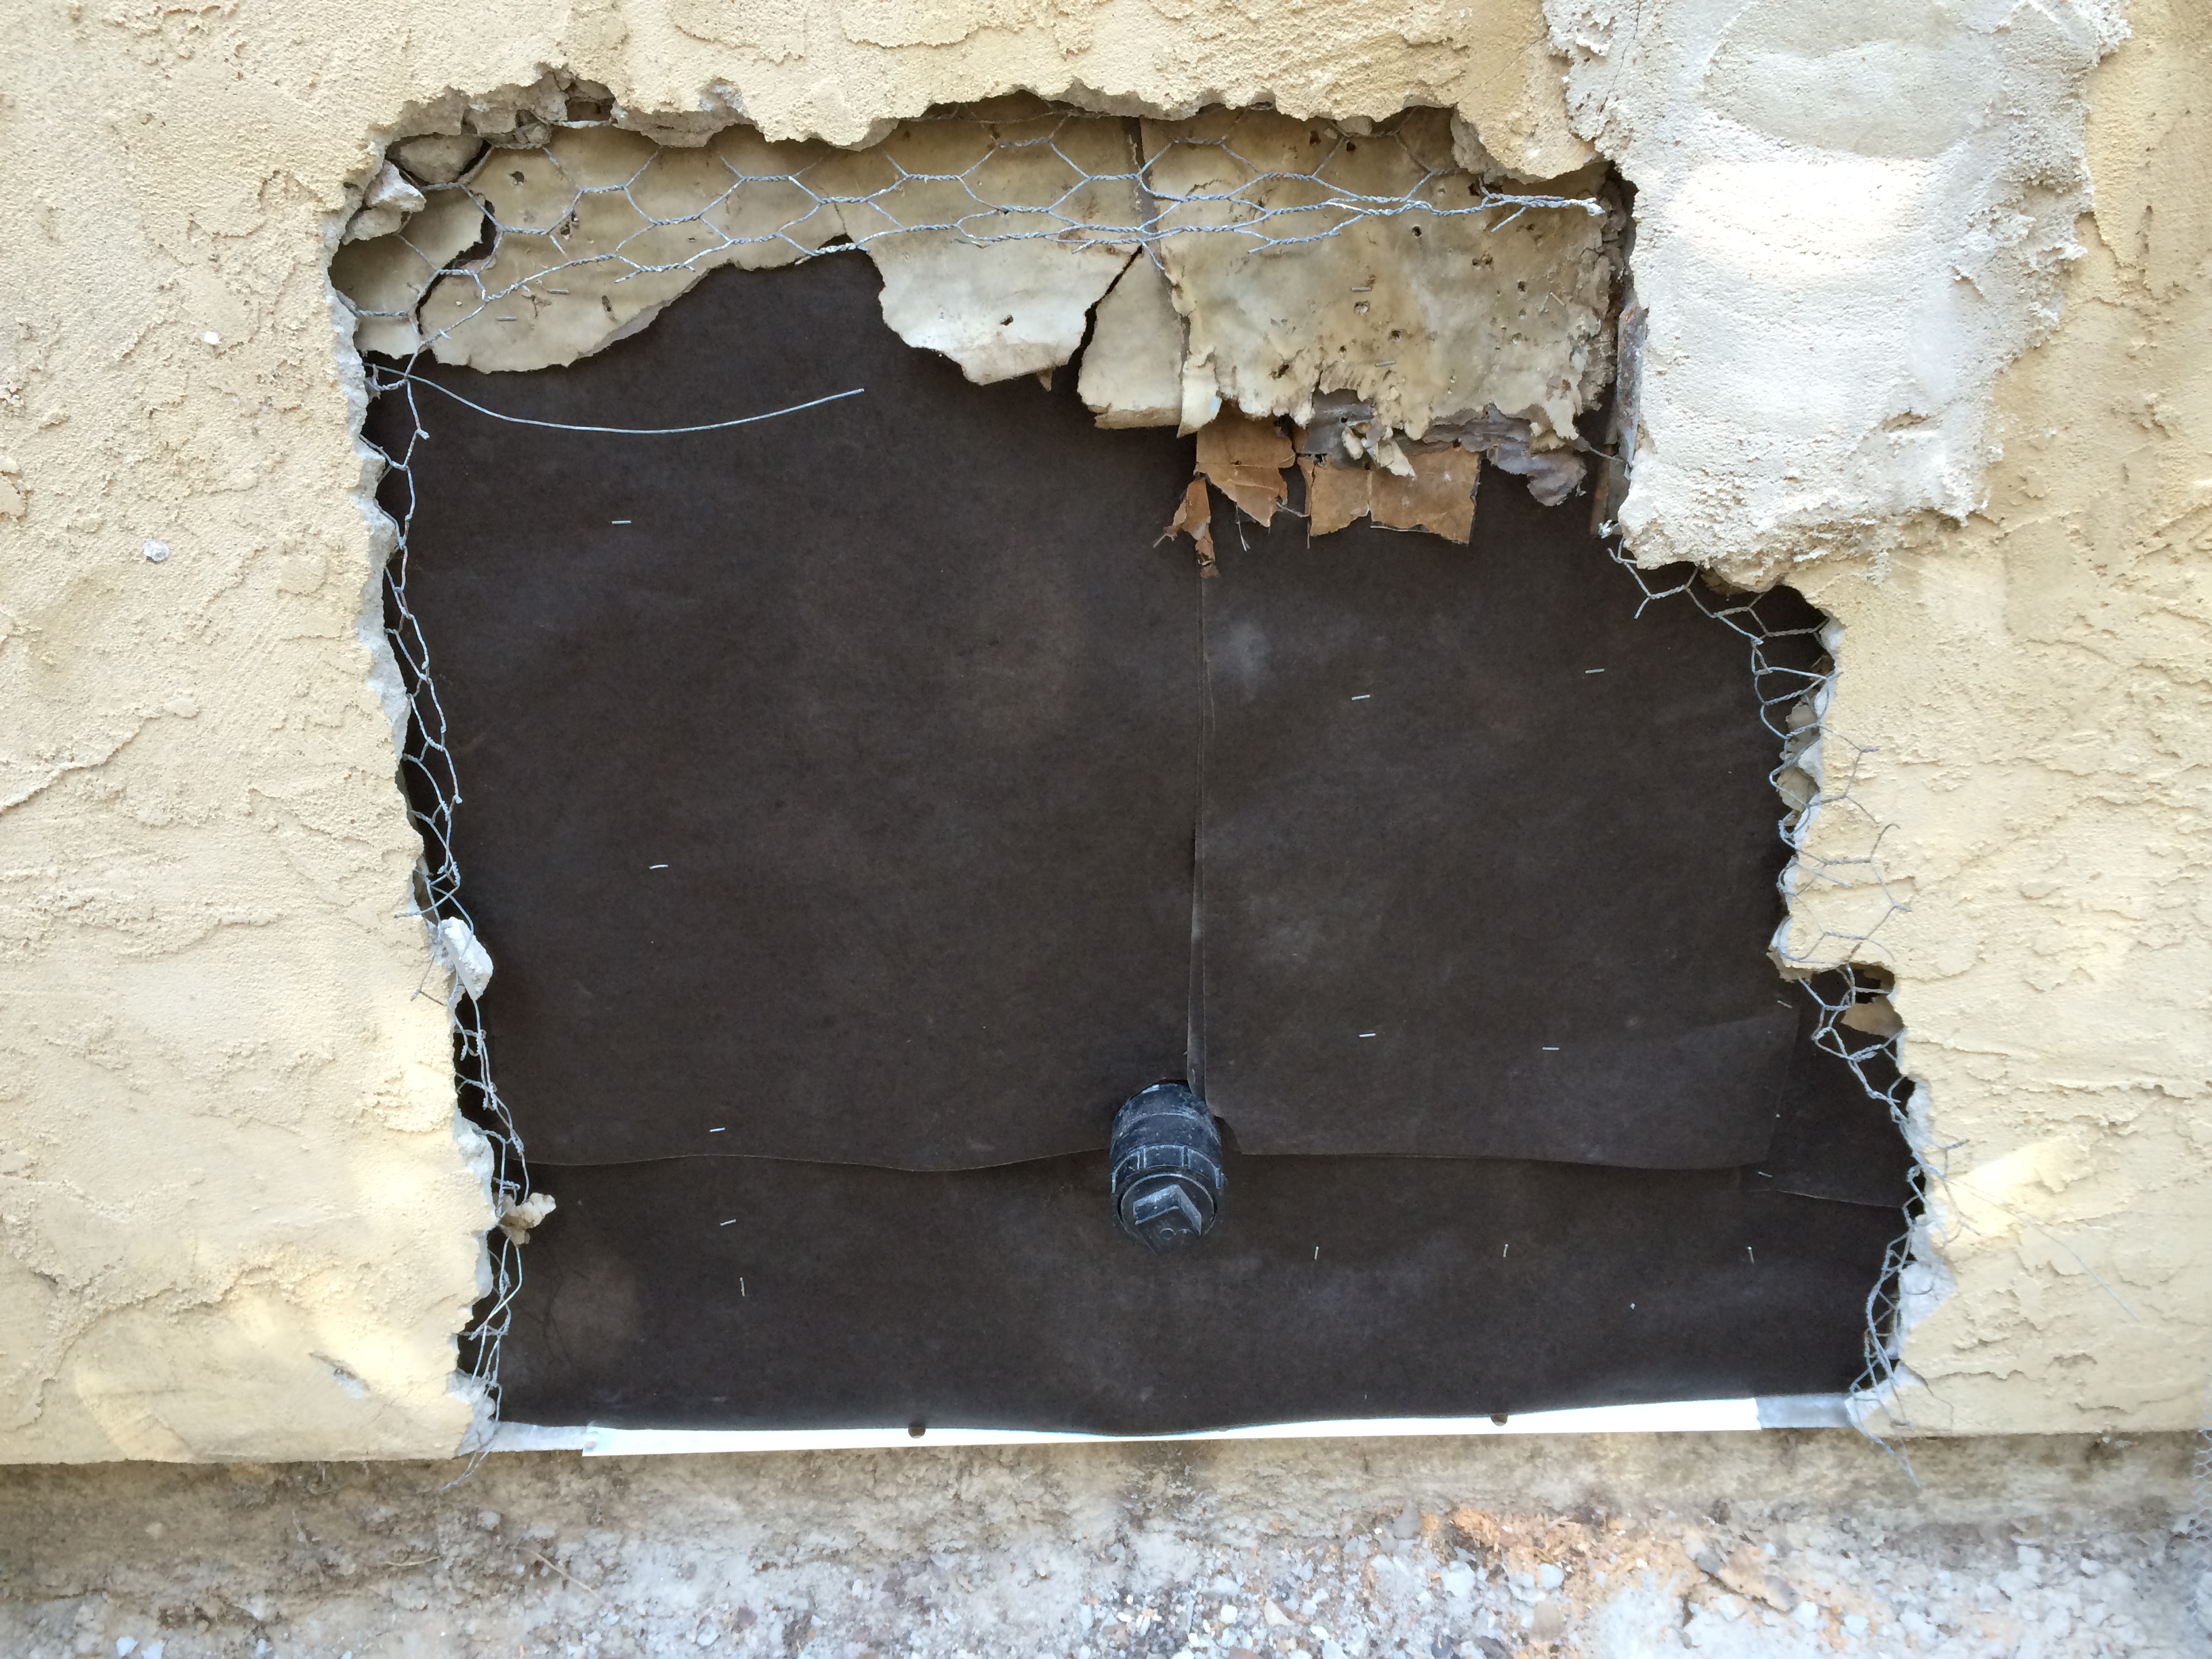
Building paper in position.
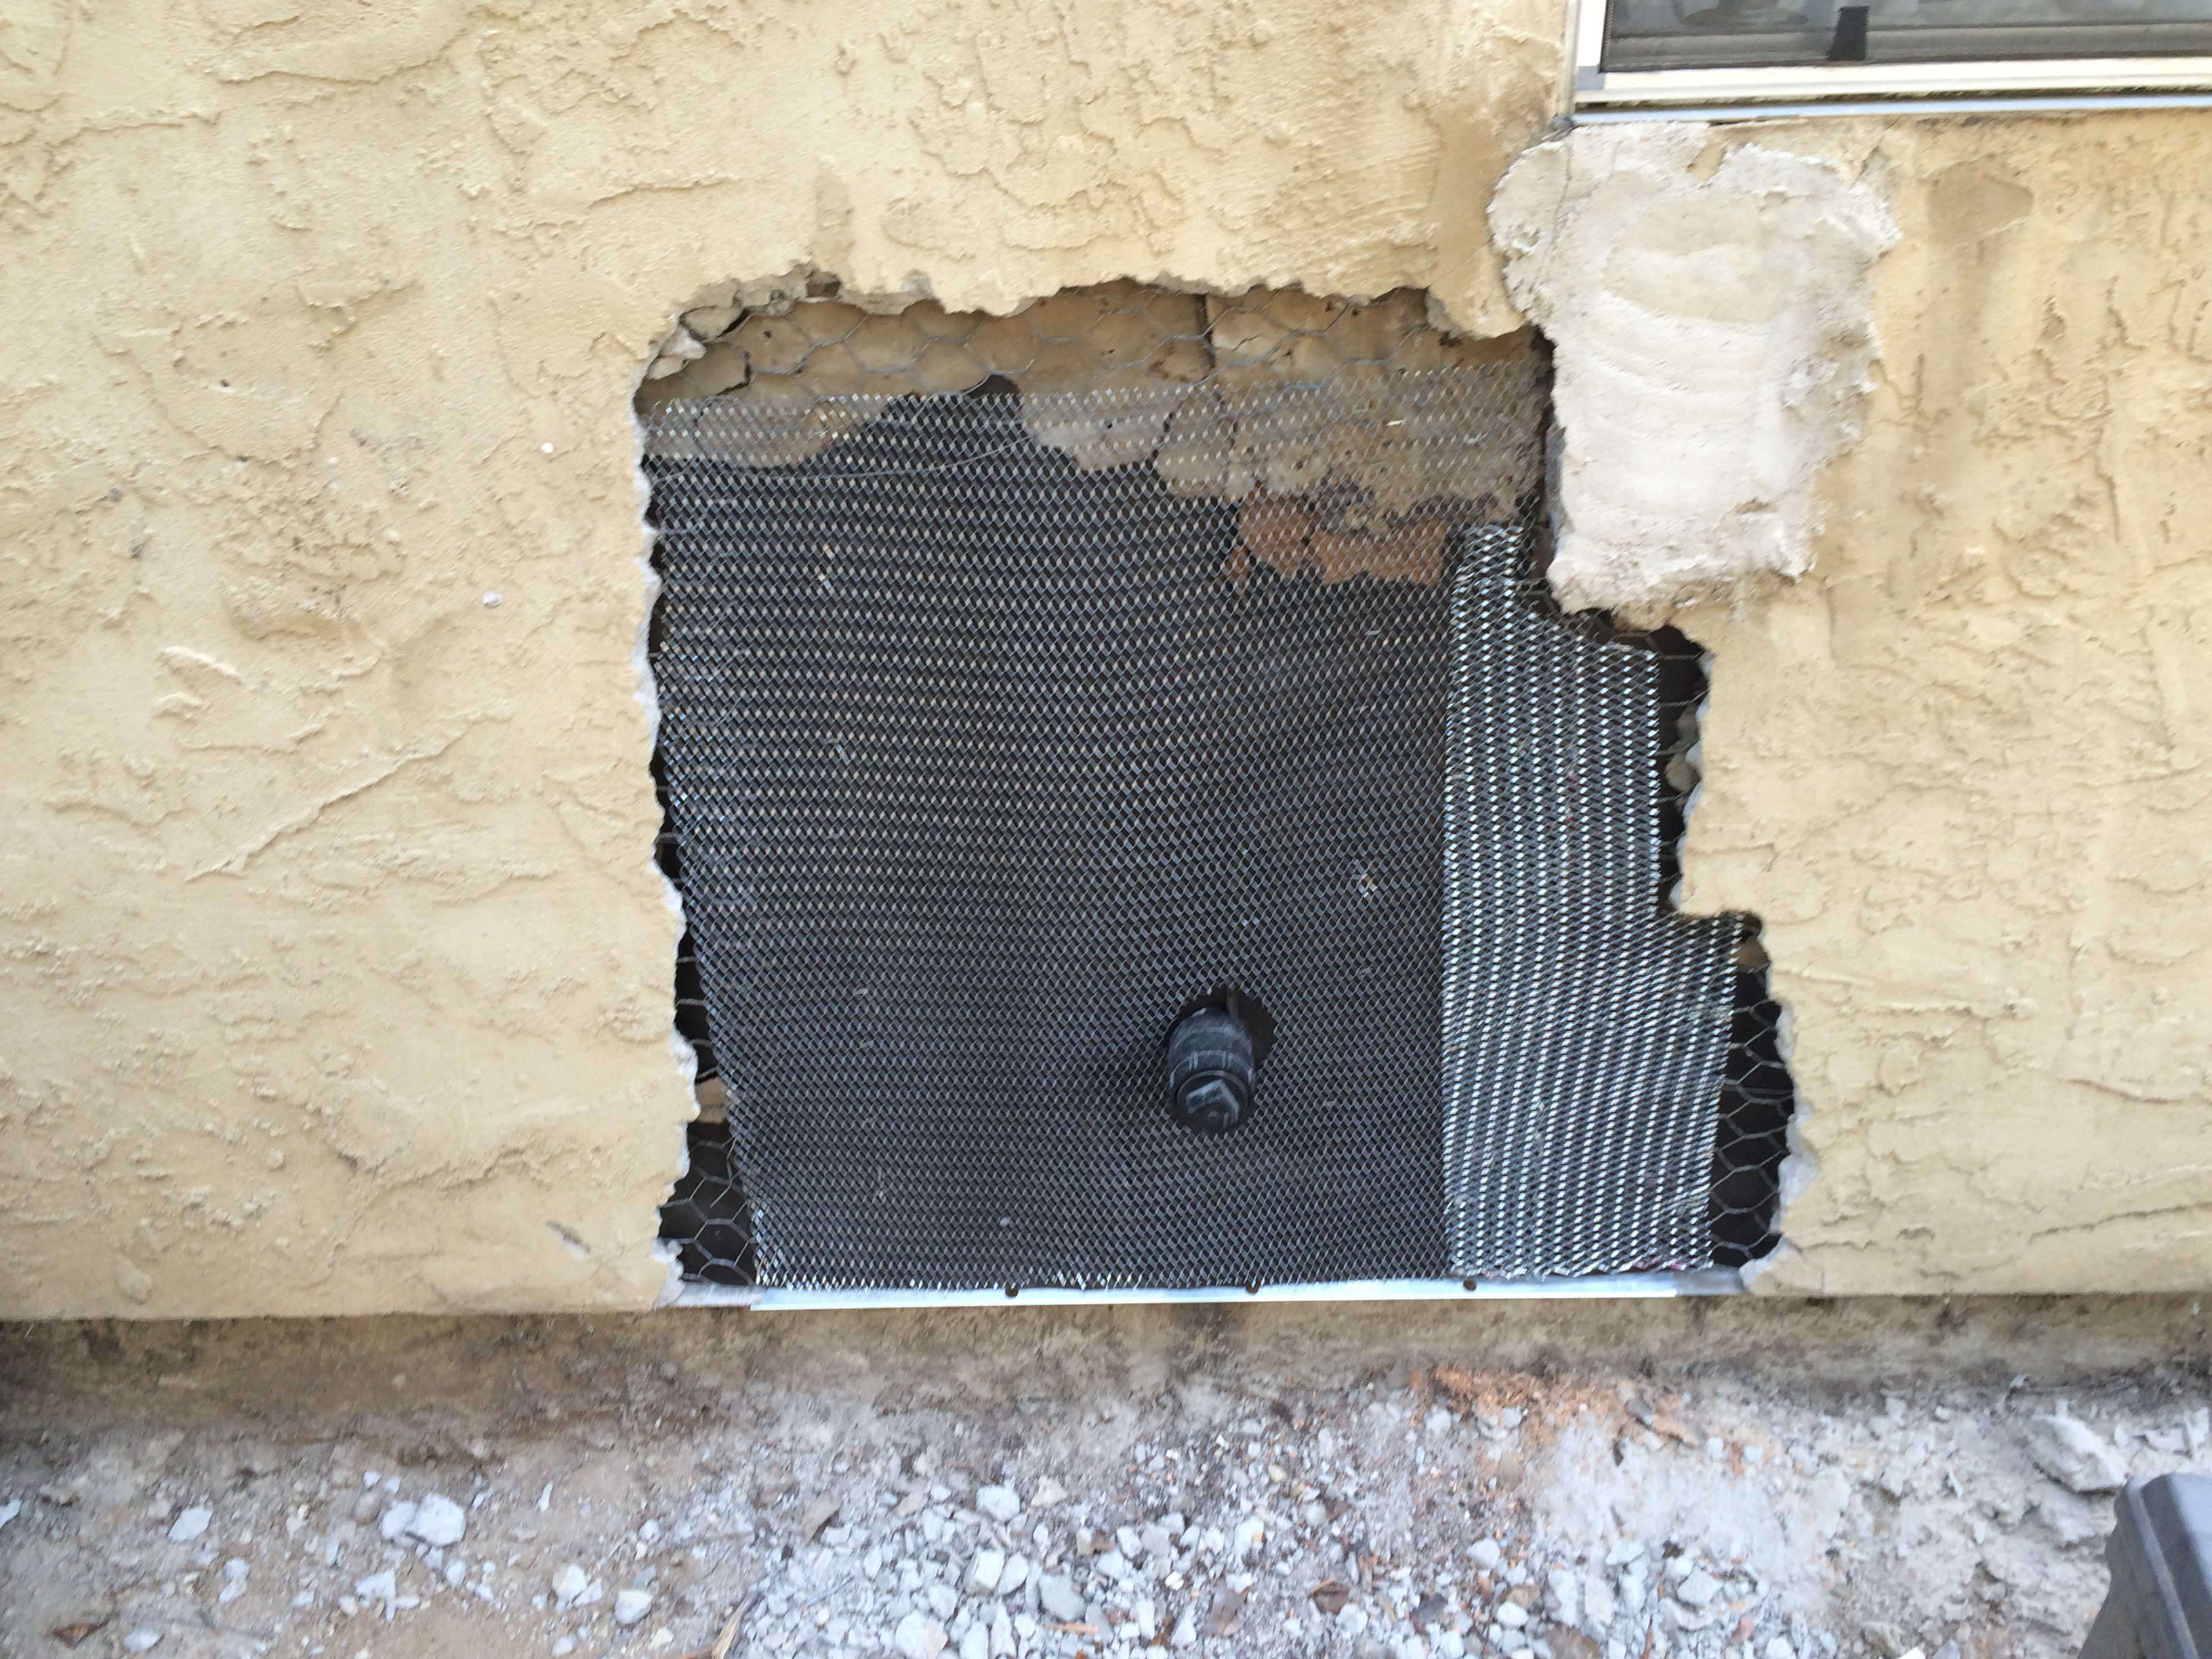
Lath installed. Ready for stucco!
Finally, time to put on the actual stucco. I bought a couple of boxes of “stucco patch” which has only a 20 minute working time, so ya gotta work fast! I used my “eggbeater” mixer and a 5 gallon plastic bucket to mix the stucco and then went to work. Kirk and Jason Girodanos use what is called a “pool trowel” and that worked like a champ! So, I got everything on, but I ran out of stucco mix, so I have a big concave area in the wall where the patch is. NBD because (a) the patch is fully functional (waterproof and no holes), and (b) I’m going to have a crew come in and stucco the addition, so I can have them go around the house and fix all of my other stucco problems. Honestly, I don’t know how to apply the finish, and I have other demands on my time. Again, this is an example of making smart decisions about what you do yourself, and what you contract the pros to do. When it comes to portland cement products, I will typically defer to a pro who has a crew that can get the job done before everything turns into an unworkable and ugly slag heap. I speak here from experience.

Stucco in place. Looks like crap, but it’s functional and it’s concave so the pros can cover it up and make it look nice. I’m calling this the “brown” coat for obvious reasons.
Next up: the big Concrete Pour!