One of the skills that a general contractor needs to have is to properly evaluate a bid. Besides getting a fair price, there are many other considerations that make the difference between a great job and a not-so-great job, and its helpful to have some knowledge about the bid and award process to make a good choice. Fortunately, I have extensive experience in the bid and award process from my day job as a Government contractor. And, because Government contracts typically involve tens of millions of dollars and up, the stakes are understandably much higher. Therefore the methods used to bid and make an award decision under these circumstances are pretty involved and detailed. Having said that, these methods for solicitation, evaluation, and award of large contracts can be suitably scaled down when you’re talking about a few thousand dollars. So, here are some pithy axioms of the bid and award process that I feel are distilled down to the essence so that you can make a good decision. It may be “only” a few thousand dollars, but hey, that’s a lot of money when it’s mine!

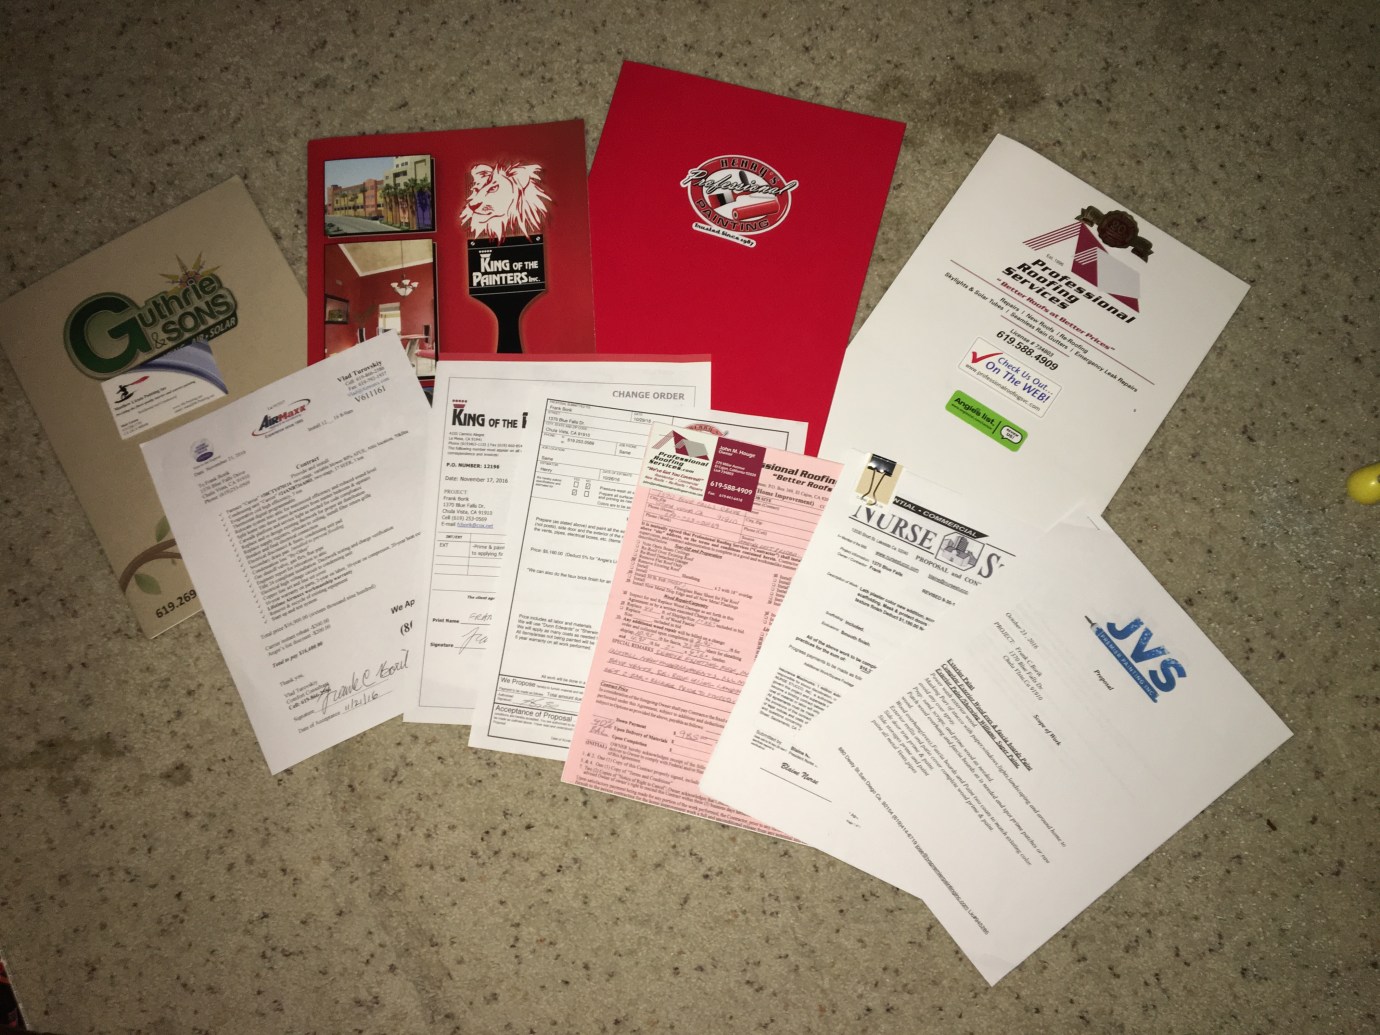
All the bids are in. Time to get to work!
First: Assumptions. We start the process with the facts that (a) you’re ready and committed to get the job done and (b) you have the necessary funding to start now. It’s just not fair to take people’s time and have them out for a “free” estimate when you’re not ready to commit.
Second: Become knowledgeable about what you really want and have an idea of work that is going to involved. You don’t have to be an expert, but the better prepared you are explain what you want to the bidders, the better bids you’re going to get. (Government equivalent: Request For Proposal (RFP) or Request For Information (RFI)). For my painting bid, I’ve done some painting before, so I knew that you have to mask and prime before you paint, and that different substrates (metal, wood, previously painted) would need a different primer. I also went around the house to make specific note of what I wanted painted and what color scheme I wanted.
Third: Choose your bidders and schedule appointments. You want to first figure out who is most likely going to provide the best product and service. Nowadays, the Internet has an amazing amount of resources for you to pre-qualify your bidders. Angie’s List, Yelp, and Home Advisor are some examples of these services. Personally, I use Angie’s list because I can read through the reviews and do a little bit of analysis on how the individual contractors perform on an ongoing basis. The things that I look at are the number of ratings and the distribution of the ratings. If there is one rating that is low, I don’t necessarily take a lot of stock in it because there are people who are perpetually dissatisfied, no matter what. But, if there is a trend of dissatisfied customers, then I typically steer clear. (Government equivalent: Market research). For the painting job, I found three contractors with good ratings on Angie’s list, and I had recommendations from a couple of other subcontractors for a total of five.

A search for painters on Angie’s list. I look at the rating and also the number of ratings that they have because more ratings means that you’re getting a representative sample of their work. I also go to the company websites to check them out as well. They usually have pictures of their work.

Angie’s list gives a really good breakdown of the ratings. I especially like the statistics which show, graphically, the level of customer satisfaction. I never consider bad ratings if they are statistically insignificant (as shown in this example) because you can’t please everybody.
Fourth: Always get multiple bids and be open to options. This has several advantages. (1) You get a chance to see what the job will cost and you’ll get a range for comparison (Government equivalent: price realism). (2) You get a chance to meet with the bidders and, if you apply your knowledge of what you want done (first step), you can engage the bidders and learn more about the options. While you may have something definite in mind, these folks are professionals who have been doing this and know the advantages and disadvantages of various approaches. If you keep your ears and mind open, you will learn a lot. You will also get more information to help you make a better informed award decision.
Fifth: Get the bids and do the evaluation. When doing the evaluation, you need some sort of strategy and ways of comparing apples to apples. (Government equivalent: Evaluation strategy/plan). Be aware that price is not always the determining factor. Yes. price does have a lot to do with it, but you have to take into account the quality of the product and service, and have some confidence that the contractor is going to perform as expected. So besides price, here’s what I consider: (1) Timeliness. Was the bidder on time and did the bidder respect my time? If not, then maybe the bidder has time management issues and you can expect delays in your project. (2) Did the bidder listen to me? Did the bid come back with what we talked about, or was I being upsold into something? If the bidder did not listen carefully, then the job may not be completed to your expectations. (3) Did the bidder actively engage with me and provide helpful suggestions and recommendations, or was the bidder just taking notes and going to do what I said I wanted, even if what I wanted was not optimum? I certainly do not want a rubber stamp on my ideas and I want my contractors to provide value with their experience. (4) Was the bid in writing and was it accurate and complete? If the bid is meticulous and well written, that is a good sign of attention to detail and the quality of the work and the customer service you can expect. (5) Are you comparing apples to apples? Did the bids address different things, and how do you normalize them? You don’t want to pay a premium for something you don’t think is important, but you don’t want to waste money on a job that will fall short of your needs and expectations. For my painting example, I had to subtract the cost the bid of installing a garage side door from another competing bid. When I decided to replace the door myself, I had to add back in the cost of the door replacement materials to the both the first and second bidders.
This can get complicated, so it can be helpful to develop a table that lists the price options, features and benefits, and drawbacks and risks so that you can see the entire picture. I prefer a spreadsheet, but realistically a notepad and a pencil will do just fine (although I like the way the spreadsheet adds up things without mistakes).

Worksheet for comparing bids. Pricing can be tricky so the best way is to compare features and benefits against drawbacks to get the complete picture.
Bottom line is that you need to understand what you’re getting for your money and have a way of comparing the options to what’s important to you. Once again, price may NOT be the most important factor!
Sixth: Award the contract. Once you make a decision, immediately contact each of the bidders to let them know their situation. I personally like e-mail, but any medium is good, so long as it’s timely. You need to respect the time of the bidders, especially those who did not win, because they have to keep moving on to generate other business, and they spent their valuable time with you, so they deserve to know. The winner, of course, will be happy, but now you both have to start working together to get the job scheduled and completed. No time like the present!