One of the challenges that any builder has is to transfer what is on the plans to the physical reality of what you happen to be working on. If you’re building a birdhouse, then you have to take the written dimensions on the plan and transfer them to the wood. Remember to subtract the width of the saw kerf! (My woodworker friends will appreciate this bit of free advice.) If you’re building a structure on a piece of land, you have to transfer those dimensions to the land. This is not a trivial endeavor, because land is not necessarily level, square, or plumb. That’s construction terminology for orthogonal axes in a cartesian coordinate system, depending on your point of reference. But I digress.
The bottom line is that you first have to establish reference points, relative to your plans, to measure and mark your material. With wood, this pretty easy because typically the raw material has reasonably straight and square edges. With land, you are on your own. The first priority is to establish a reference point. In the world of land surveyors, this comes down from edicts issued from backroom deals made among the wealthy and powerful who claimed the land and established certain boundaries, which may or may not have had any bearing on the indigenous people who currently occupied the land. So, because the rich and famous had guns and cannons. they displaced the indigenous occupants who had no concept of land ownership, and established the boundaries that you and I obey. Again, I digress. Maybe this is a sign of old age.
So, if you follow the legal thread, you own property, which is documented precisely in the county records. Your deed specifies the plat (the drawing) that is the official and legal record of the land that you own. That plat has specifications which detail the dimensions of your land, as well as the precise locations of the corners of your property. If you are adventurous, you can probably take the data from the records, and locate the surveyor’s marks on your property. If you are a city dweller, then you may see them as little nails in the sidewalk.
The builder of the house will transfer the dimensions of the corners of the property to the footprint of the house. There, the builder will begin excavation, pour the foundation, and build the house. All per the plans submitted to the city (or “building official”) and approved. It is with this thread that I start my measurements. My assumption was that the house was situated correctly on the property, and since my objective was to obtain proper drainage via a proper grade away from the house, I would use the corners of the house as the reference points.
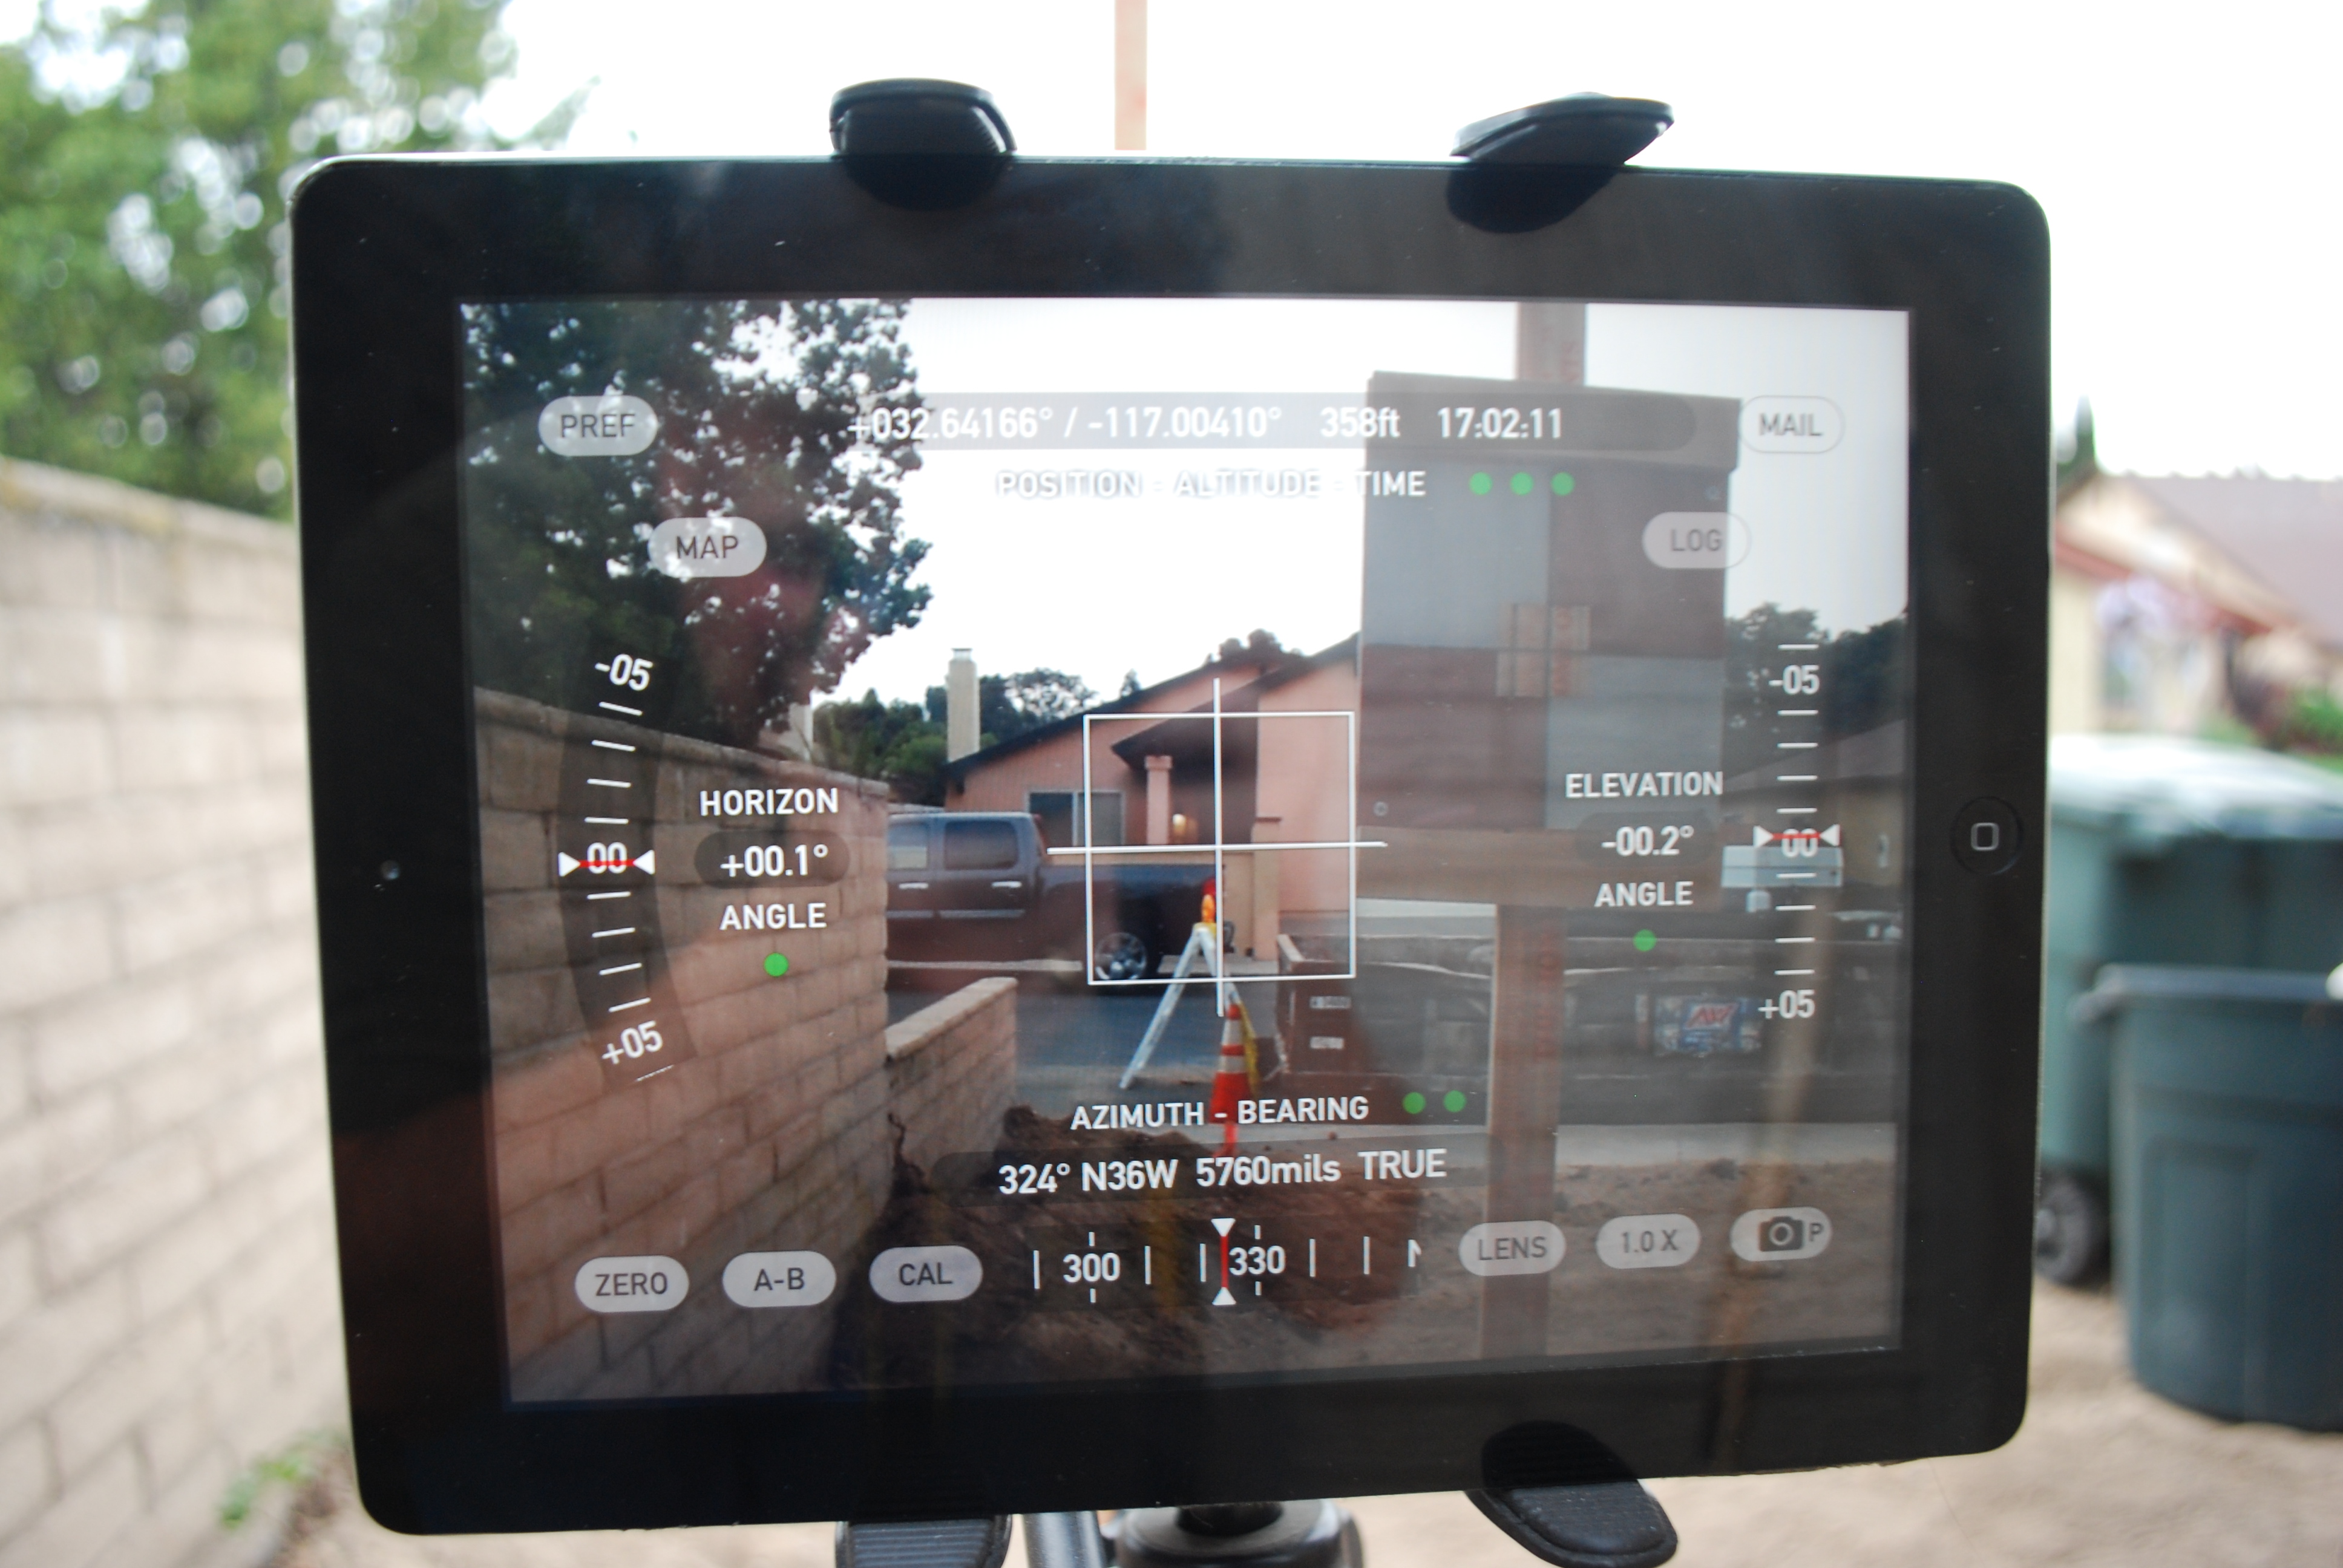
But the problem remained: how to accurately locate the level of the land when the raw material was dimensionally random. For this, I had to learn a little bit about surveying. The basic geometry is middle school math, but the application is a bit more nuanced. How do you measure a level over a long distance? How do you mark the reference and set the other marks precisely relative to this reference? Professional surveyors use high-tech tools like laser levels and differential GPS theodolites. The equipment costs thousands and rents for hundreds. Was there a DIY solution? Well, yes. There is ALWAYS a DIY solution!
The first step was to take inventory of what I had. I had a laser measuring “tape” (I bought it when I needed to take the dimensions of the “as built” house for my plans.), a tripod, and an iPad. I checked out the apps that were available for the iPad and. lo and behold, somebody had developed a theodolite app. A theodolite is an instrument which will tell you the precise azimuth, elevation, and level from a given reference point. (If you don’t understand this terminology and how to convert polar coordinates into cartesian coordinates, then maybe surveying isn’t your thing.) The theodolite app was the ticket. All I had to do was to build a “surveyor stick”.
To explain: Surveyors need to measure changes in elevation over long distances. To do this, they set their measuring device (transit, theodolite) over a designated reference point, and then focus on a “stick” that is held by an assistant at the point they want to measure. That stick is essentially a ruler, which if the transit/theodolite is level, will measure the vertical distance between the observer and the stick. If you combine this information with the azimuth (i.e., the angle from true North), you will have an EXACT location of that point on the earth. So, I needed a surveyor stick that was self-supporting because I couldn’t assume that I would have an assistant. I designed one, and the plans are here.SURVEYOR’S STICK. Once I was able to measure the difference in elevation, all I needed to do was to establish the grade, i.e., the slope, to allow the proper drainage. The slope is 2% away from the house, and 1% from front to back. So using my handy-dandy laser rangefinder, I simply multiplied my measured distance by the % slope to get the final elevation at the measured point.
All I had to do now was to research a bit of jargon with respect to grading and how to actually mark the property. The first thing I learned was that surveyors will mark the land using squat little stakes called “hubs” which are pounded level into the ground where you’re making your measurement. The vertical distance of the hubs are then measured between the hub and the reference (theodolite). You then take that difference and compare that to the plan. If the measured vertical distance is greater than the required distance, you need to fill (raise) the level of the land at that point. If it is less, then you need to cut (lower) the level. If you do this at several points, you can establish the contour (grade) that the plans specify. So at each hub, I would put a grade stake, with a mark that indicated a cut “C” or a fill “F” of a given dimension. Professional surveyors use 1/100 of a ft., but since my measuring devices were calibrated in inches, I used that standard. Whatever works.
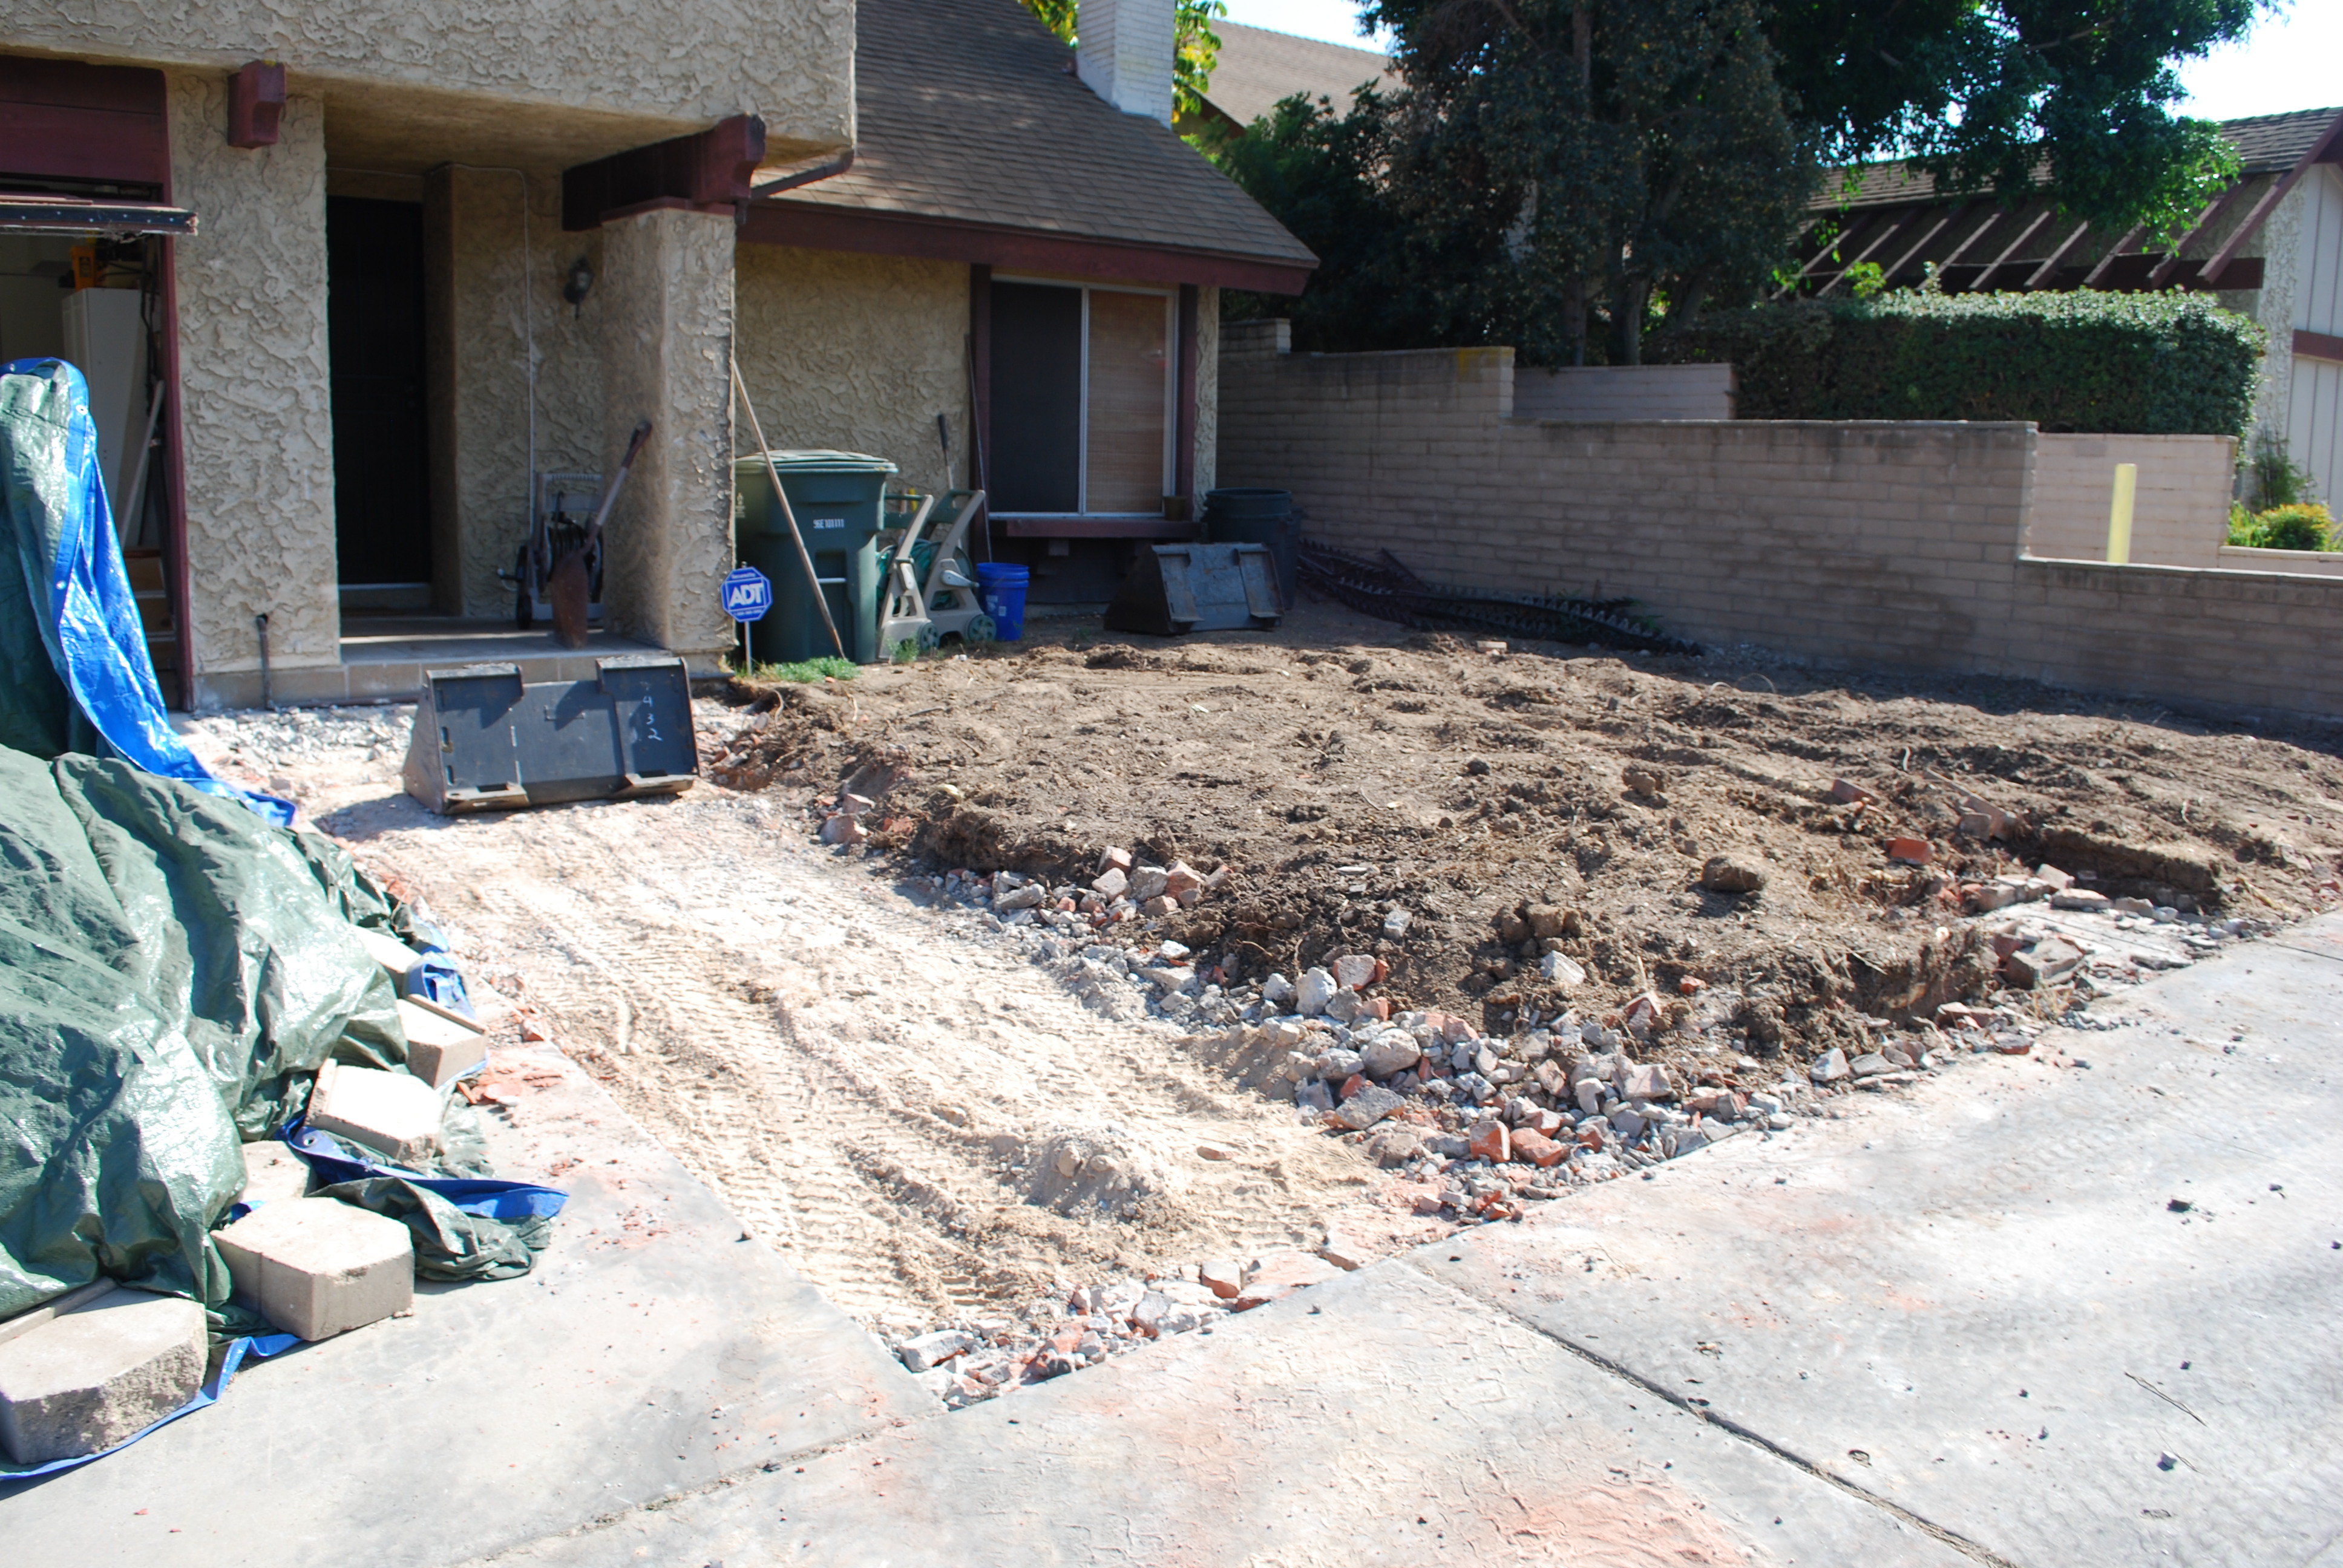
The cool thing about all of this was that after all of the staking, I began to see the real outline of the plan manifested on my actual property. It was, perhaps, a turning point in the project because it represented a change in direction from demolition to construction. In my mind’s eye, I now have a glimpse of how the finished product will look like.
Here are some pictures:

Grade Stakes. Don’t you like the colors?

My Site Plans and Measuring Tools
Theodolite App. Awesome!
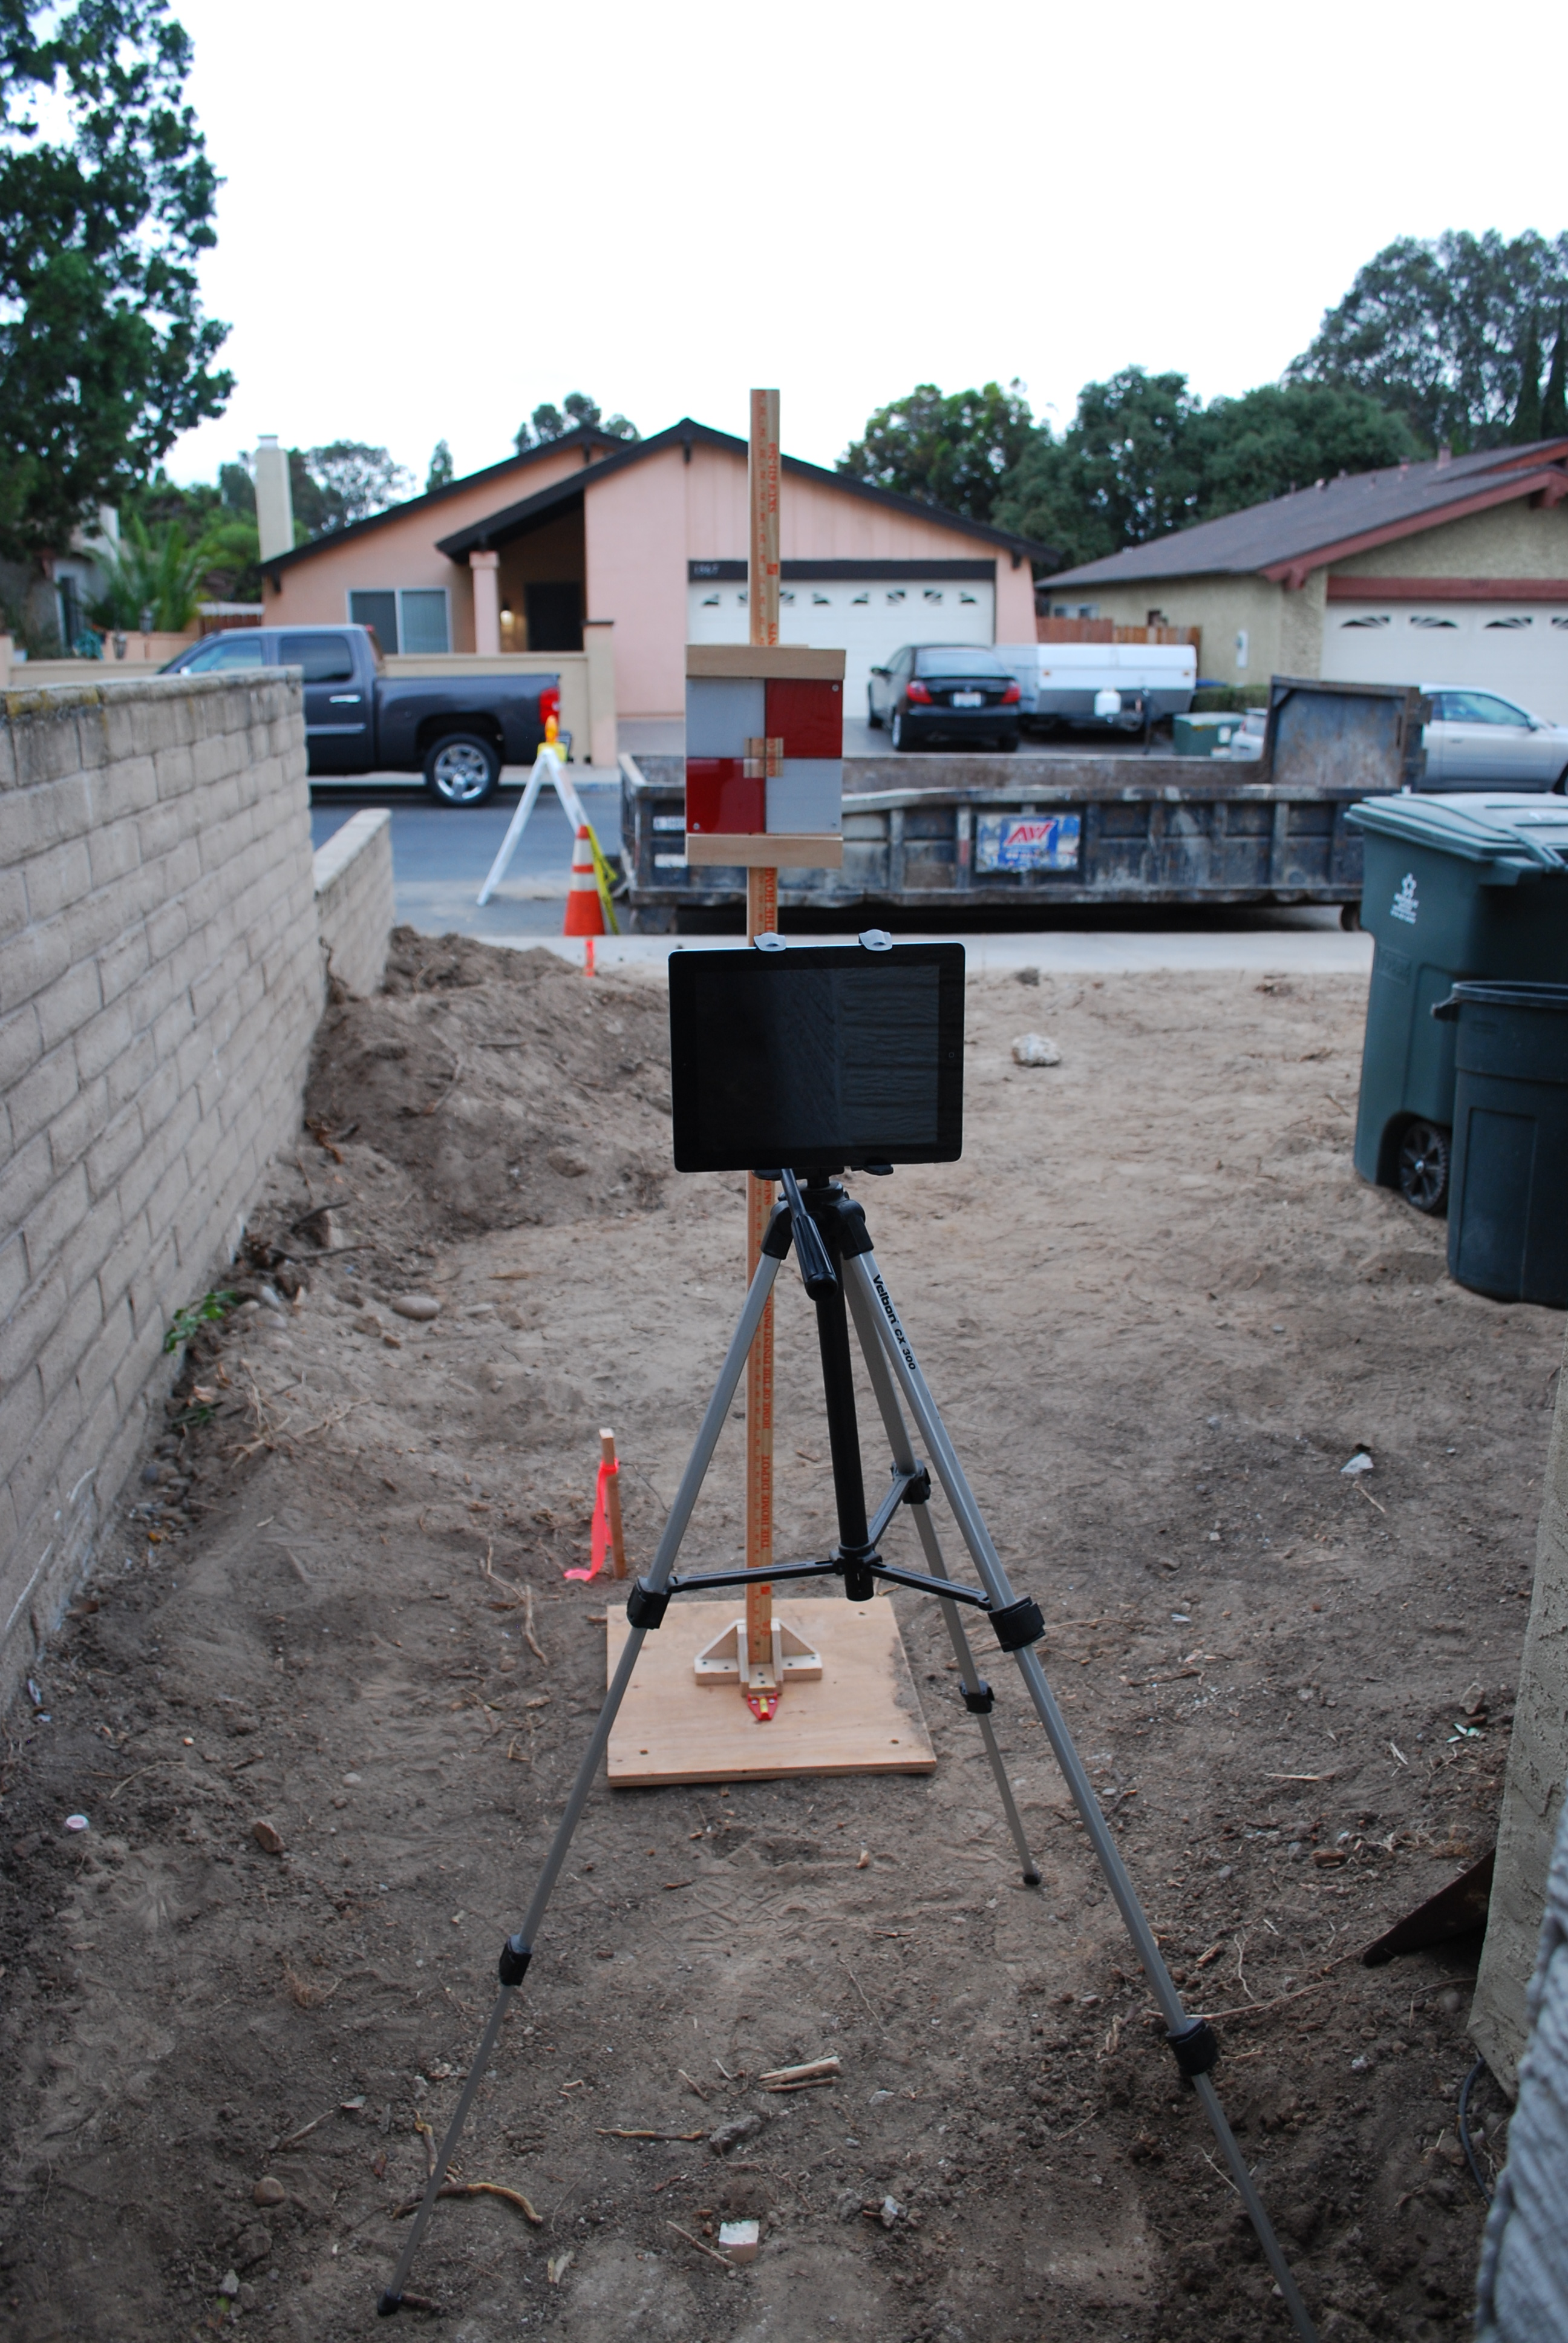
Theodolite and Surveyor Stick

Empty dumpster. Ready for the next load!