Hello everyone! I know that I have not written for quite some time, and that was due to a variety of factors, not the least being that I was sick for 3 weeks, and I had a month — long project at work (my REAL) job that required a lot of overtime. They call it “uncompensated” time because I don’t get paid any more for it, being a salaried employee, but other than the money, the result is the same. No work on the house, and no time to write about what I wasn’t doing. But now things are back on track.!
In order to actually get to the “remodeling” part of the project, I need to demolish the things that I need to get rid of. But, since this involves rooms where we actually live, we have to move out first. Now, when I was active duty military, we moved a lot. About once every 2-3 years. And because of that, we went through ALL of our stuff and tossed what we know we wouldn’t be using anymore. Yes, we accumulated things over time, but we felt these things were what we really wanted to keep.
Fast forward to the now. We’ve been living in this one place going on 17 years (!) and without that periodic purging that was our habit before, we looked around and noticed that we had a lot of crap. And the places I needed to vacate, the master bedroom, garage, and attic, were the places where we put most of the crap that we didn’t want to deal with at the moment. So, we needed a plan. There are basically 3 ways to deal with one’s possessions. (1) Get more storage, (2) store your stuff more efficiently (i.e., be neat), and (3) go through everything and get rid of the stuff you don’t need or want.
The first option, getting more storage, is actually a primary goal of the remodeling project. Unfortunately, we needed the storage now, and the typical answer for a remodeling job is to rent storage. Storage rentals come in two flavors: on-site or at a storage facility. I knew that I would be getting an on-site storage container, primarily because I still wanted access to some of the things I was putting away, but also felt I might need off-site storage as well. So I looked into the cost, figuring that I would need it for at least a year. Wow. I was coming up with some crazy numbers like between $4,000 and $5,000! Hey, that’s my new kitchen cabinets right there! It turned out that the off-site warehousing was the biggest cost contributor, so I decided to go with just on-site storage first, and wait to see if I really needed any off-site warehousing. I got a bunch of bids and found a local company that would rent me an 8’x10′ container for $60.50 per month with a one way delivery charge of $89.00. That worked out to about $1,000 for the year. Compare that to Pods ($2,600) and Pack-Rat ($1,700), and I believe I found a deal.

Here is the 8×10 container. It fits the area very nicely.
Now, onto #2 (efficiency) and #3 (elimination).
In practice, efficiency and elimination go hand-in-hand. When you’re going through your stuff, deciding where to put it, you’re also deciding what to keep and what to eliminate. As things get sorted, you decide what to keep, BUT, you have to HAVE a place to keep it. Therefore, there are some decisions to make. Personally, I believe that the hardest part of the entire process is to decide what to keep and what to toss. My attitude is to toss everything and convince myself that whatever is in my hand is, somehow, worth keeping. The objective is to toss, so if there is any doubt.. TOSS! And then move on. No sentimentality! Well, OK, I kept a few things (paintings from our children, my sword and hat from the Navy, and maybe some other stuff, God knows what else), but really, one has to be firm in these matters!
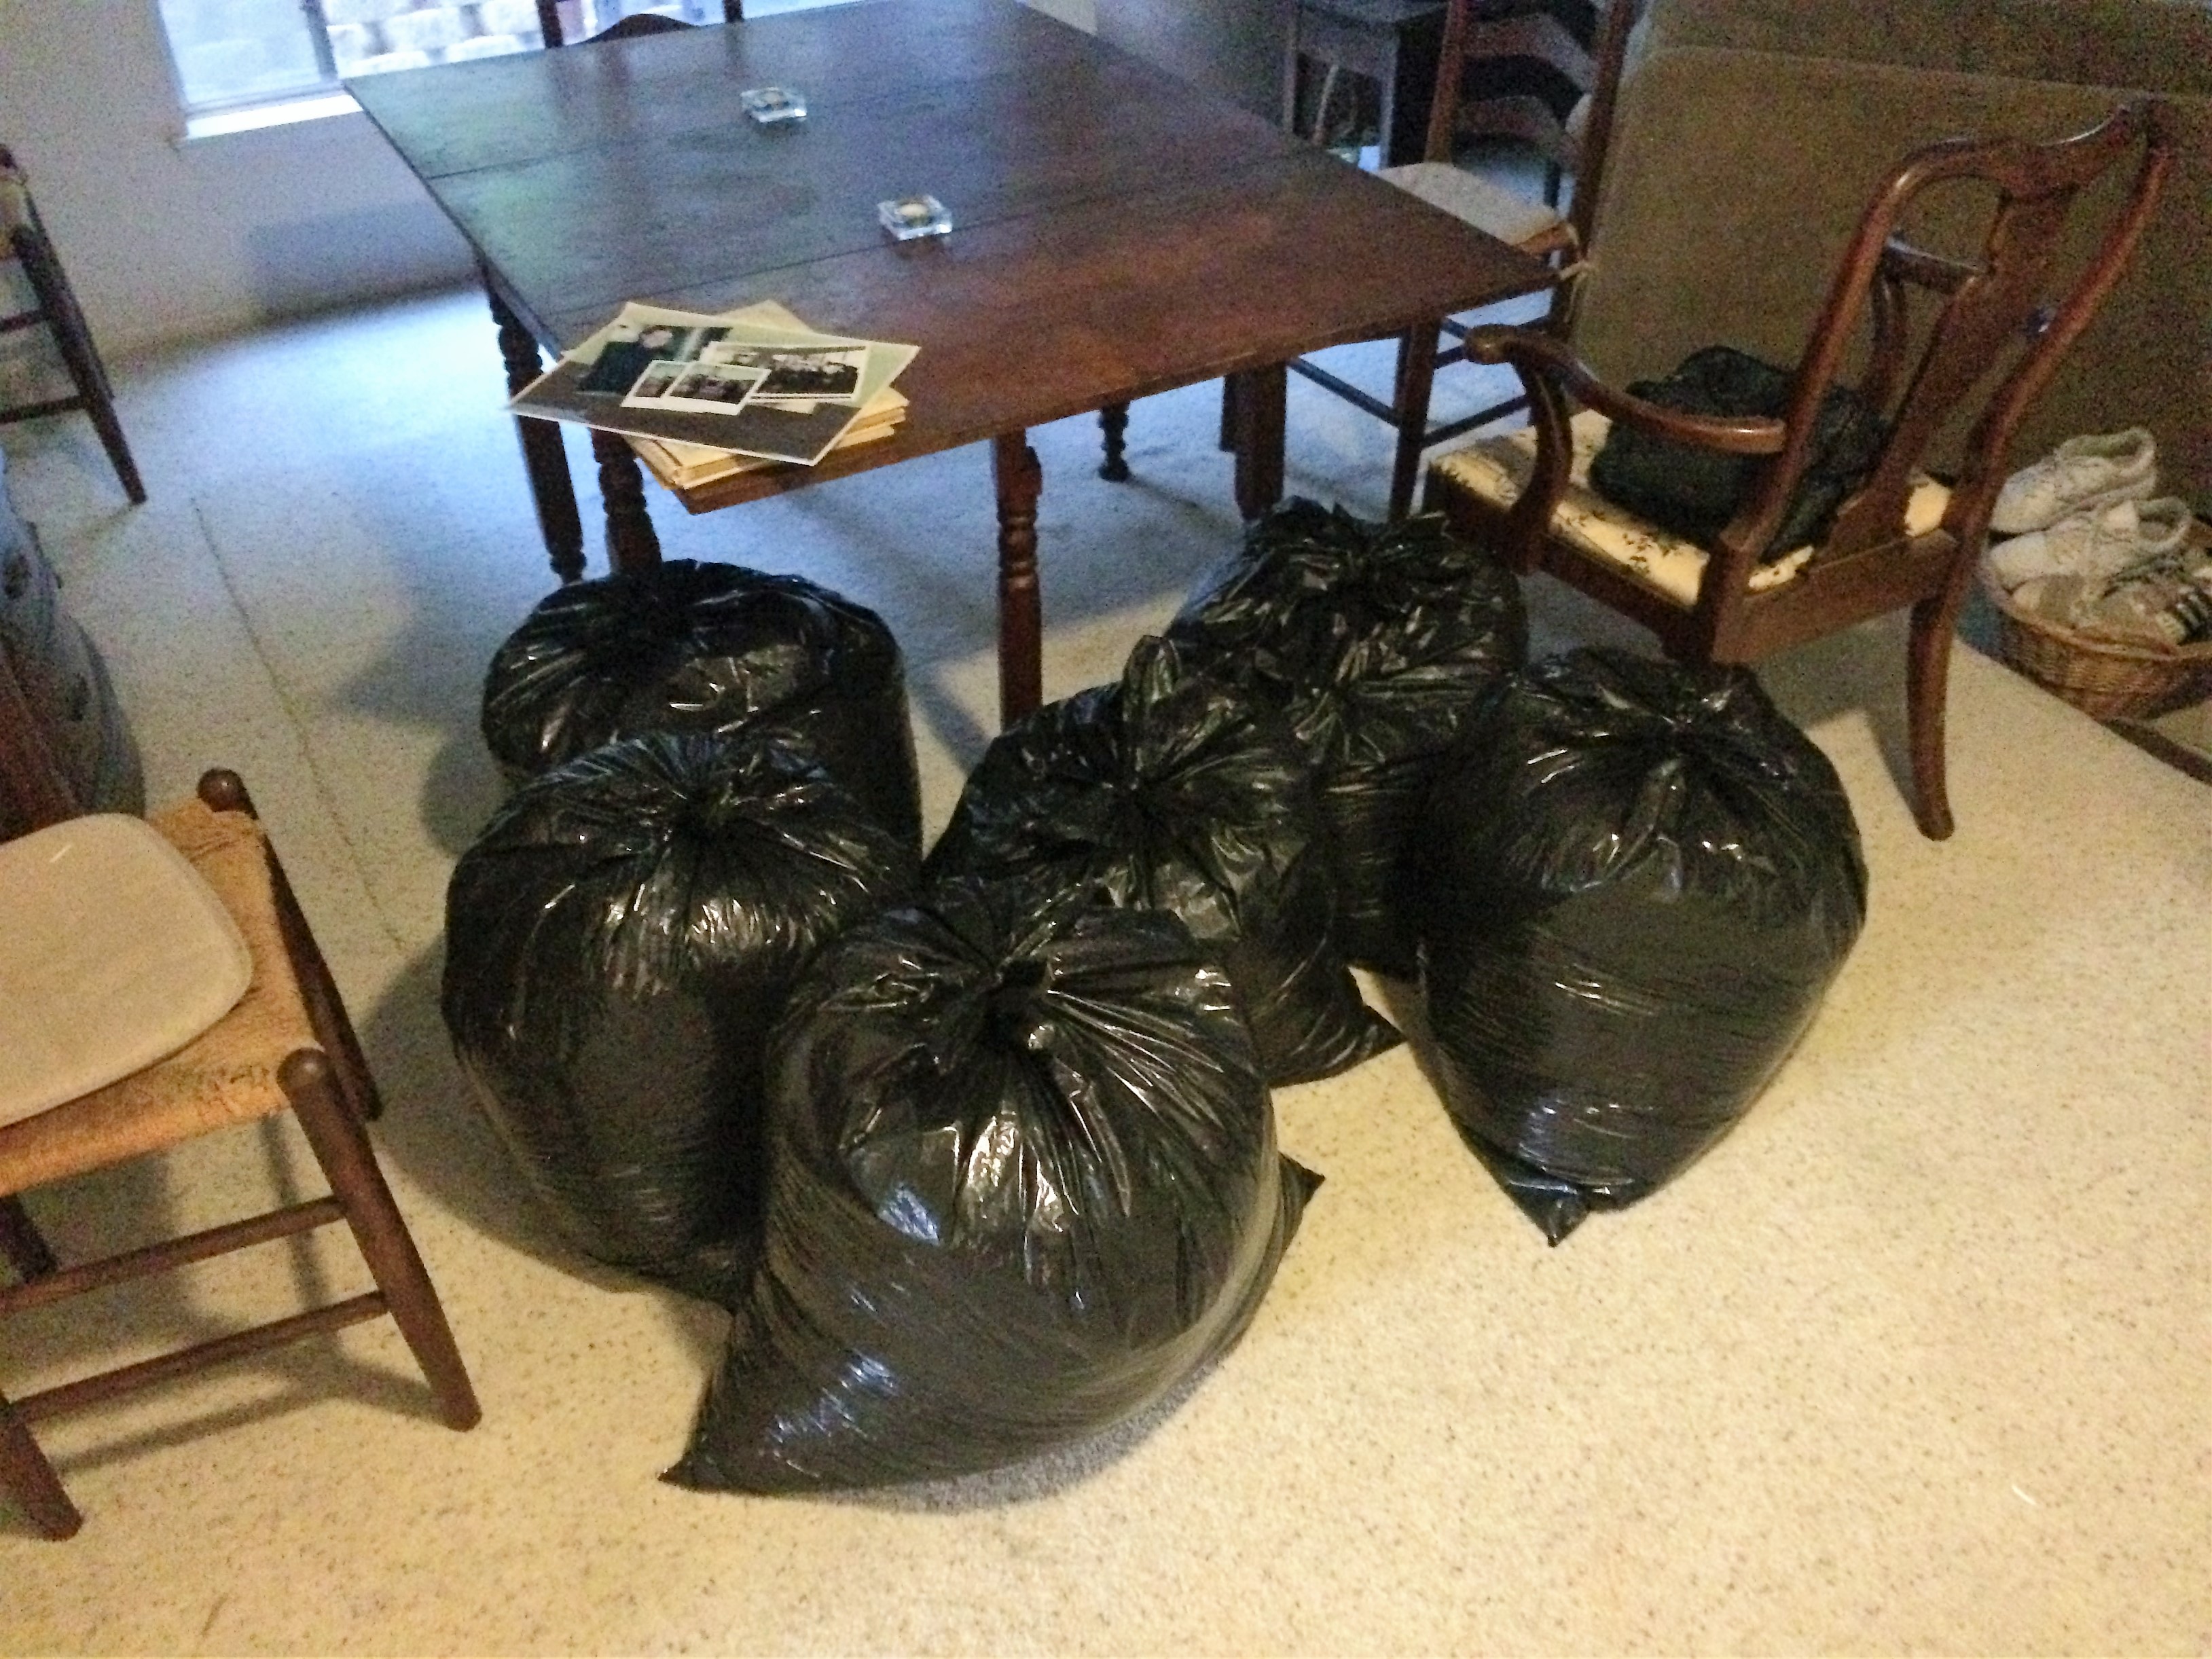
Here are 6 large garbage bags of shred. We had a lot of old papers with personal information. Good thing we had a pro shredder!

Wow! What a big pile of disks. This stuff has a bunch of personal information like tax returns (SSN’s), financial info, etc.. They were made in the days where identity theft was not such a big concern. All the more reason to shred!
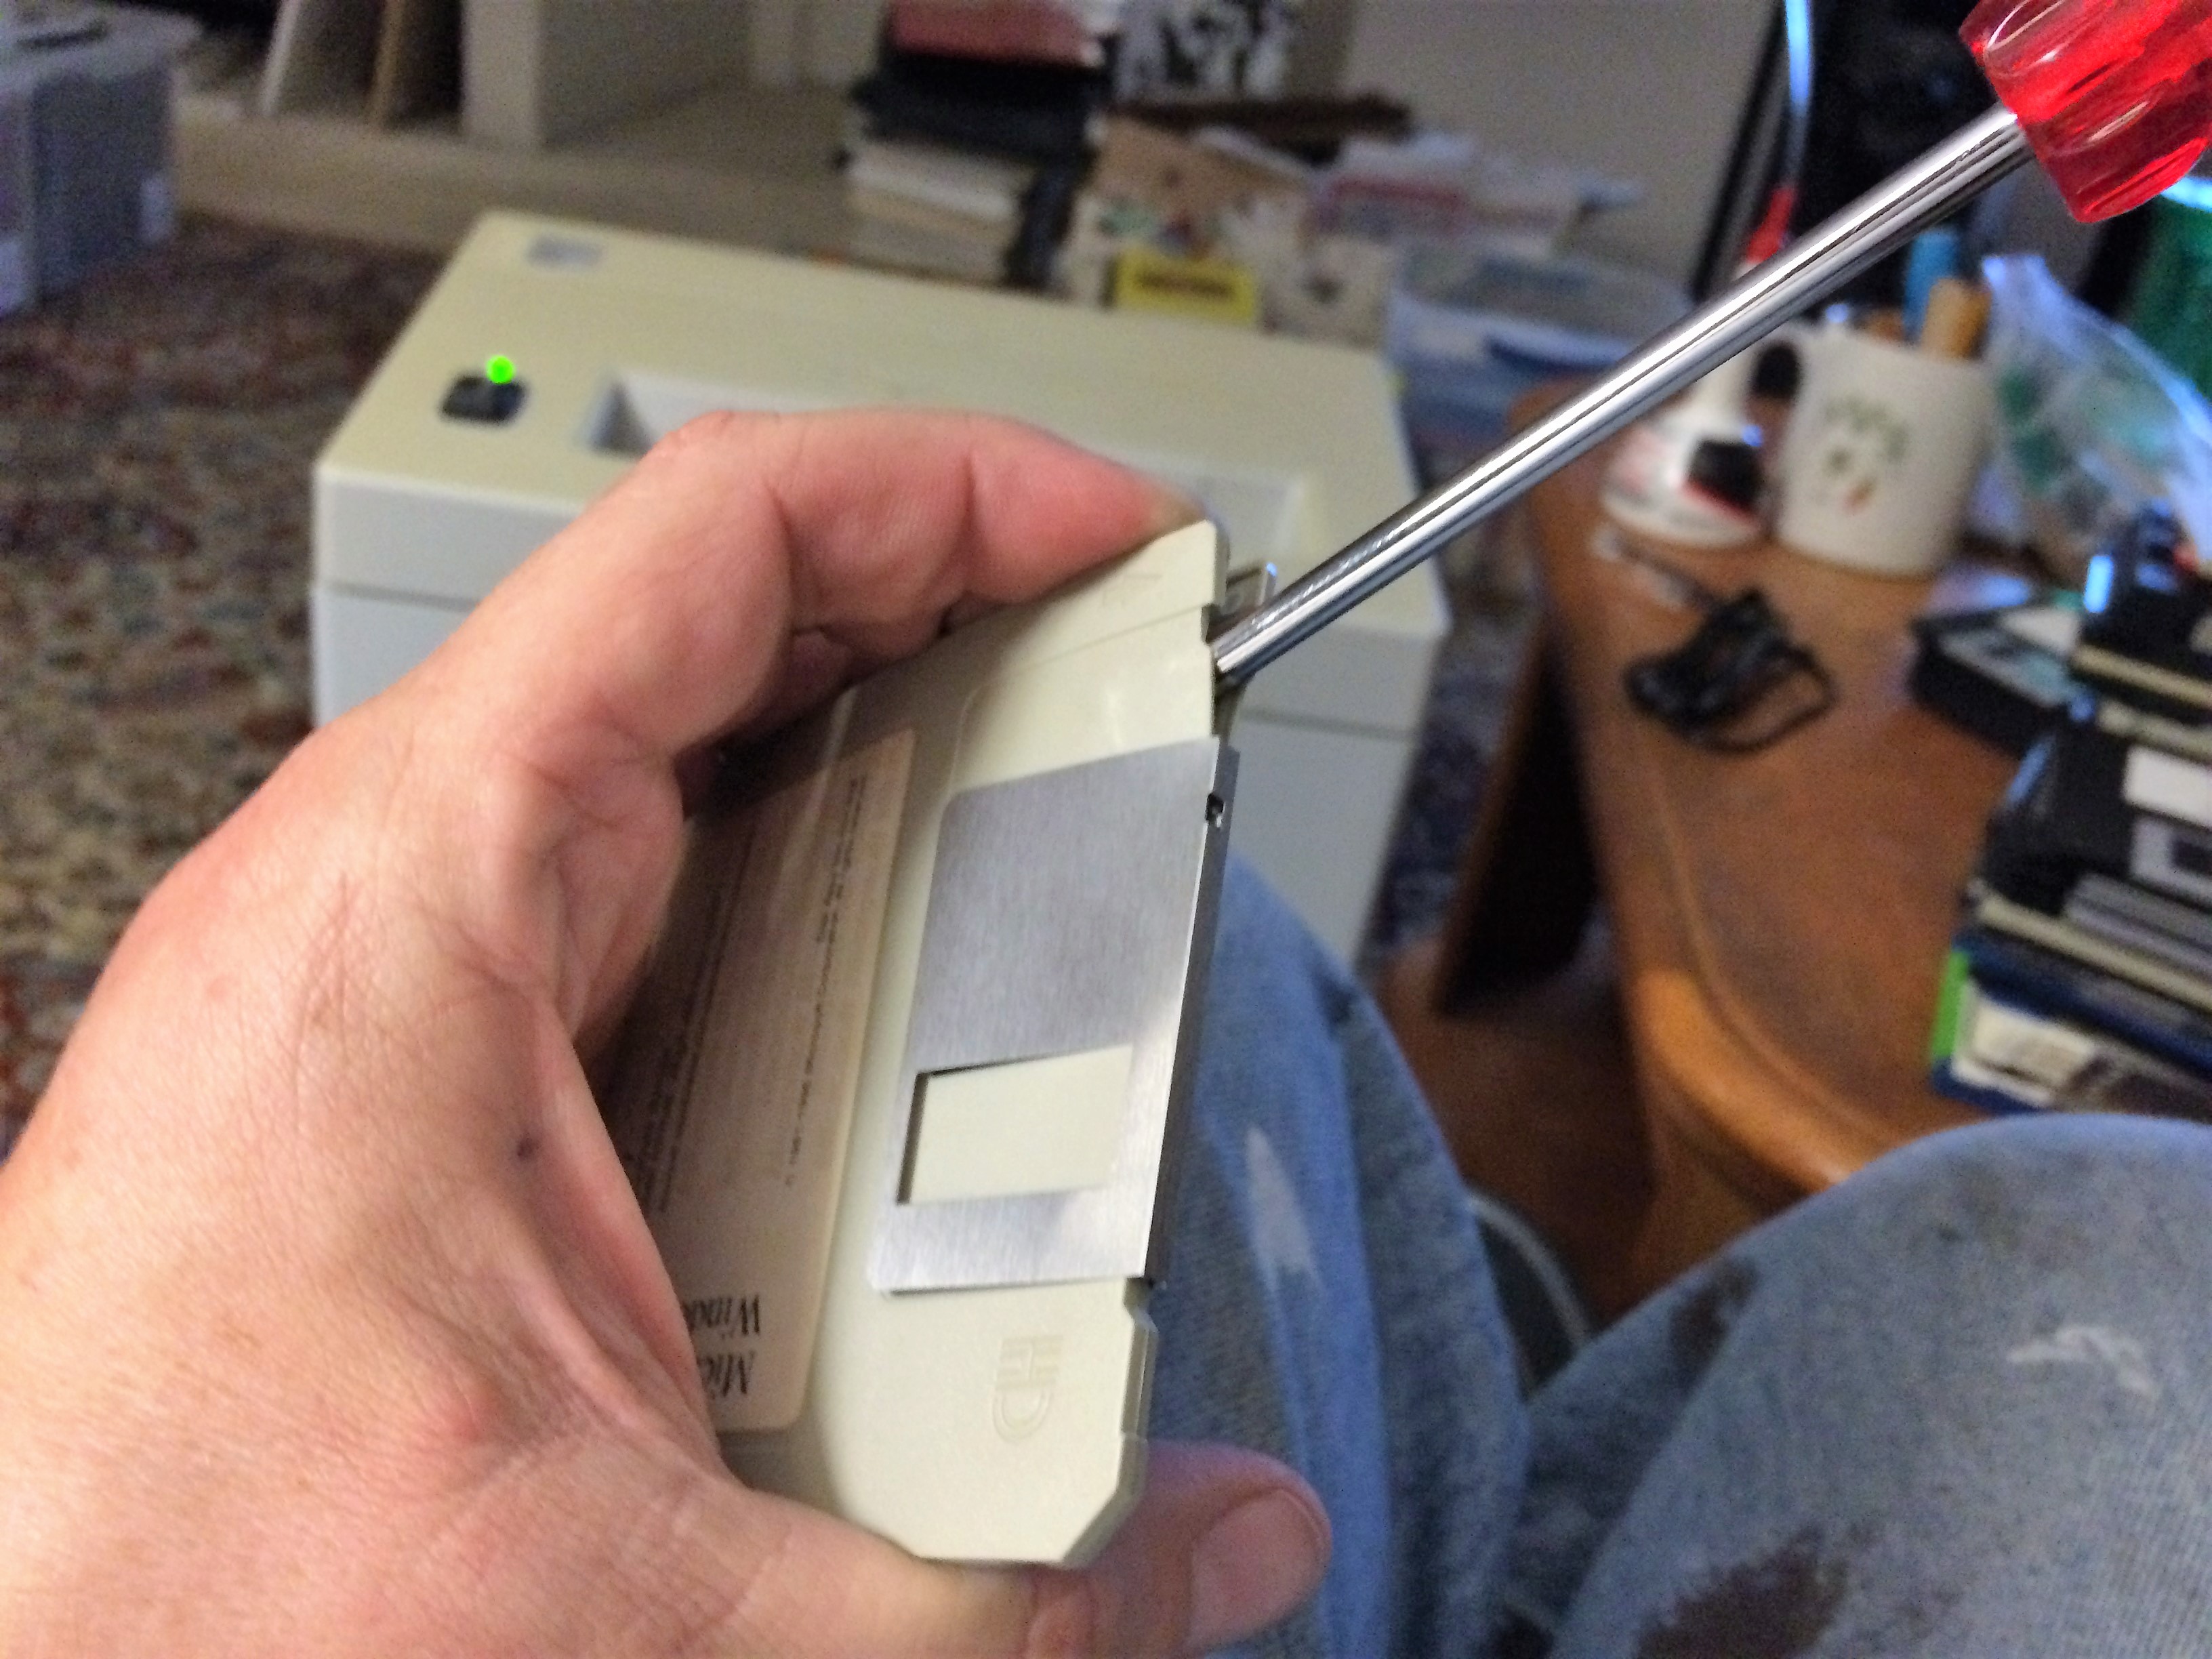
Pry the disk cover open by inserting a screwdriver near the metal slide.

Pop open the plastic cover and retrieve the magnetic film.

Here is the magnetic film that stores the information. Unfortunately, there is this pesky metal center which doesn’t shred very well, so….
Tear the metal center out from the magnetic film of the disk.

And just drop it in the shredder!

One of our cats helping with the move out. For some reason, all cats are attracted to boxes. They were really having a field day during the move!
Back to #2. (WHO DOES #2 WORK FOR?) As far as our sleeping arrangements, we actually had 2 other bedrooms that were available. We decided to split up our clothes and bed, and it turned out that we had enough space. It isn’t pretty, but it’s functional. Pretty comes later. We sorted through our clothes, packed up those which we could not part with, and the rest we put in the “eliminate” pile. Suddenly, we were out of our bedroom. One down, two to go. The attic was predictable with a lot of stuff (crap) which went into the “eliminate” pile. However, we had a lot of camping equipment, which I knew I would have to deal with. Finally, I had the garage. I did my best to organize all of the tools and parts that I had, and quite unemotionally tossing those things which I knew I would never use again. Even if I bought them for one purpose (think rebar caps) and then saw no foreseeable use for them. NO EMOTION ALLOWED. Except when I had to pack my “I Love Me” wall (all of the mementoes that I had accumulated over my Navy career). Parting with your past is hard….

The master bedroom before the move out.

Our master bedroom being properly guarded by one of our cats.

All nice and cozy in our “new” bedroom. Even the cat likes it!

Bedroom #2, all packed in. I guess we still have some clutter. Alas, that is part of our lifestyle, so best to learn to live with it!
I have what I call a “sea story” about packing things efficiently in a confined space. Being a submariner, I have extensive experience in such matters. However, there is the story of the excess toilet paper. First some background. There are stories in old submarine lore that tell of times where the Supply Officer failed to order enough toilet paper to last for a 60 day patrol. If you run out at day 45, things can get pretty nasty and depressing. You get the picture, yes? So, I knew of one Chief Of the Boat (COB) who was determined not to let that happen. He ordered a significant amount of toilet paper, and after the loading crew had stuffed as much as possible into every nook and cranny, there were still two cases of TP left. These are Navy cases, meaning that each case has about 4,000 rolls. Not to be thwarted, this COB started a rumor that these were the “last 2 cases” that supply had available, and there would be no more before the ship got underway. He then left the cases of TP in crew’s mess and walked away. In 15 minutes, those cases were empty. COB, where are you when I need you the most?!
Finally #3. What are you going to do with all of the stuff you eliminate? Again, you have a few choices. (1) Throw in the trash. This is good for a lot of stuff, but it negatively contributes to the environment and landfill, so maybe it’s not the best choice. (2) Give it away. Craigslist is great for having somebody pick up your junk for free. So long as you advertise it as free. One person’s trash is another’s treasure, yes? Another great option, at least around here, is AMVETS. These guys are great. They come to your home, pick up what you want to get rid of (OK, so no trash or HAZMAT), but it’s free, reliable, and tax-deductible. Did I mention these guys were good?
After a fashion, I progressed to the point where I knew I didn’t need off-site storage. I packed things carefully into the on-site storage container, making sure that I put the things I would need the least in back, and leaving room to access those things that I might need in the near future. I’m sure that won’t work and I’ll for some reason have a need for the very thing that is in the way-back, but one must move forward with the best guess of what the future might bring.

Here is all of our camping equipment. It looks like a lot, but I ended up stacking it up very neatly. The wooden reindeer is a stray Christmas element which we typically do not take with us on camping trips.

The storage container, all packed up. There’s a lot of room still in the overhead spaces, but the idea was to keep things accessible, especially for all of the tools.

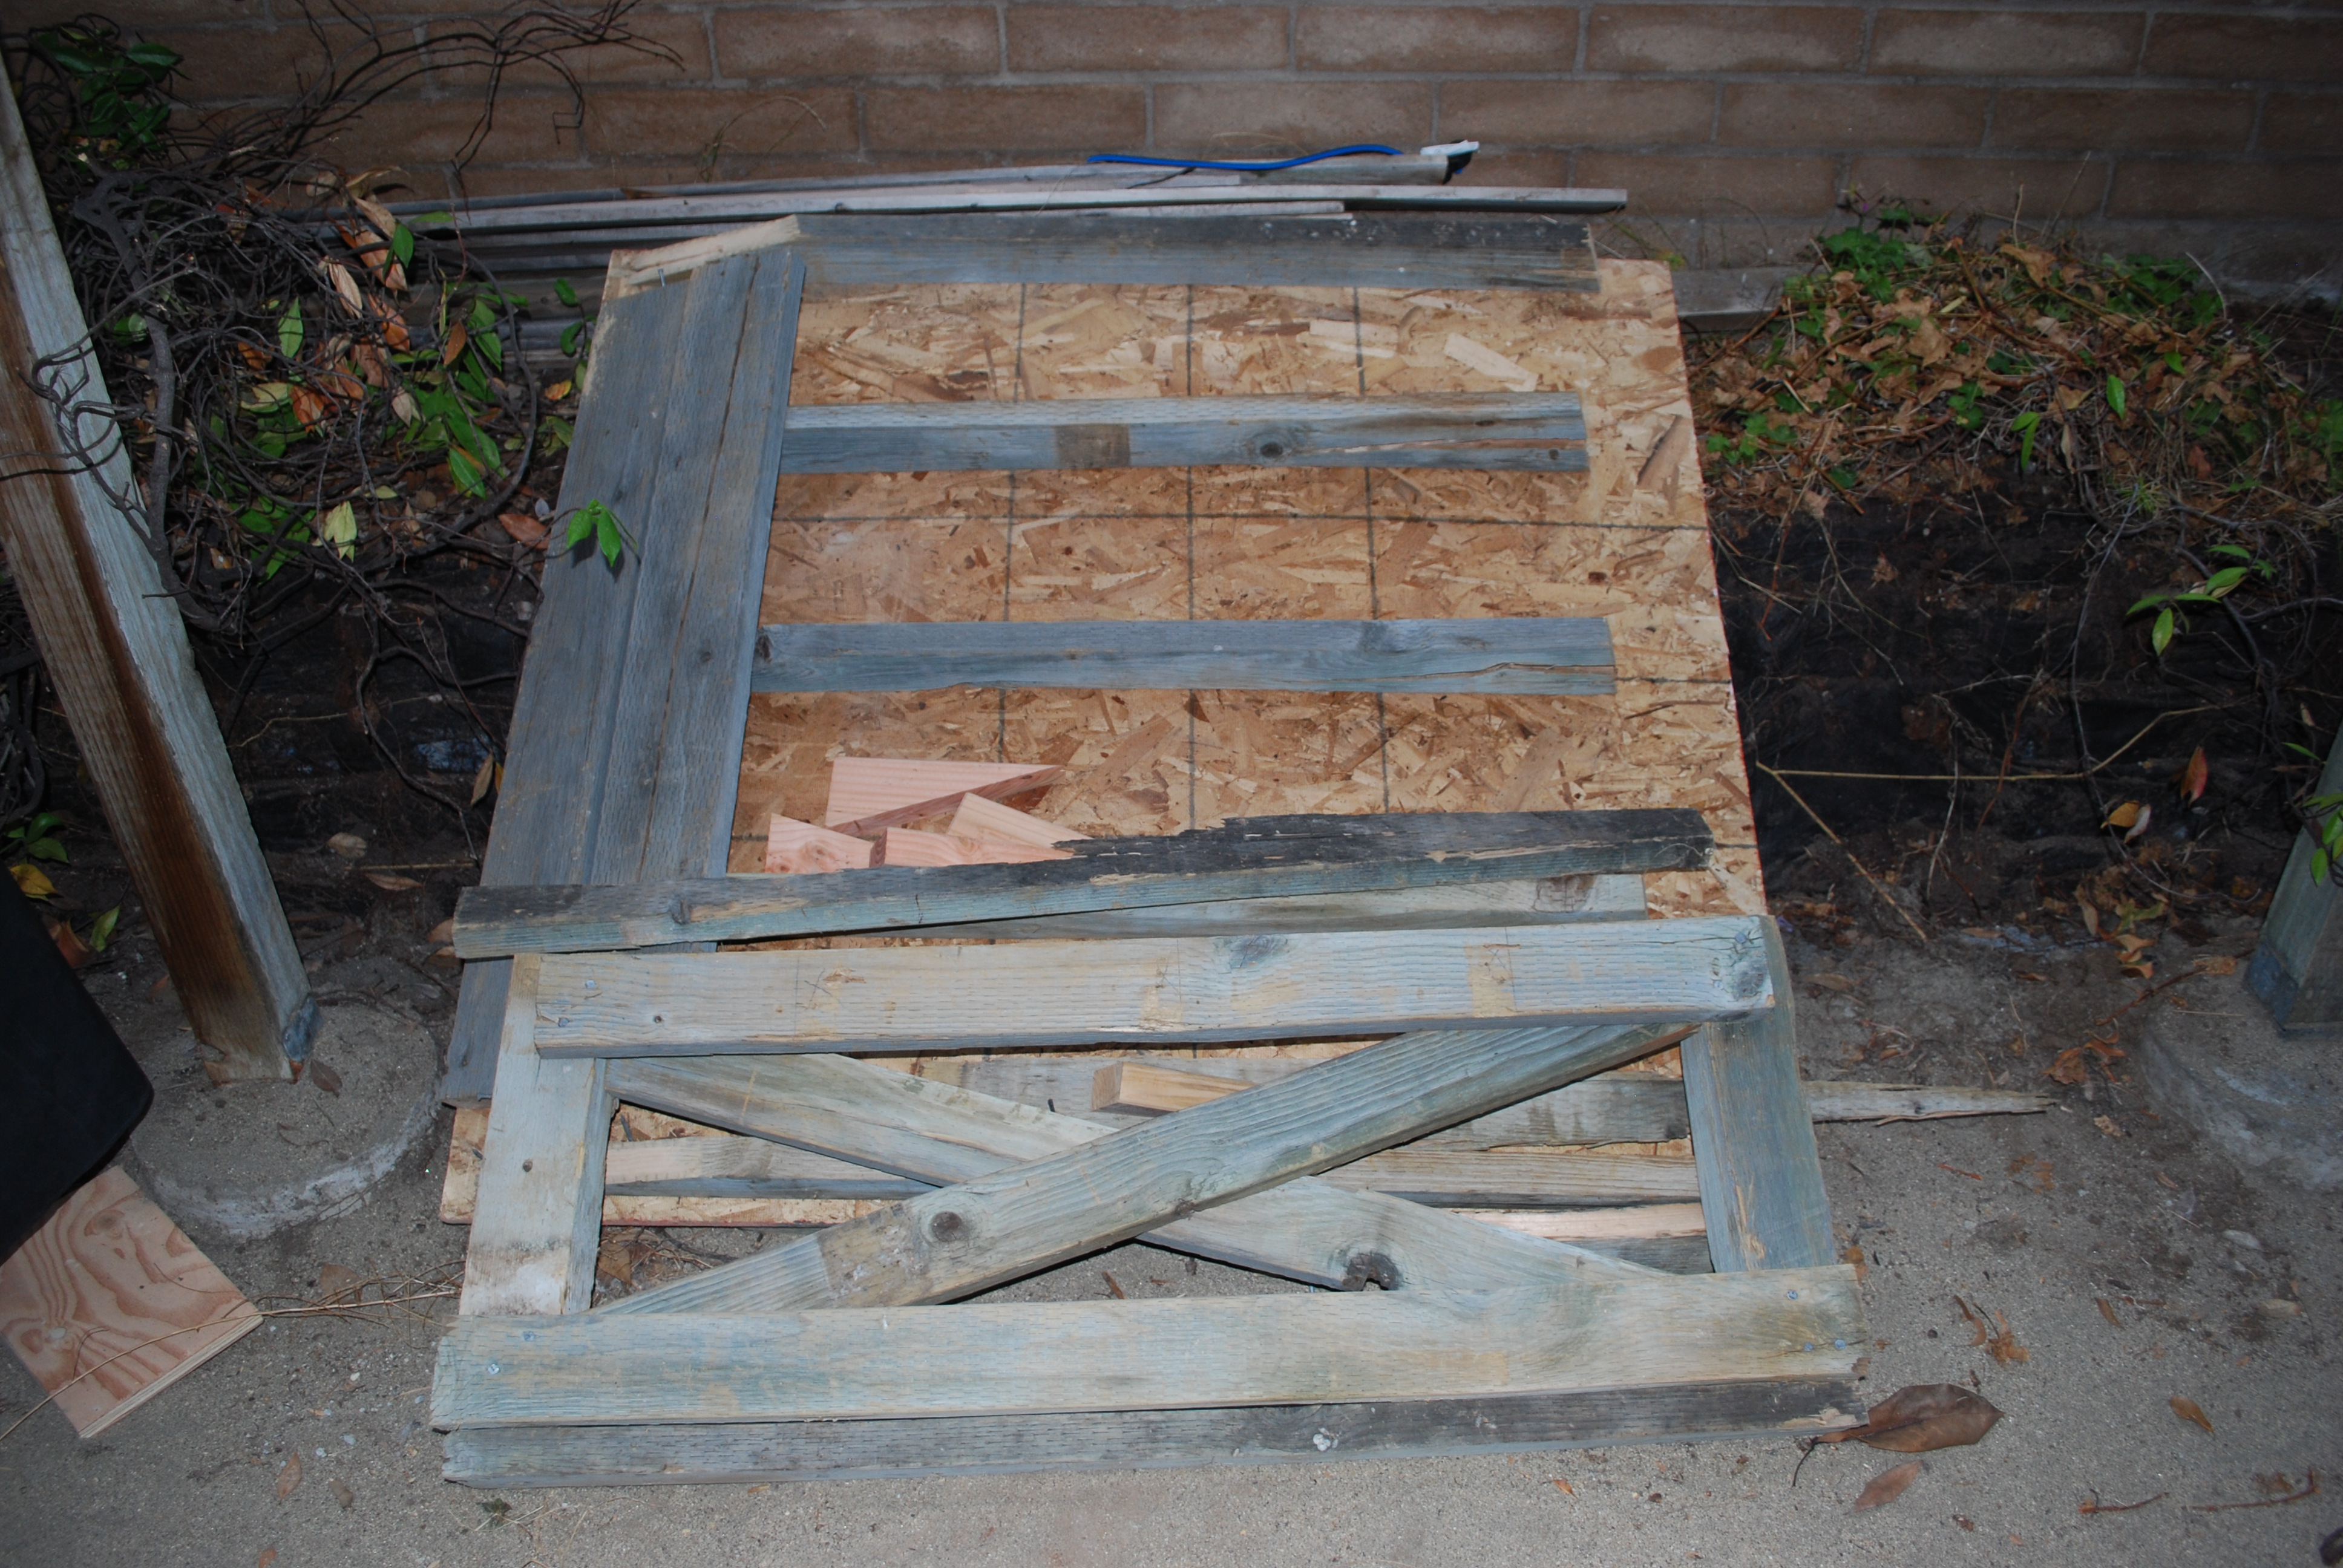
The garage. I know, it looks like there’s still a lot of stuff, but most of it is old cabinets and storage which is on its way out.
And the near future is demolition. Stay tuned!!

A last look at our master bedroom before the remodel. Notice the demolition tools at the ready.

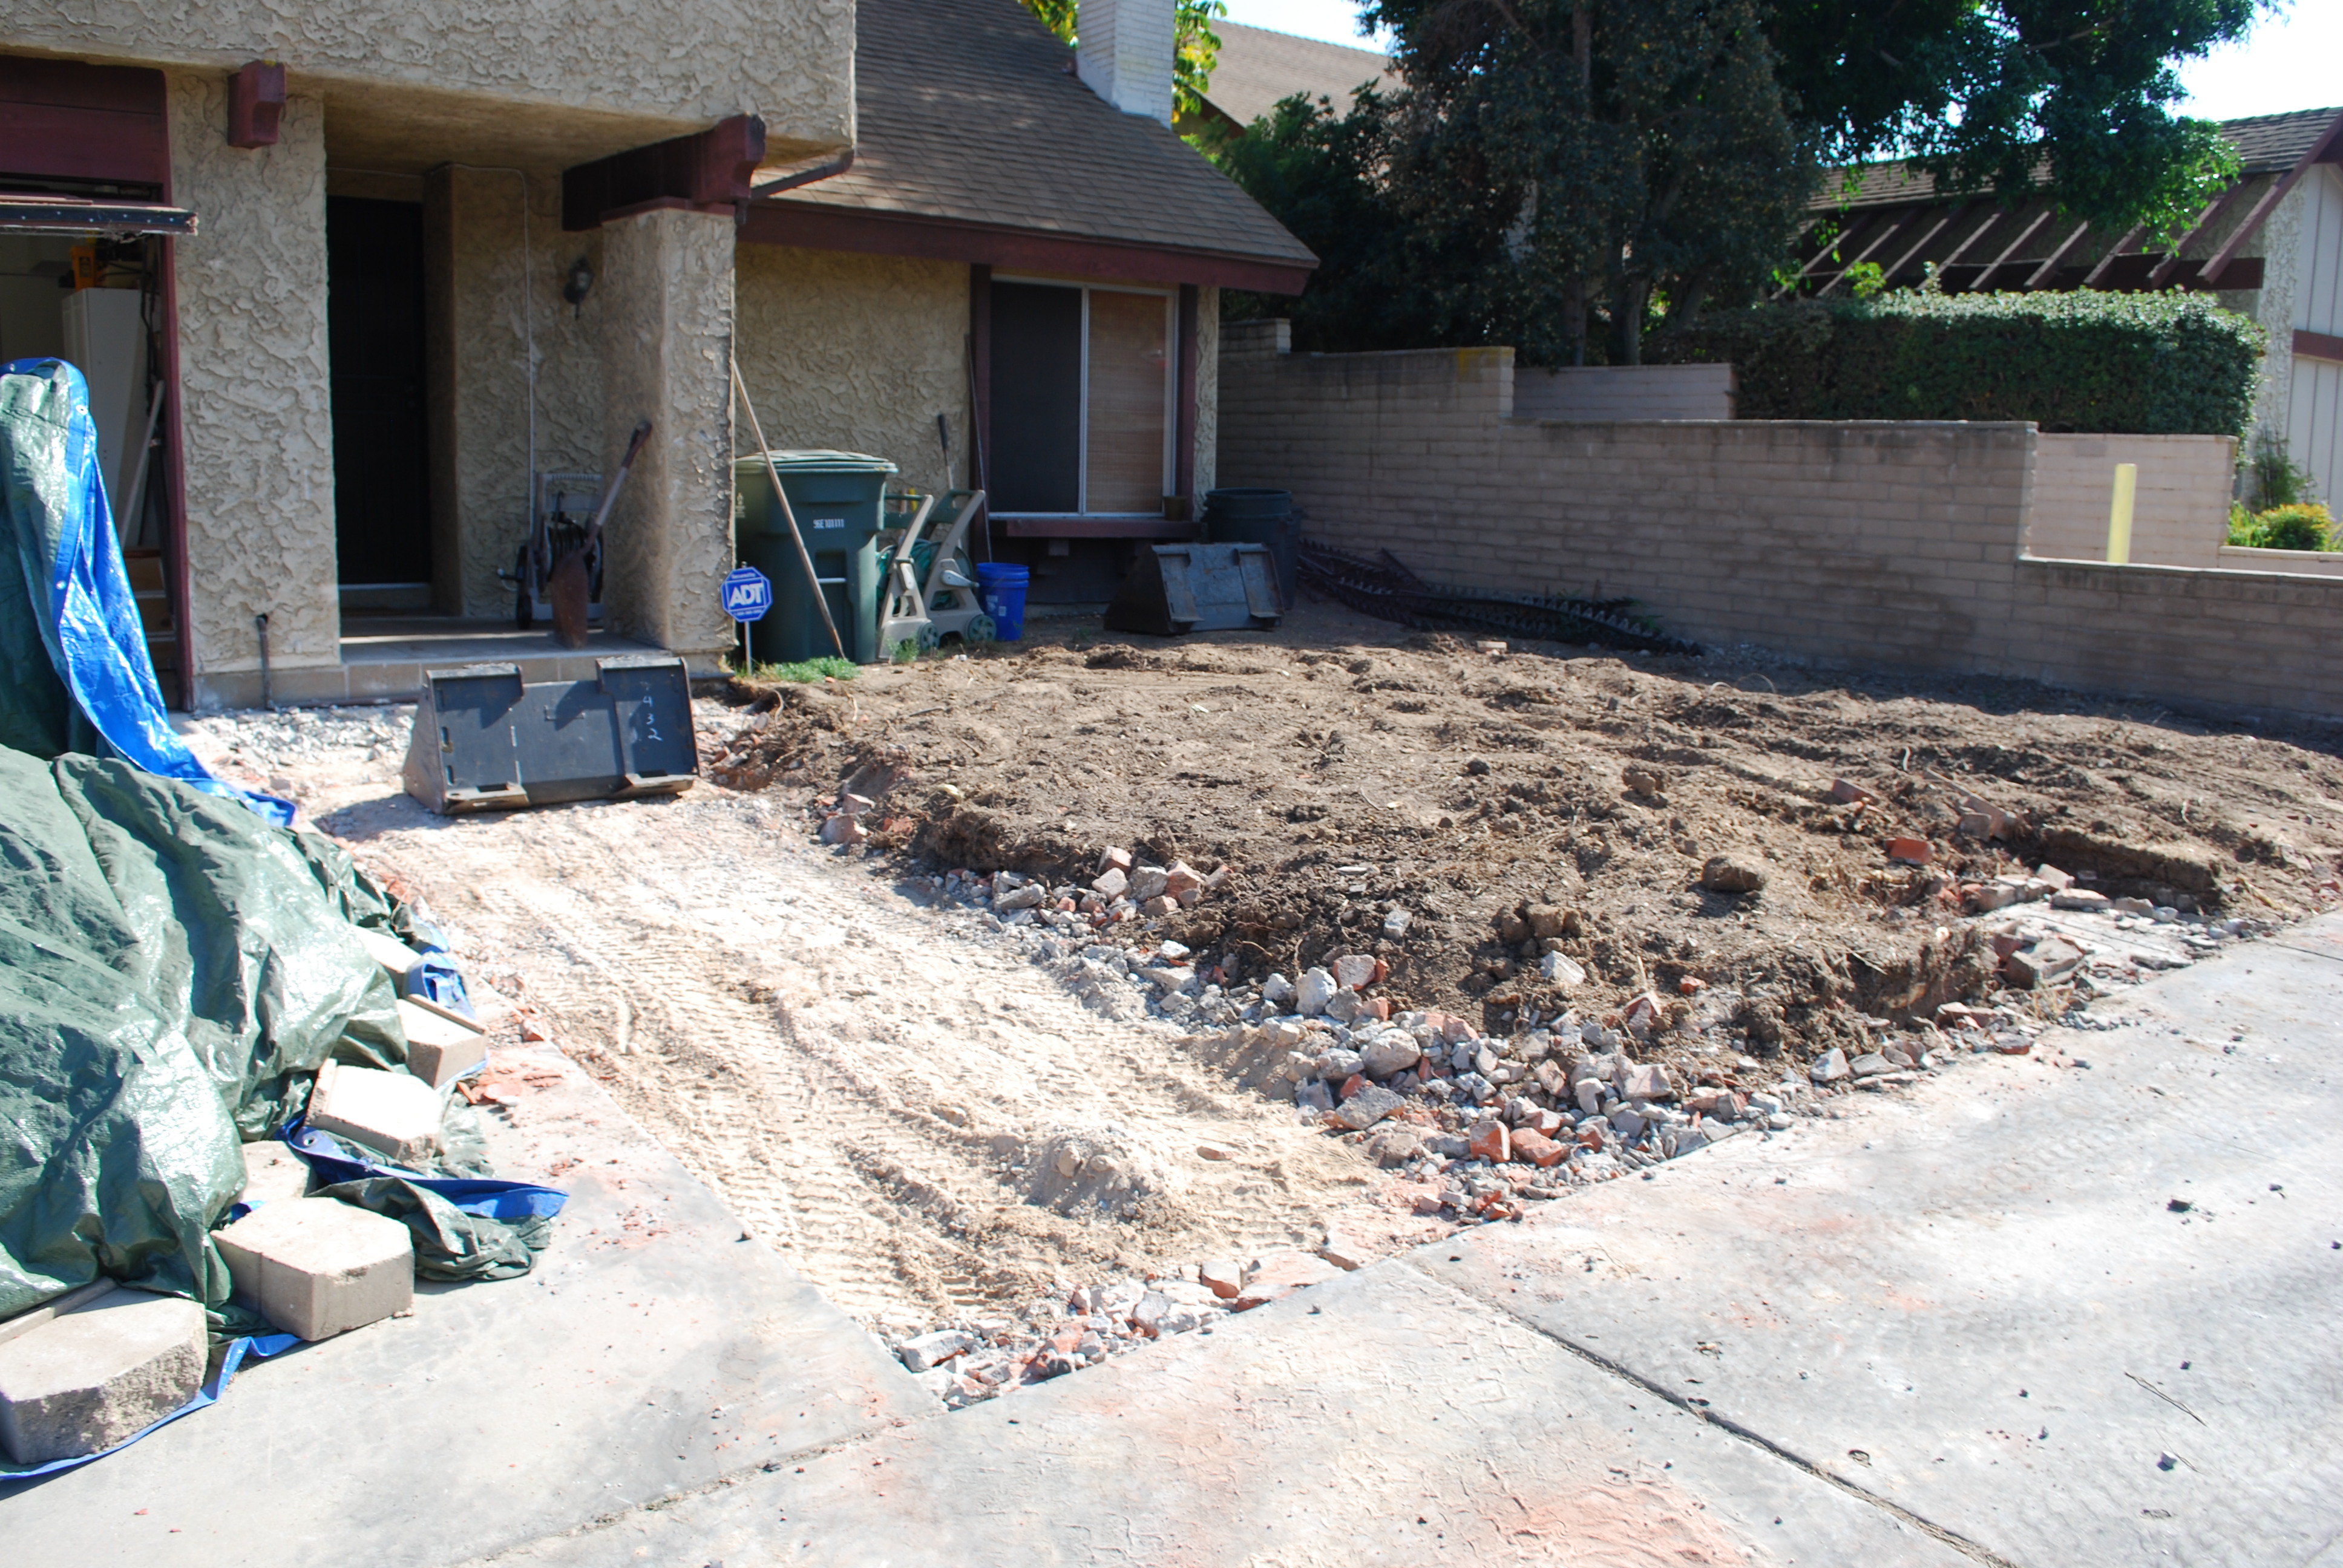
The dumpster, delivered and ready to receive.

One last look at the original house. I will be documenting the transformation in numerous future blog postings.