
Demolition. The word itself evokes images of fire and brimstone, mass destruction and the wailing masses. If you watch some of the home improvement shows on TV, you’ll typically see the homeowners doing some wailing of their own, albeit of a different ilk. Take that sledgehammer and just beat the living daylights out of everything you see and you’ll be a REAL remodeler! Well, I am here to tell you that what makes good reality TV makes a horrible approach to a demolition project. Swinging a crowbar and acting like a drunken oaf is a waste of time, effort, and money, and a more thoughtful approach can save you all three.
Enter the “art” of demolition. As with most things in life, a good demolition project starts with a good plan. It turns out that there is a lot to consider: How much and of what type of demolition byproduct will be produced? How do I get rid of it? How big of a dumpster do I need? Do I need a permit? (Typically you need an encroachment permit if you use dumpster that goes on the side of the road.) Am I dealing with any hazardous material (e.g., lead or asbestos)? What are the areas to be demolished and how do you account for the new structure(s)? How does the demolition sequence affect the building sequence or vice versa? Am I removing any load-bearing structure that will need temporary bracing? What tools are best and do I have to obtain any? And this is not an exhaustive list. Is demolition a DIY proposition? Well, I guess that depends. If it’s a small project like remodeling a bathroom, then it definitely can be DIY. If you’re busting out a load bearing wall and building an addition, then it can be DIY, but you’d better have some previous experience so you have a pretty good idea of what you’re doing. If you’re going to demolish an entire house, well, that’s probably not DIY.
Equal in importance, or perhaps more, is safety. I cannot emphasize this enough. Perhaps I’m a bit anal when it comes to safety, and my background in industrial and military environments has given me a certain viewpoint about it. There are two ways to approach safety, protection and prevention, and it’s important that you incorporate both approaches because they work hand-in-hand.
First, protection. Protection is all about minimizing the dangerous effects of a hazardous environment. To be more specific, you need to protect yourself physically from the potential dangers of your work. Of all the protective gear that you can get, eye protection is probably the most important. Unless you’re reading your plans or answering your smartphone, I can think of very few construction activities that do not involve the potential for stuff flying around and getting in your eyes. Next on the list is probably gloves, followed by hearing protection and foot protection. For demolition in particular, breathing protection becomes a big deal, as does a hard hat. If you’re going to deal with hazardous materials, like lead or asbestos abatement, then add protective coveralls to your outfit. This is by no means an exhaustive list, so the best approach is to think carefully about safety before you start the job and make sure you’re properly outfitted.
Prevention means stopping a hazardous situation from existing or developing, and this requires constant thought about what you’re about to do next. If you’re going to be working on a ladder, then make sure it’s properly situated and don’t exceed the recommended standing height (i.e., don’t stand on the top step). Keep clutter to a minimum so you don’t trip and fall. That’s quite important during a demolition project, so the orderly and periodic removal of debris should be part of your plan. Make sure your cords from your electrical tools are out of the way so you don’t cut into them. If you’re going to work on the second story or roof, then consider renting scaffolding. Safety when working with power tools is all about prevention, and one must be constantly aware of where the dangerous parts of the tool are so as not to injure yourself or others. To sum up, I would say that prevention is more of an attitude and state of mind. You have to make it a priority and, really, always be thinking about it.
Wow. All that talk about safety got me fired up! Was it good for you too?
Now onto the real deal. Removal of a stucco wall that formed a balcony (i.e., a pony wall) outside my master bedroom was first on the list. While it may be tempting just to take a sledgehammer and wail away, there really was a much easier way to approach it. The first thing I wanted to do was to prevent the debris from falling on my new sidewalk, gate, and railing, so knocking down from the inside-out was a non-starter. What I decided to do was to disassemble it in basically the reverse order of the building, and then take it apart into smaller pieces that could be tossed onto the driveway. This meant taking off the top trim, which I would use later to weight down some visqueen on the driveway, giving me a large target to toss the debris onto, while helping to protect the driveway.

House with balcony, before demo.

Balcony trim and top plates on a sheet of visqueen. This helps prevent damage to the driveway when I toss stucco slabs over the side.
I then pulled off the stucco from the inside of the wall to expose the framing. There is a technique for stucco removal, which I learned from my favorite stucco guy on YouTube, Kirk and Jason Giodarno. Here is a video:
There are two key elements to this technique: (1) cut the stucco into small enough sections so that you can move them around — stucco is heavy!, (2) cut THROUGH the lath (wire mesh) that holds the stucco together. If you bash stucco with a sledge, you’ll get a bunch of stucco turds all connected by the underlying lath. Totally impossible to work with!

A 7″ grinder with a wet-dry masonry wheel. Essential for demolishing stucco.

Stucco all cut into sections for ease of removal.

First slice of stucco removed.

Inner balcony stucco removed.
Once the stucco was off the inside, I pulled up the lumber that connected the tops of the studs (top plates). I then cut the stucco from the inside, which is easier because the lath is closer to the inside, so you don’t really have to cut all the way through. Once I made another cut spaced by two studs, it was an easy matter to pull the section of stucco and studs inward. The weight of the assembly and the leverage I was able to provide caused the lath at the bottom to fail, and the whole thing just plopped down in front of me. Now I could knock off the studs and cut through the lath to make the stucco slabs small enough to handle.
Balcony debris. Because of the sequence, I had to walk over this stuff until I opened up a hole in the outer stucco so I could toss this stuff onto the driveway.
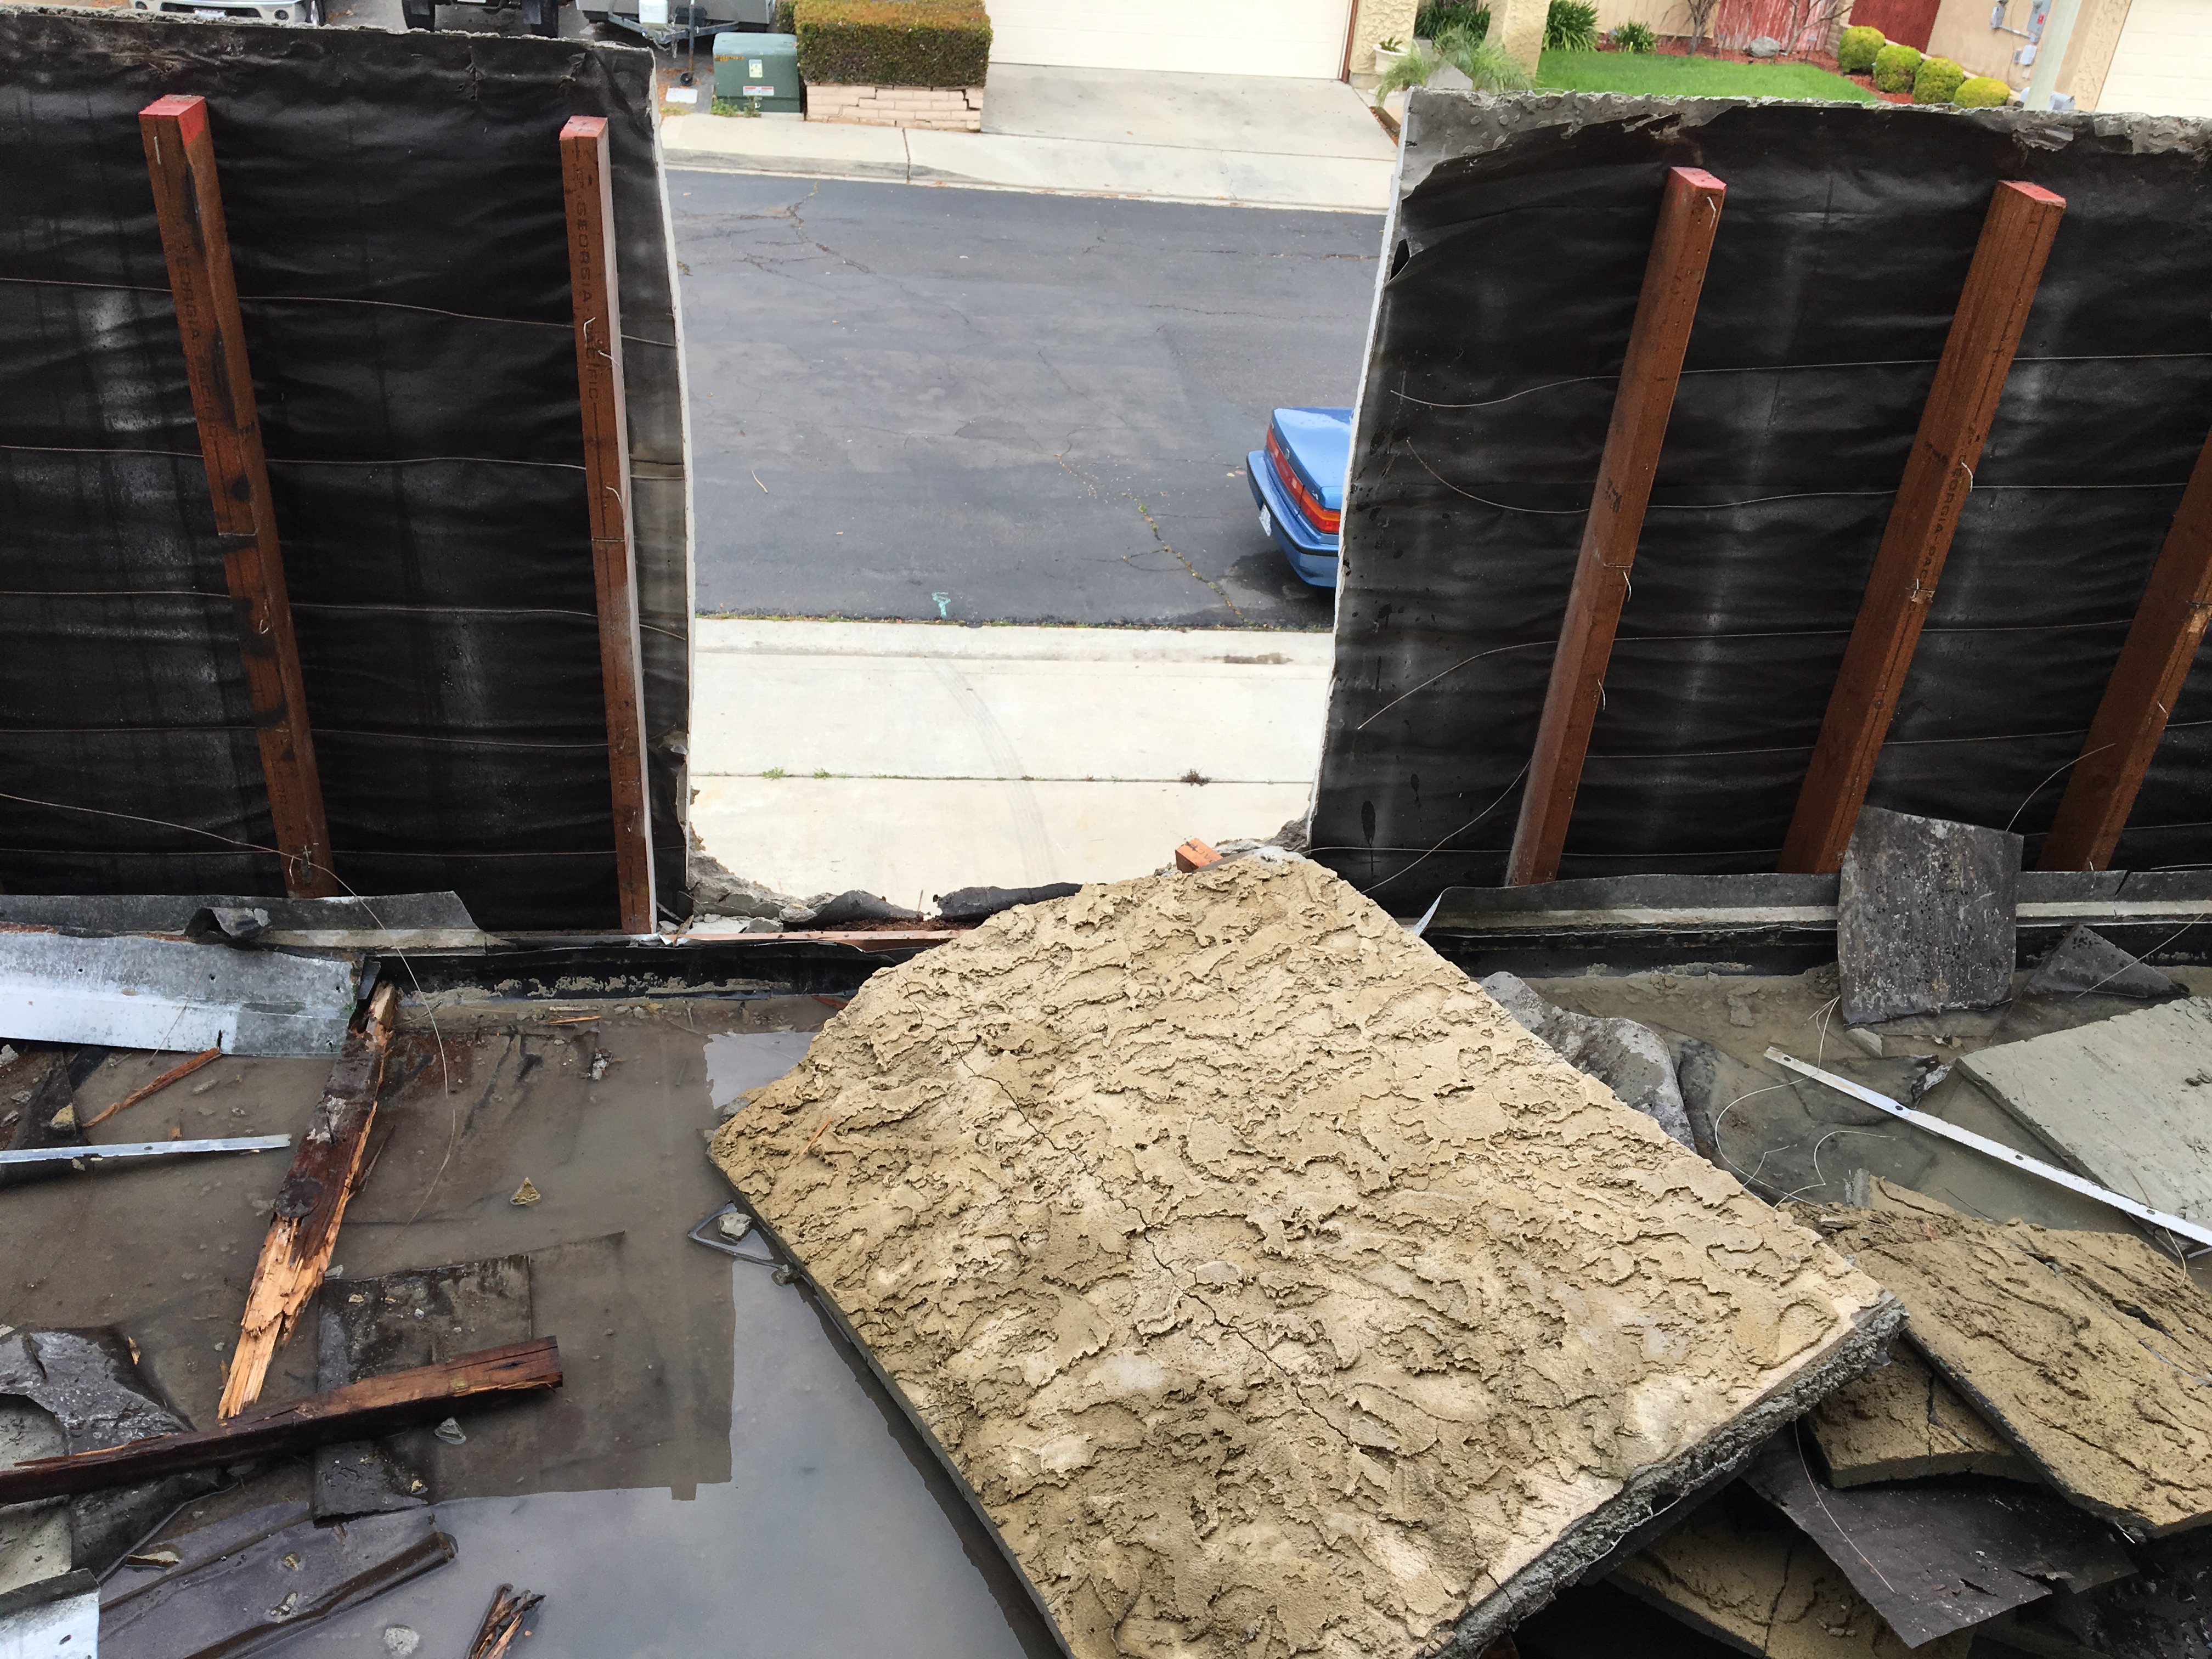
First section of outer stucco is removed. This gives me a “window” to toss the debris onto the driveway without having to lift it up and over.

The balcony wall safely in the protection of the dumpster.
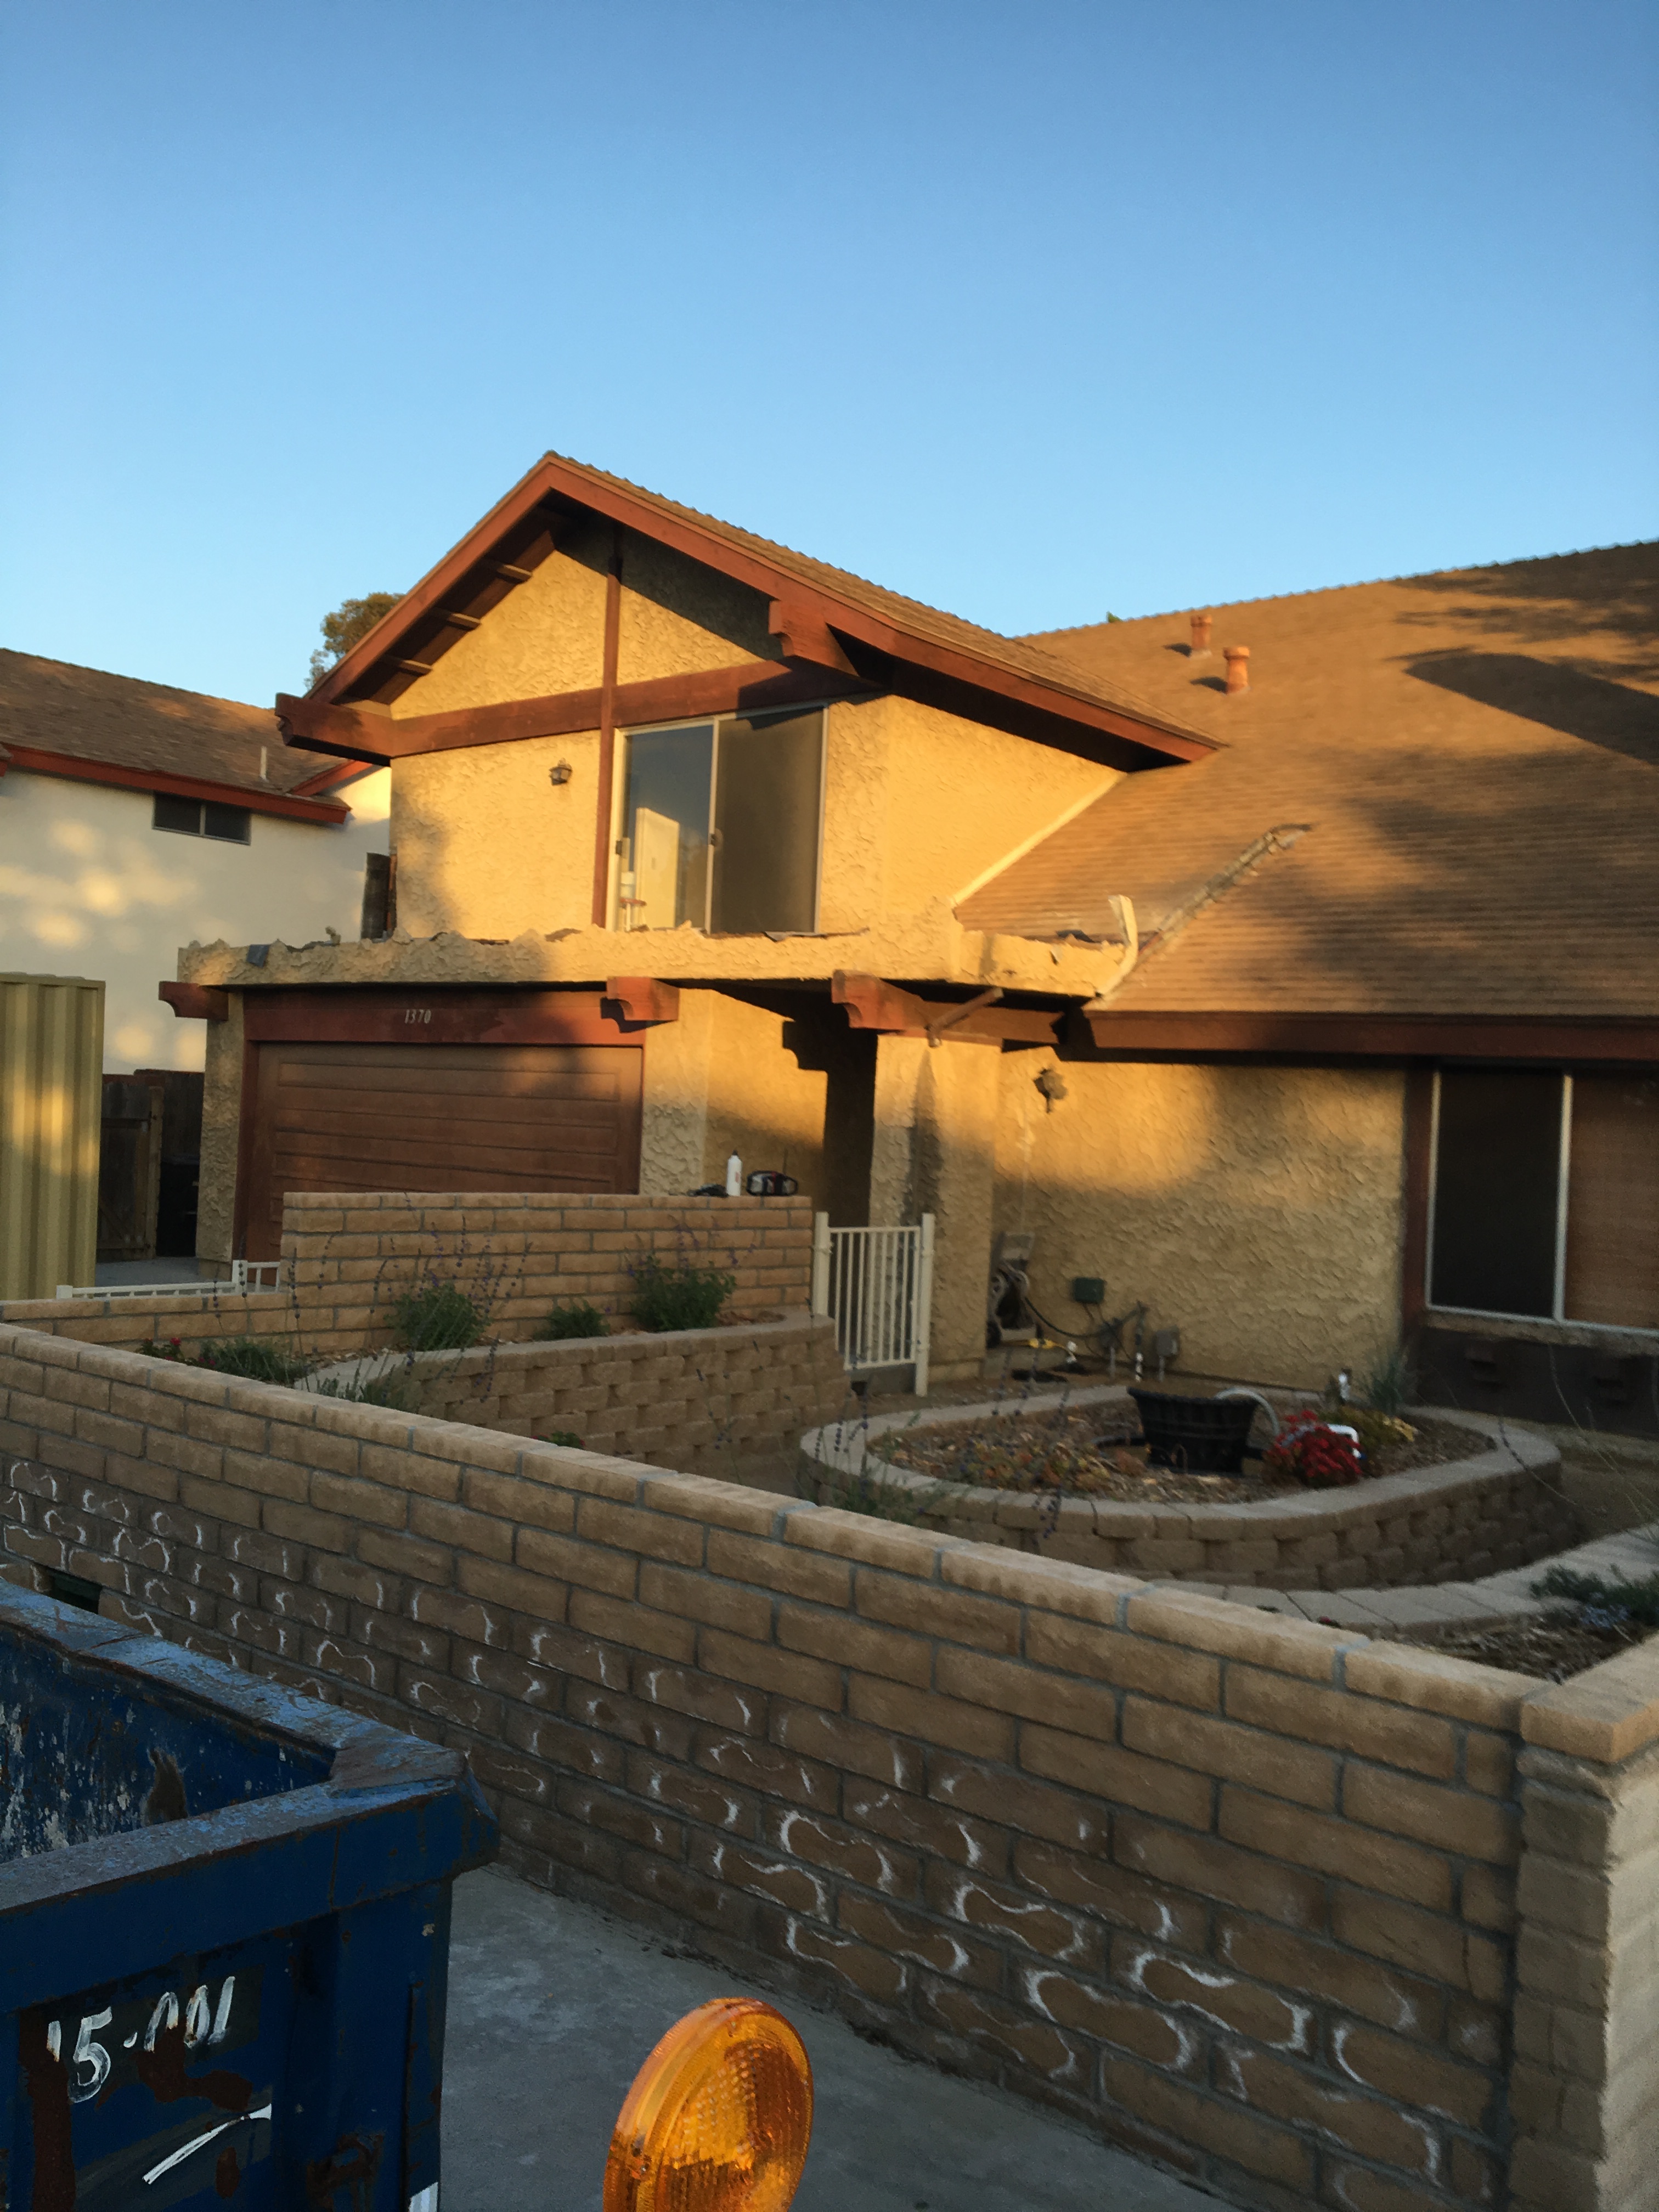
The front of the house sure looks different with the balcony removed.
With the outside done (to a point), I started the demolition of the master bedroom which is really the main part of the remodel. Because I am a diligent homeowner, knowing that I had an older home, I tested the popcorn ceiling for asbestos. Actually, I was also motivated by the $25,000 fine that might be levied against me for improper asbestos disposal by the EPA. Sure enough, I had asbestos, so I needed to take some precautions. Now, before I get into the details about this being a DIY job, I want to make a few disclaimers.
- I have formal training and experience in asbestos removal and remediation from my Navy days. The older engine rooms used asbestos to keep the steam pipes insulated, and because I was the officer in charge of maintaining an engine room built in the 1950’s, I needed to know my shit.
- I have formal training and years of experience in handling and disposing of hazardous materials (HAZMAT) and nuclear waste.
Having gotten that off my chest, allow me to say that proper and safe removal of an asbestos popcorn ceiling isn’t particularly challenging from a technical standpoint. You just have to use some common sense and understand exactly what the hazards are so that you can protect yourself, and others, against them. The main thing to remember about asbestos is that it is the airborne particles that cause all the problems. And they are big problems. Basically, any asbestos particles that you inhale will stay with you for the rest of your life. They become embedded in your lungs and you can’t get rid of them, and their sharp edges provide a constant source of irritation that can eventually develop into mesothelioma and lung cancer. So, airborne particles are the enemy. Let’s go back to my original safety mantras of protection and prevention.
To protect yourself against asbestos, you need to be fully covered in a HAZMAT coverall with a hood, wear disposable gloves, have full goggle eye protection, and a respirator with filters.

All suited up for asbestos! I needed to have one hand ungloved to take the picture. Otherwise, I’m ready to go!
The good news is that you can buy an asbestos removal “kit” online (PK Safety) for around $30. Since the popcorn material is usually low in asbestos (2% – 3%), you do not need a fully sealed, forced ventilation suit and mask (yes, I’m familiar with those as well). So, you’re getting off easy.
To prevent, or at least minimize contamination, there are two things that should be done. First, seal off the area, meaning tape some plastic over the door(s) to other rooms, and put a plastic dropcloth on the floor. This dropcloth simplifies disposal because you just wrap it up and double bag it, popcorn and all. Second, use some water from a garden sprayer to wet the popcorn. This not only helps keep the asbestos from getting airborne, but also makes scraping the damn stuff off pretty easy.
One last thing before I suited up was to make sure that I had EVERYTHING I would need at hand. Once you suit up and start, you don’t want have to stop in the middle because it’s usually difficult to get out of the suit, and even harder to put it back on (if you don’t destroy it when you take it off). Go to the bathroom, even if you don’t feel like it.
You’re welcome.
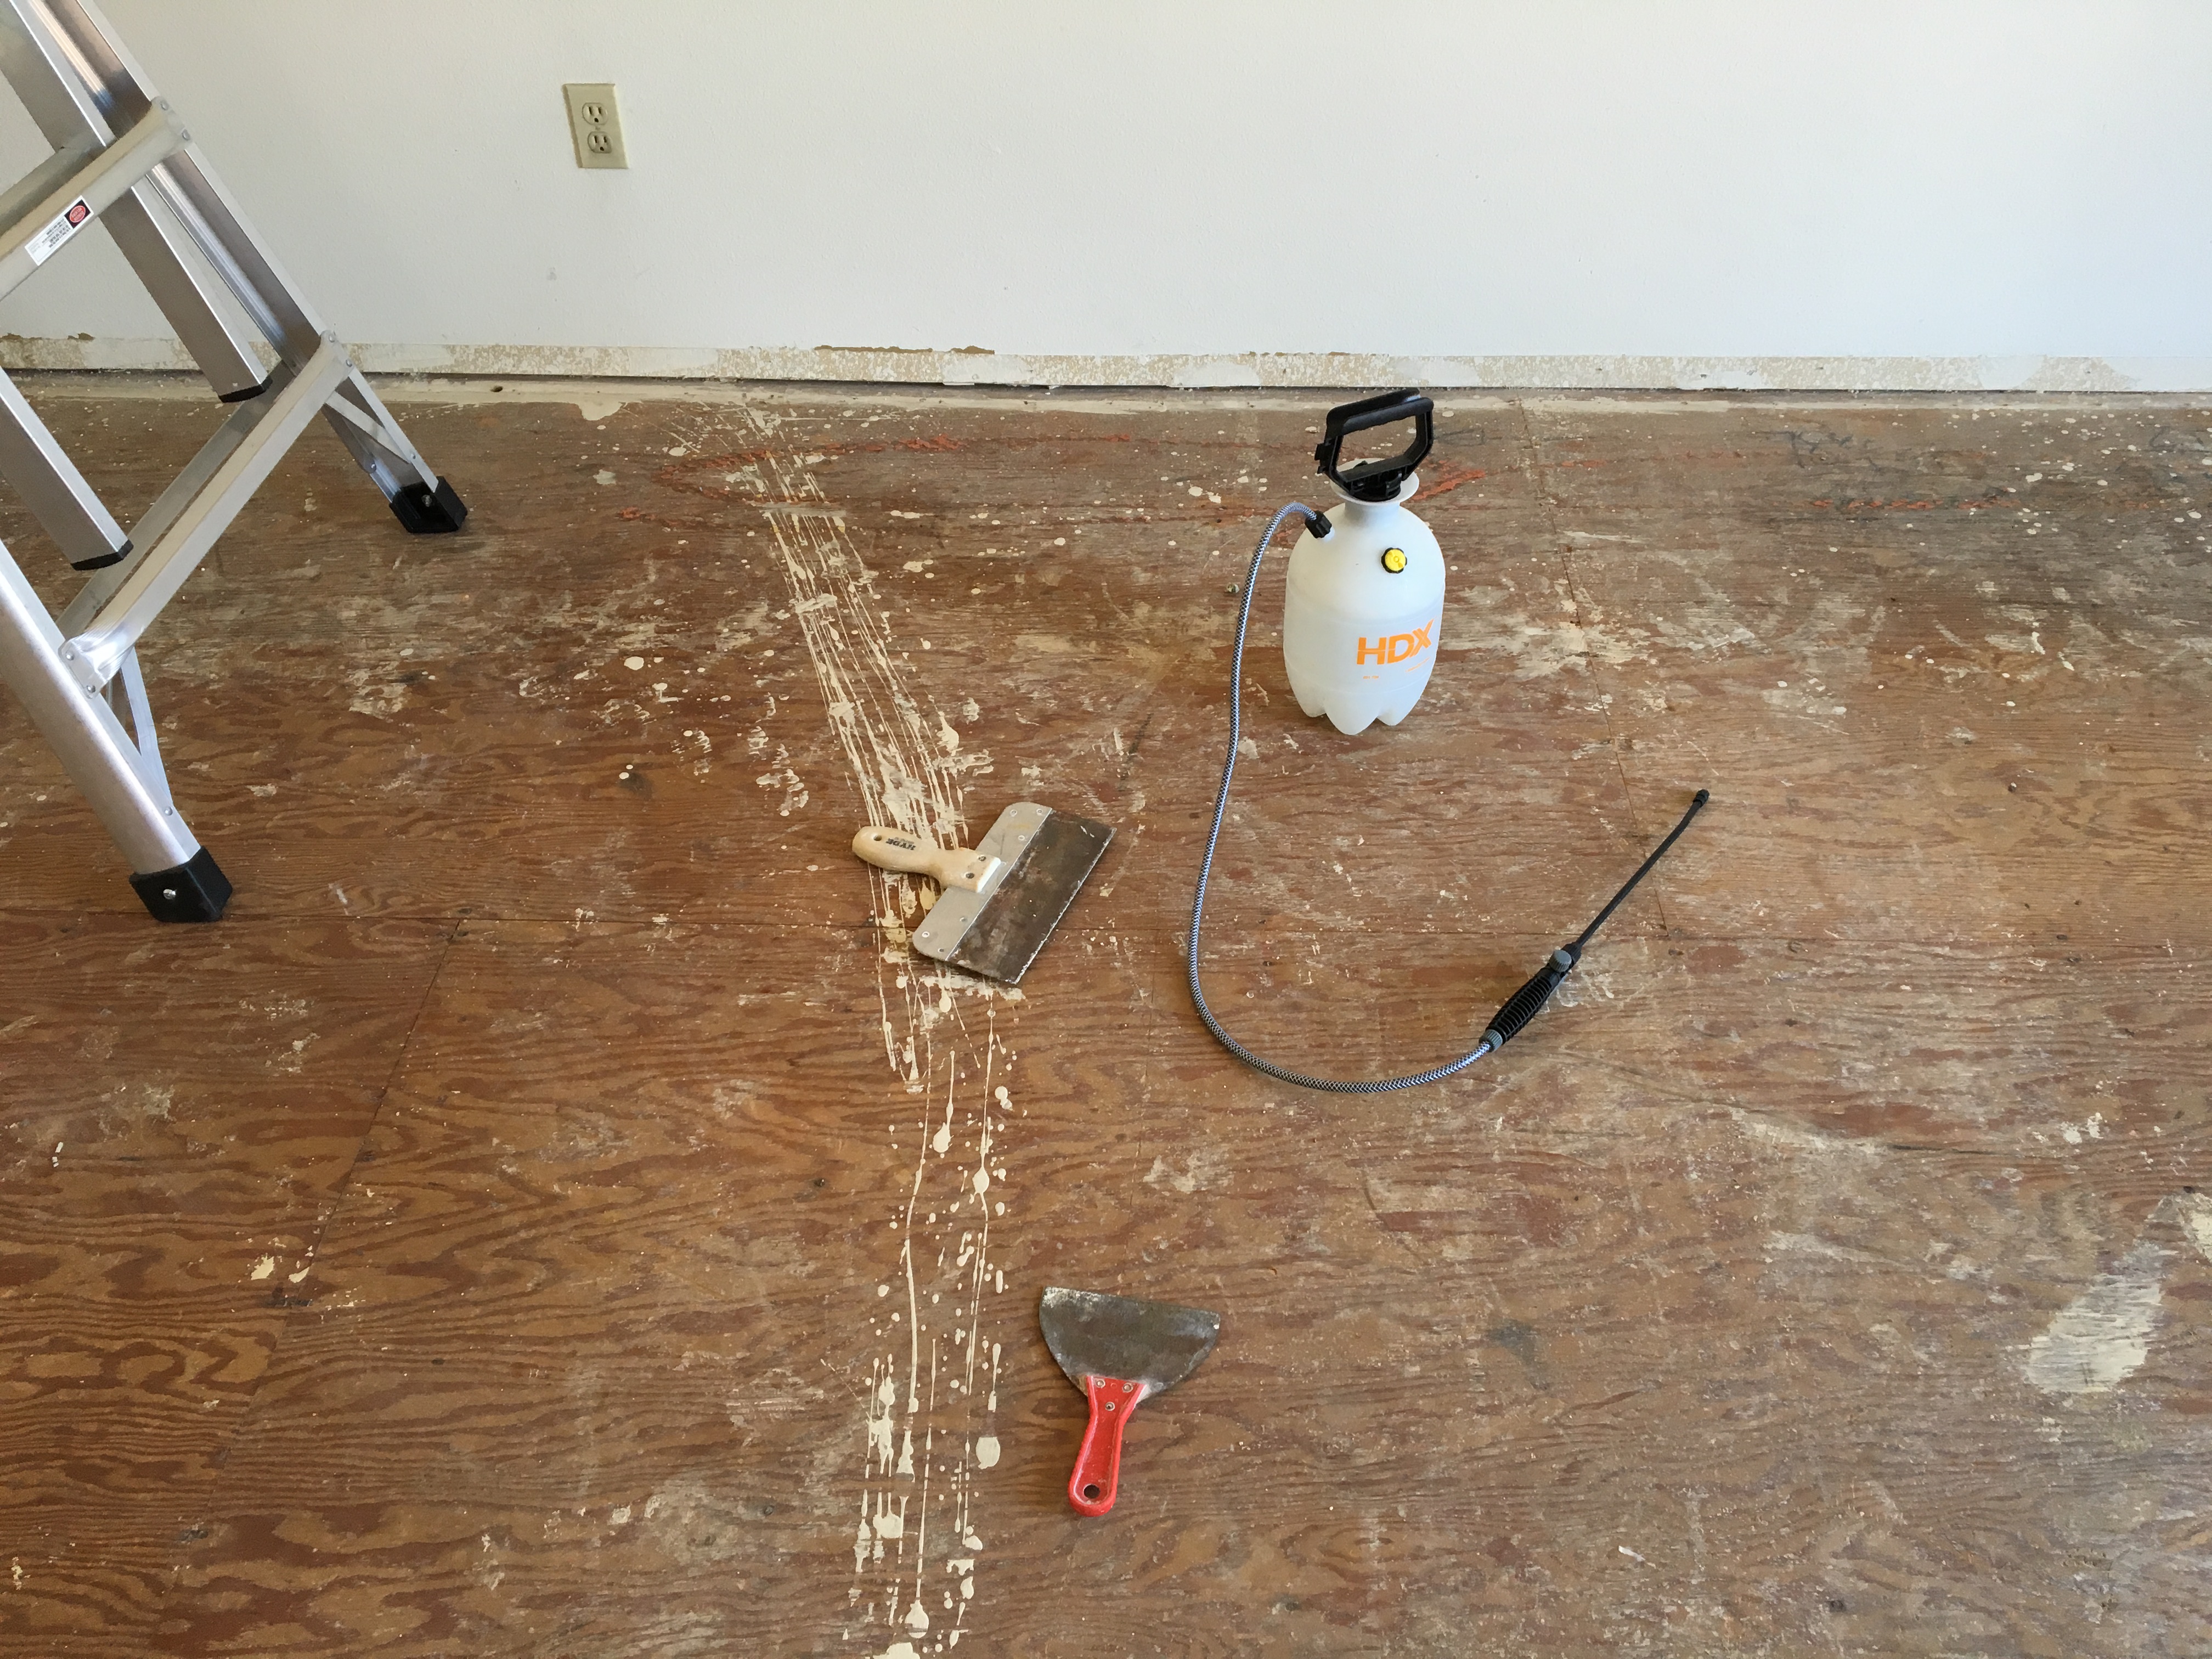
Tools for asbestos removal. A garden sprayer and scrapers. Pretty basic.

Trash can all ready to load the asbestos popcorn. Getting this ready before I suited up saved me some time and aggravation.
So, I mentioned that removing this stuff was not technically difficult. Just spray some water onto the ceiling to cover an area that you can reach with your stepladder, and take a wide-bladed scraper and ease the stuff off in big strokes. Then clamber down the ladder, being careful not to slip on the goop that you just plopped on the floor, move the ladder, and start again. Did I mention that the coveralls get hot, and that your goggles fog up and get poopy popcorn on them that you have to wipe off and you still can’t see? You get the picture. Technically difficult, no, but tedious and uncomfortable, yes. Much like other things in life, eh?

First section of asbestos popcorn removed. Note that the ceiling is saturated with water in the area that I’m working.
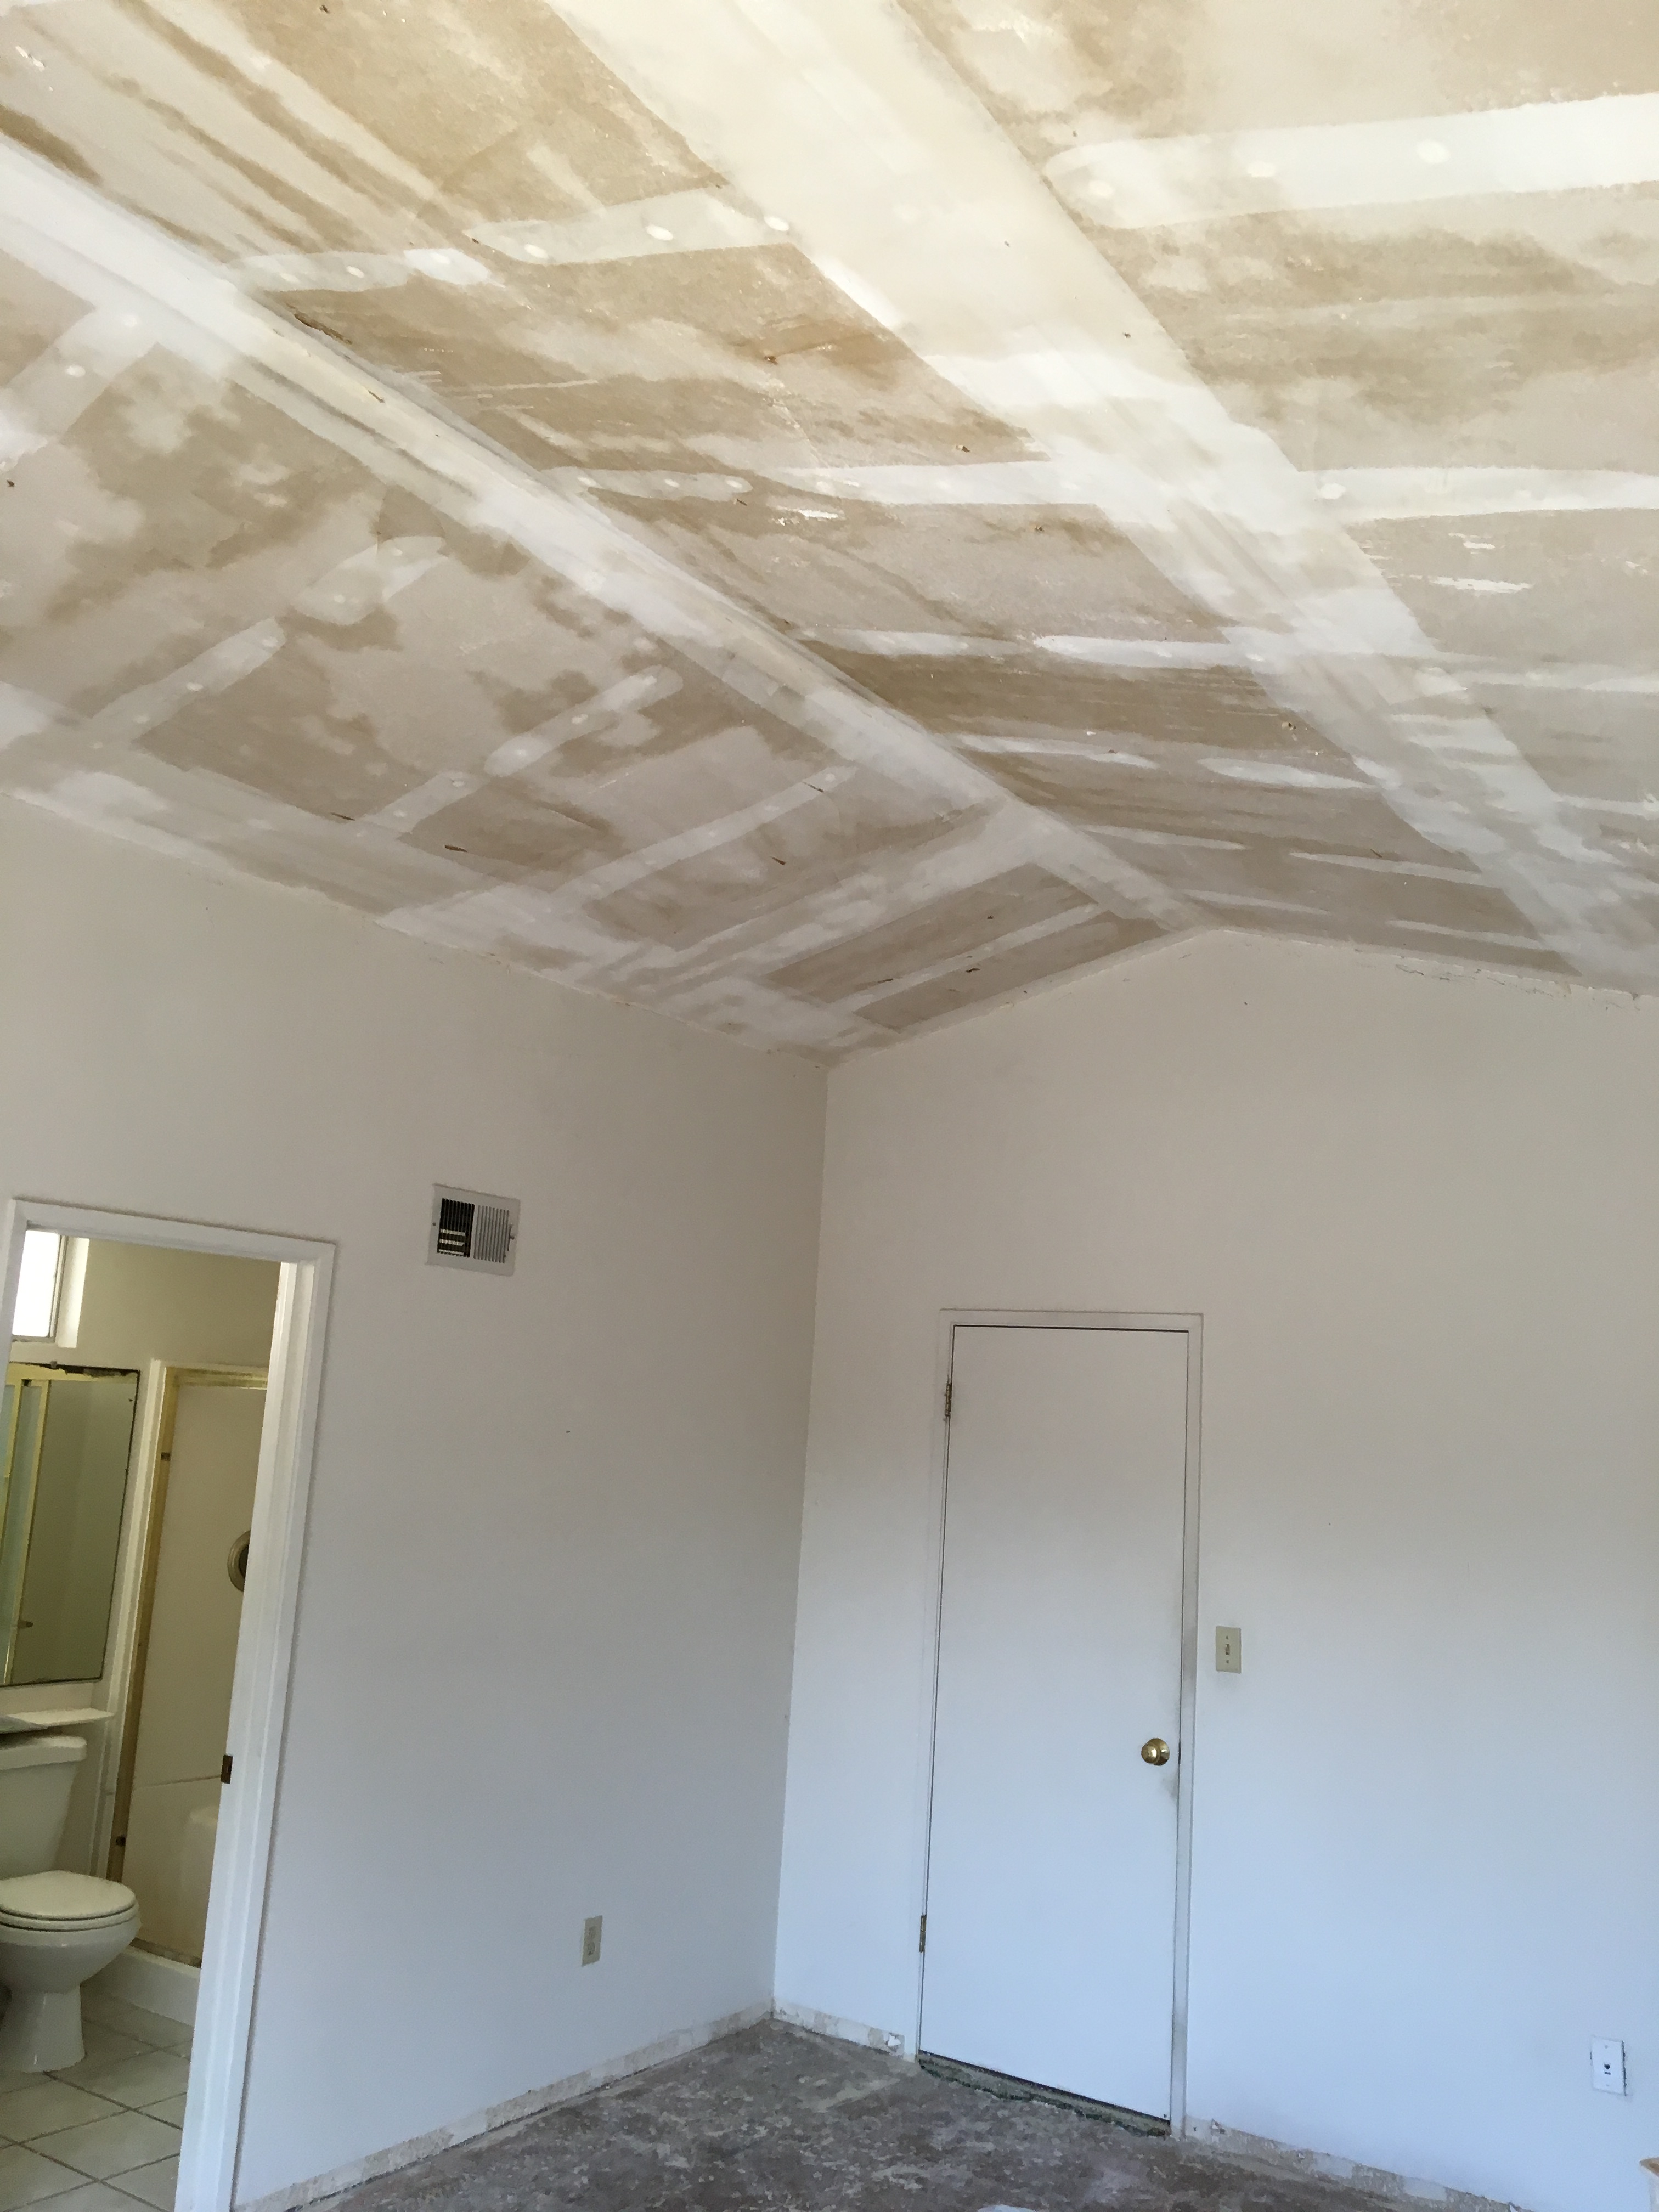
The bedroom ceiling free of that nasty asbestos popcorn.
Once all of the ceiling is scraped, you need to roll up the poopy popcorn in the plastic dropcloth and stuff it all in a big garbage bag. You will probably have to do this by sections because of the volume and weight and use several (3-4) large garbage bags. Remove your coveralls and gloves and stuff them in the last bag. Then seal with duct tape and double bag.
Now it’s time to dispose of this crap. Fortunately for me, my city has a residential hazardous waste disposal program, so all I had to do was take it to them and they unloaded the bags of objectionable material from my Prius for free and thanked me for being a conscientious citizen. One last word of caution: make sure you know the rules for disposal in your jurisdiction as there may be some extra costs and procedures. It’s probably a good idea to do this beforehand.
So, for a $30 hazmat kit, I did the work myself and saved about $1,700. Not bad for a DIY’er on a Saturday morning. But, again, I have formal training and experience in this sort of thing, so, if you have ANY DOUBT about what you’re doing, PLEASE engage the services of a professional!
On to drywall removal. This is where the home remodeling shows on HGTV show the owners having at it with sledges and crowbars. Good for them. I hope they got their exercise for the day. Conversely, I decided to use an easier method, which involves using a sawzall to cut the drywall into smaller panels and then use a crowbar to yank from the back and pop the nails out. This results (mostly) in large sections which are much easier to handle. However, before you plunge you sawzall into the wall, you really need to try to figure out where your electrical, plumbing, and telephone/cable/data lines are so you don’t cut them. The best method is to cut out a little section of drywall by hand near where you know these services are and get an idea for which way the lines are going so you can avoid them. As more of the wall comes off, it becomes easier to see what’s behind and where it’s going. For safety, its a good idea to kill the electrical power to the area you’re working on, just in case you run into an electrical line.

Essential drywall removal tool. You need to use this first to locate your hidden service lines before you attack with a sawzall.

The drywall is cut into sections to ease removal.

Because of the cuts, the drywall comes off in big slabs. For the most part, at least.

All drywall removed.
Finally, structure removal. The first piece of business is to make sure that know whether you’re removing a load bearing structure or not. But what does load bearing mean and how can you tell the difference? The the answer is sometimes not so simple. Sure, the exterior walls support the roof and/or second floor, and that load has to be transferred through the walls to the foundation. But without a more nuanced understanding of structures and mechanics, well, the explanation is beyond the detail that I wish to chronicle in this blog entry. I reserve the right to wax poetic on structural theory and practice in the future. In the meantime, if you don’t understand it, then hire somebody who does know and follow their advice. You don’t want your roof to fall down upon you and ruin the rest of your day. Plus, you will be very sad.
The wall I had to remove was NOT load bearing, so that simplified the process significantly. Again, I approached the demolition with an eye to safety, simplicity, and ease of removal. The wall was attached to the bottom chords of the trusses by some cheap connectors, so all I had to do was to pry out the nail securing each connector to the truss. But, since I didn’t want the entire wall to fall down on me, I used my sawzall to cut the double top plate so that the wall could be lowered in sections (and handled by one person safely). Each wall section came down smoothly, and from there, it was simply a matter of banging apart the structure with a hand sledge (a.k.a. “engineers hammer”) so that I was dealing with individual pieces of lumber. The good news here is that (a) I was able to salvage some of the longer timbers for use in a support that I will have to build when I bust down some exterior (i.e., load bearing) walls in the future, and the remainder I was able to give away for free on Craigslist, which minimized my dumpster waste. Here are some pictures.

Wall framing cut into sections for ease of handling by one person. Note the section of framing on the floor.

Section of wall framing on the floor, ready to knock apart.
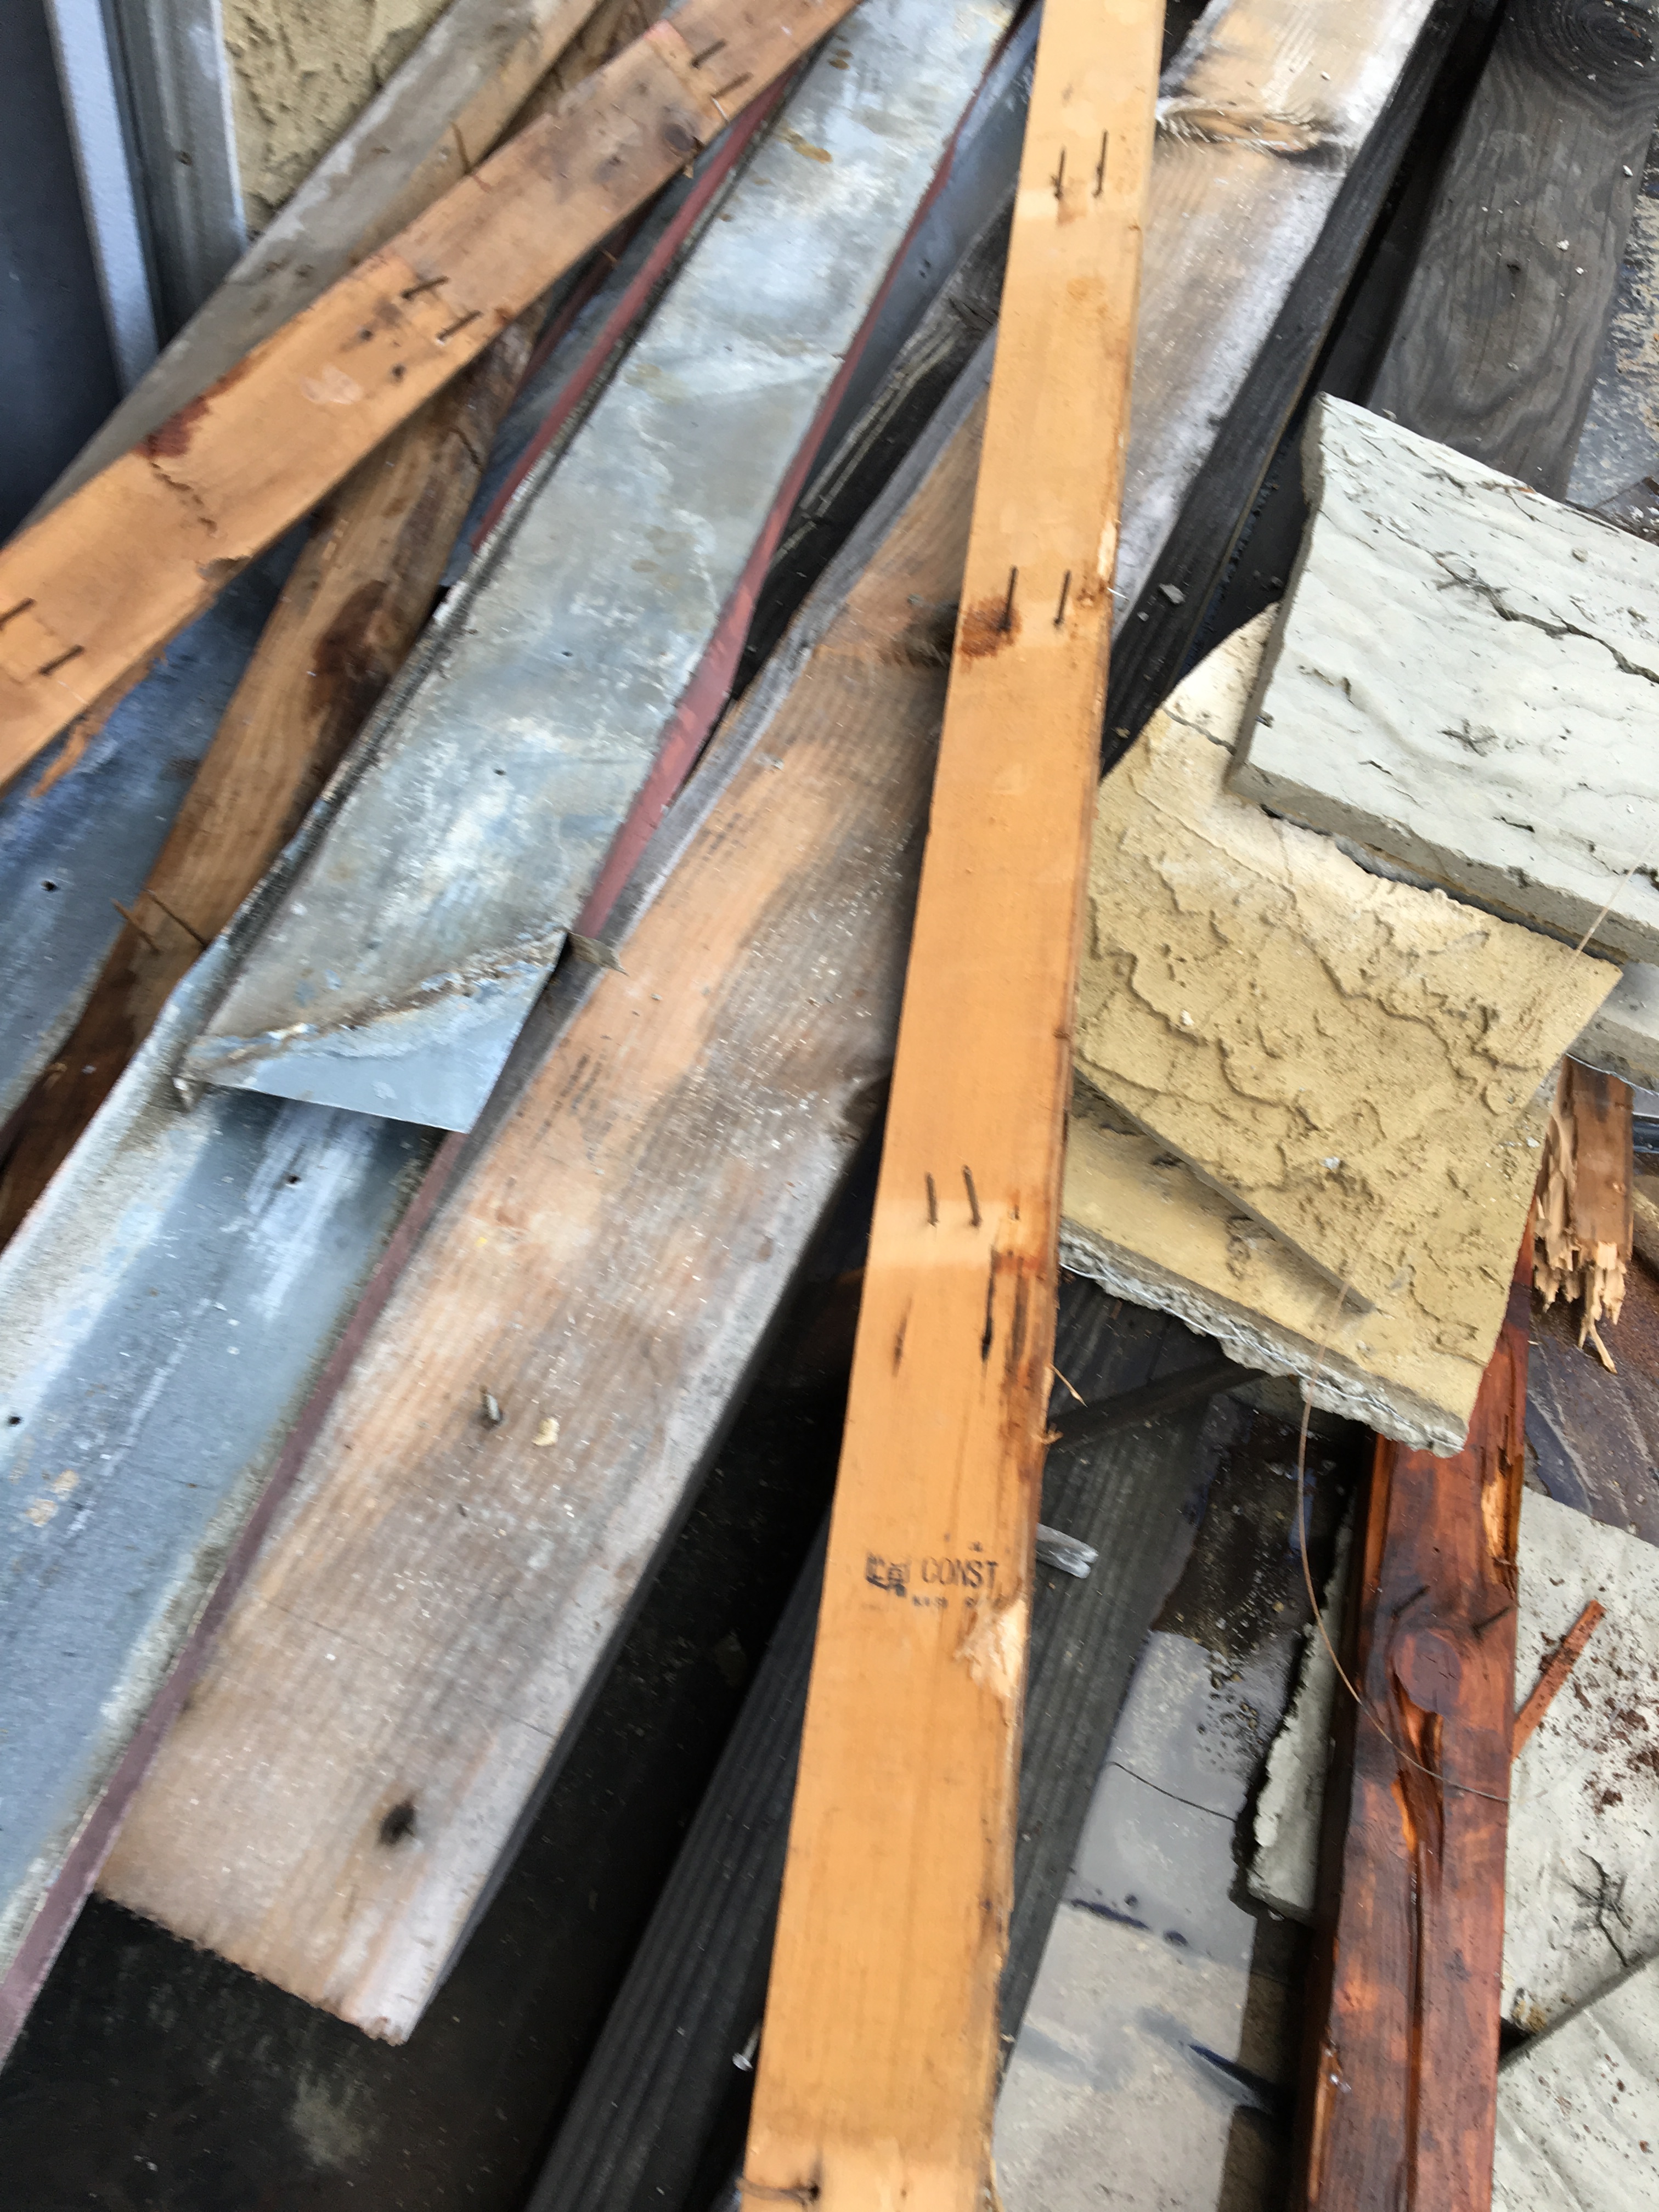
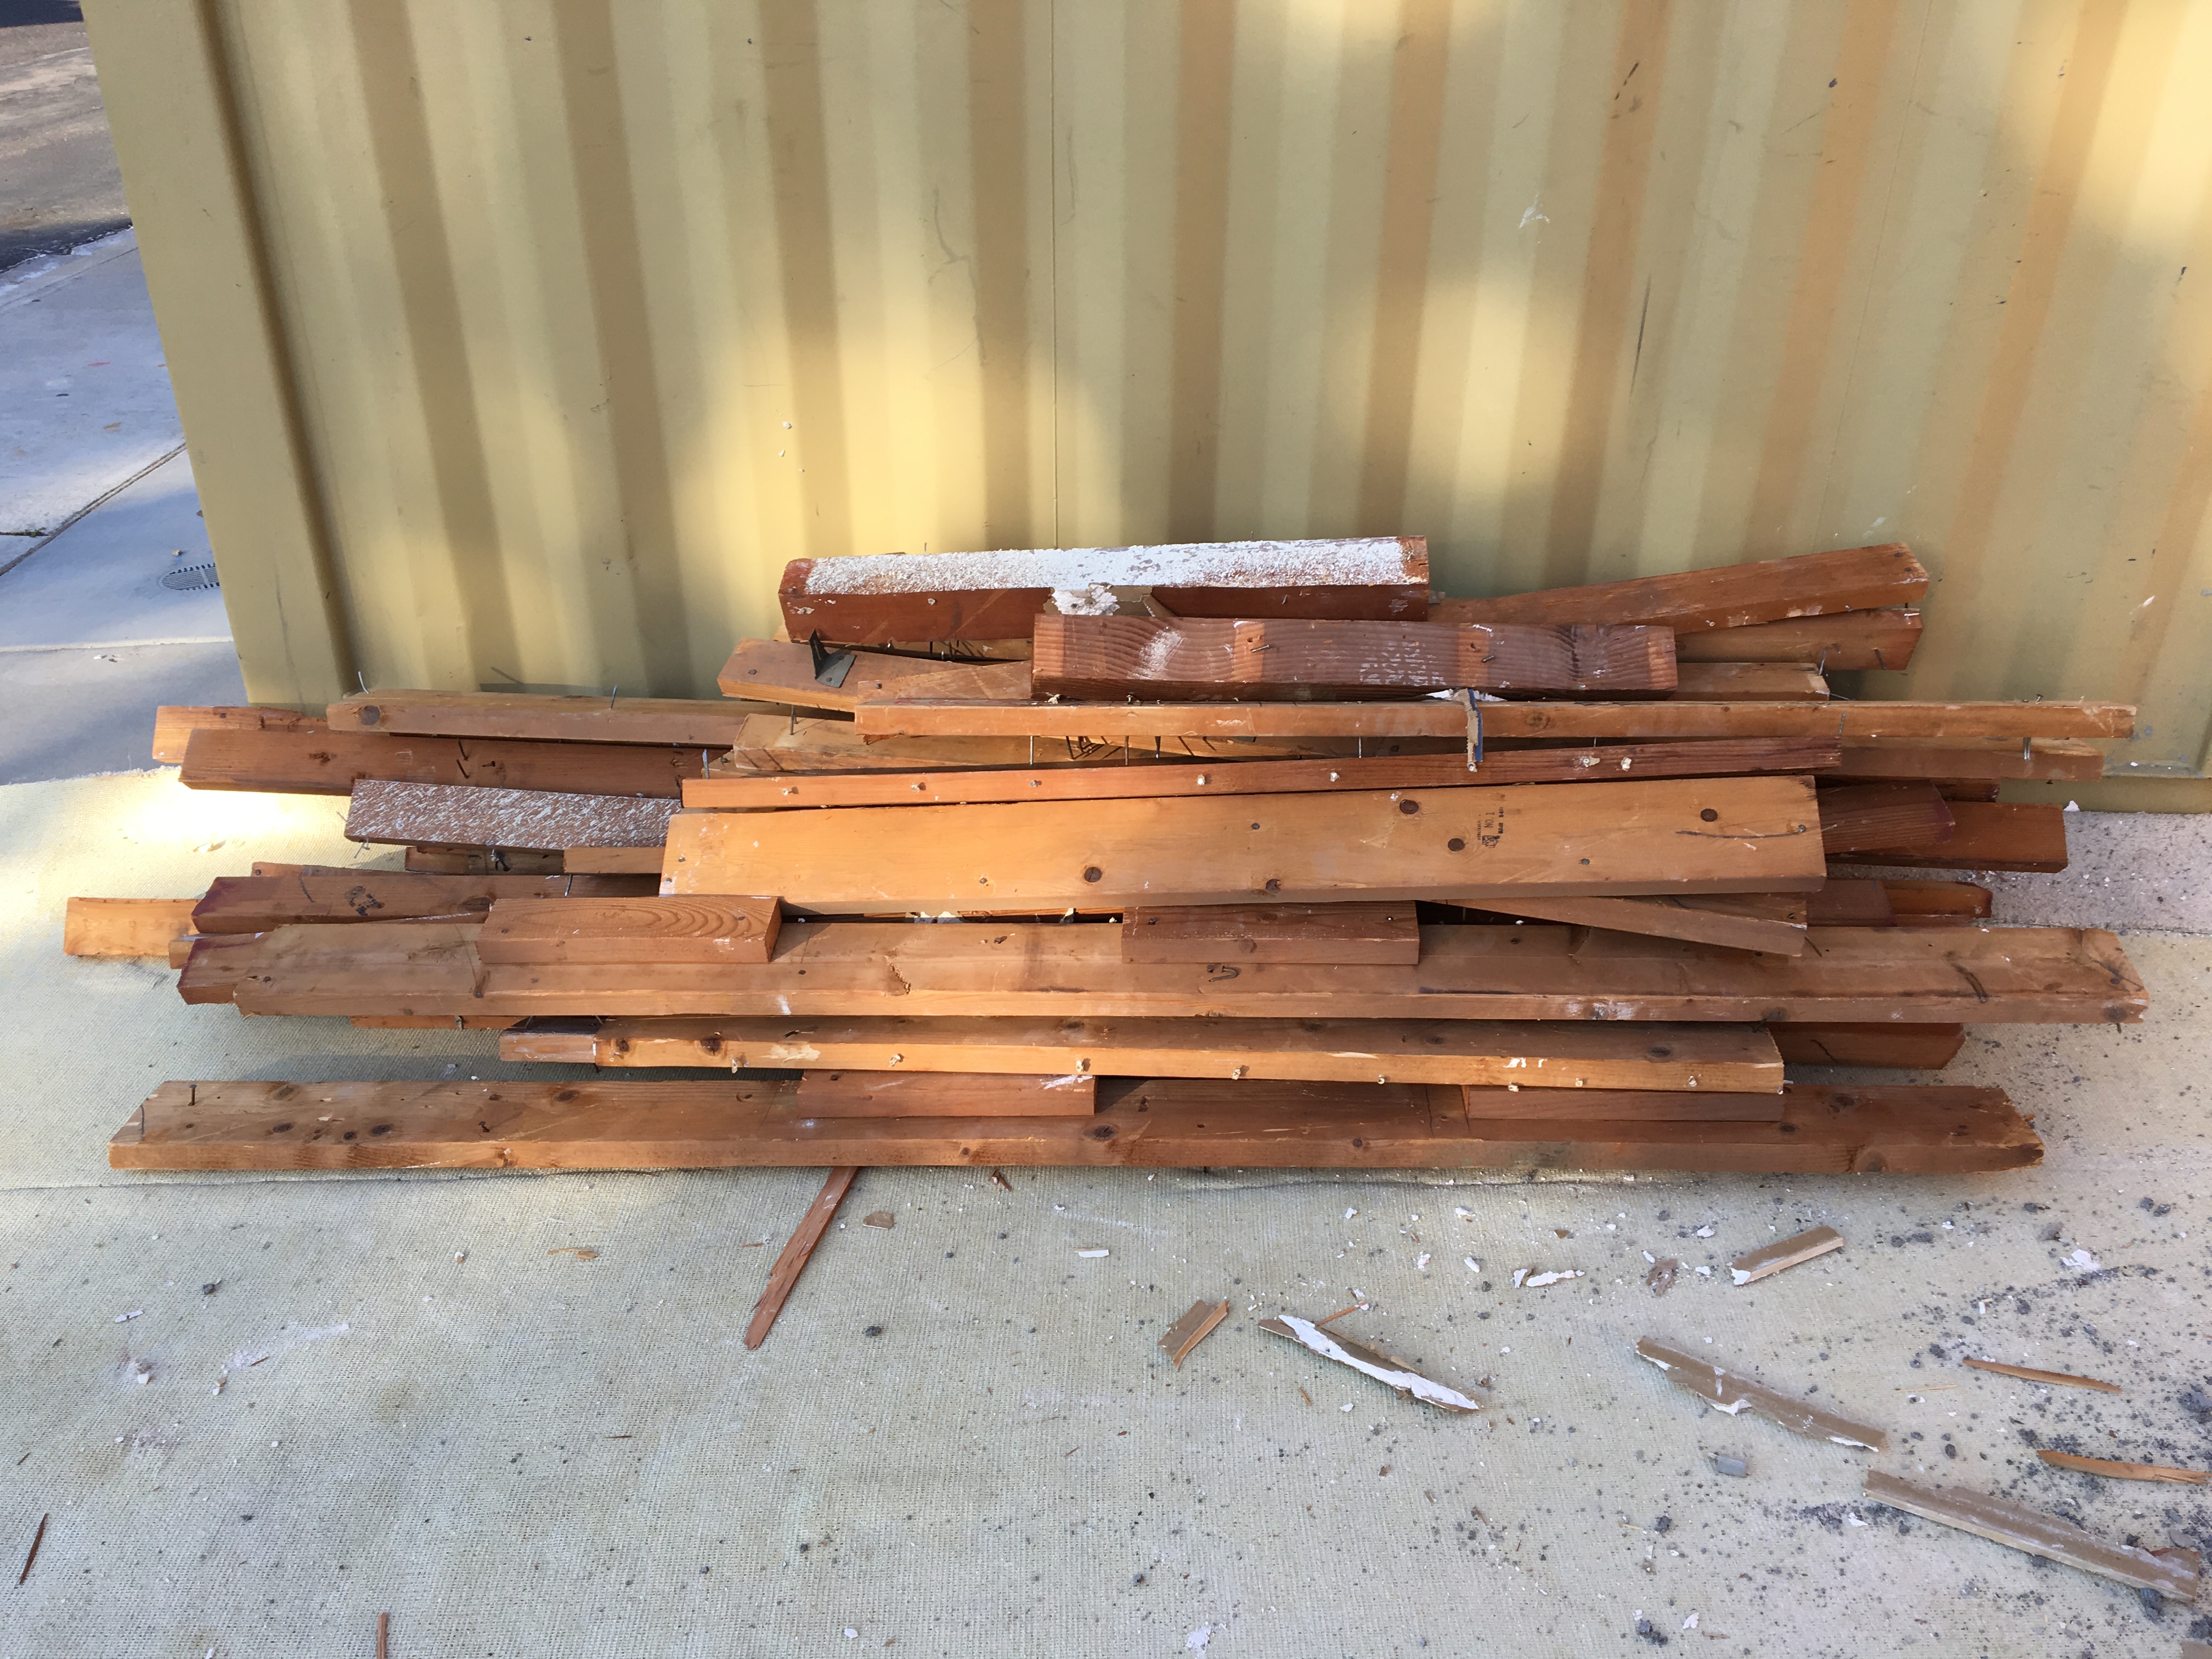 Wood I salvaged from the framing demolition. I advertised it for free on Craigslist, and it was gone in a day.

Is it safe to come in?
 This was our bedroom?
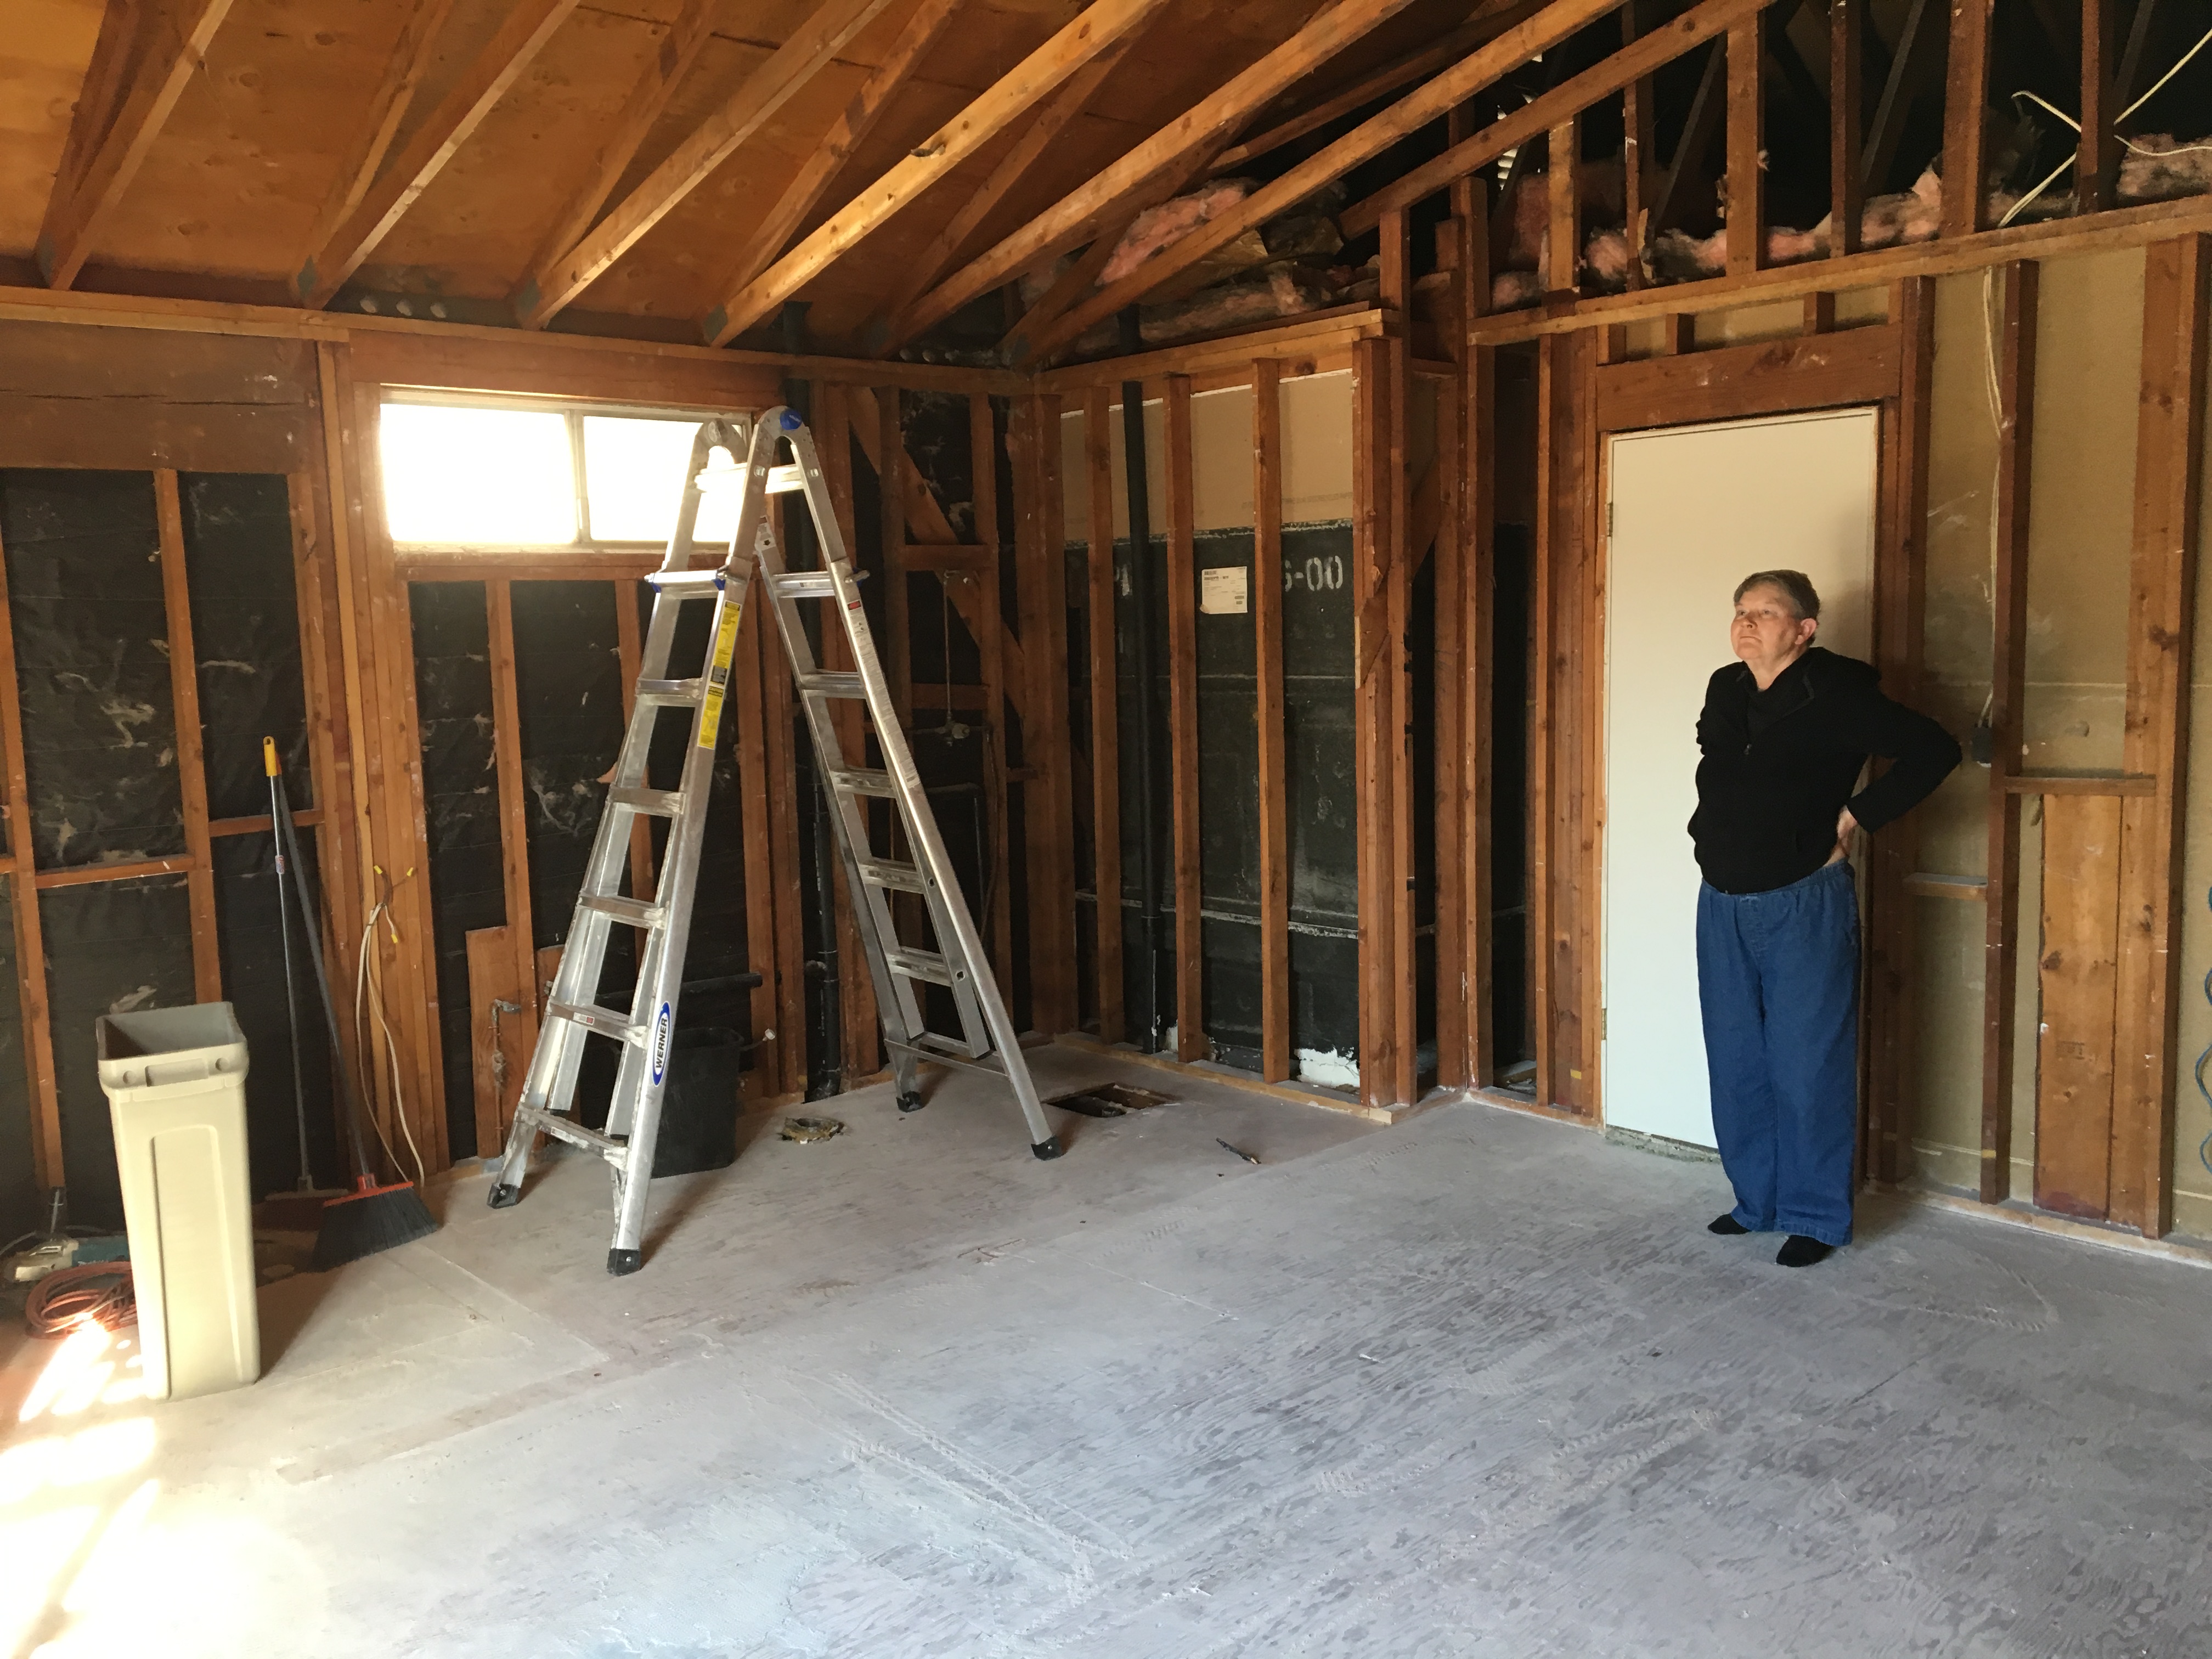
I know you say it’s going to be great. I’ll believe it when I see it!
