
Now that the concrete pour for the front and service sidewalk was complete, my attention shifted to the back yard. In my master plan (that which I jealously harbor in the dark recesses of my brain), I was going to start building a retaining wall, However, when I surveyed the situation with an eye to actually start work, the ugly footings for my patio cover and trellis began to weigh heavily. Little did I know.
There were several things wrong with the way my patio cover and trellis were supported. First, many of the posts, were warped and rotted. So, at some point, replacing them was inevitable, Second, the footings were now protruding above the finished grade as a result of lowering the level of the grade to accommodate a code-compliant drainage system. This not only was aesthetically unpleasing, but was also a trip hazard. Third, embedment of the footings no longer met code because I removed some of the soil that surrounded them, so they really had to be buried deeper. Fourth, the footings were cylindrical, making it difficult to fit the rectangular bricks of the patio around them. I had originally planned to just replace the posts and live with the substandard footings. But after all the work on the front yard, I couldn’t stomach a backyard with second-rate footings. So I decided to do the “right” thing, and replace the footings.
This became a very interesting project because it was a retrofit, and thereby was not amenable to a “standard” sequence of events. By this I mean you first do the layout, the dig and pour footings, and then build up from there. For this project, I had to do things a bit out of sequence, which required some “backyard engineering”.
The first challenge was to remove the existing posts. To do that, I had to figure out a way how to support the existing structure with the old posts out while I was removing and replacing the footings. The second was to extract the footings. I didn’t want to dig them out, so I wanted to figure out a way to pull them out. The third was to pour the footings. I didn’t want to wait a day for the concrete to harden, because I would be only doing 2 footings at a time. So, I needed to use fast setting (high-early strength) concrete. Fourth, I had to figure out how to do all of this in the context of a one-guy operation.
Let’s face it. I love it.
To support the existing structure while replacing the posts, I came up with a system of jacks. These jacks consisted of a post made of 2x4s separated by 1/2″ plywood to give a square (3-1/2″ x 3-1/2″) bearing surface to match the beam, a “shoe” which was made of 2x4s and 3/4″ ply that incorporated an axle for the post to allow it to pivot, and some 1/2″ ply attached to the top of the post to act as a guide. I cut off a corner on opposite ends of the jack post to allow me to rotate the assembly in place underneath the beam. It’s way harder to explain in words, so here are some pictures:

Picture of the post jack. The top will be hammered into place vertically after shimming to ensure good support.

Picture of the shoe of the post jack. The bolt allows the jack to pivot into position, and the shoe provides a stable base.
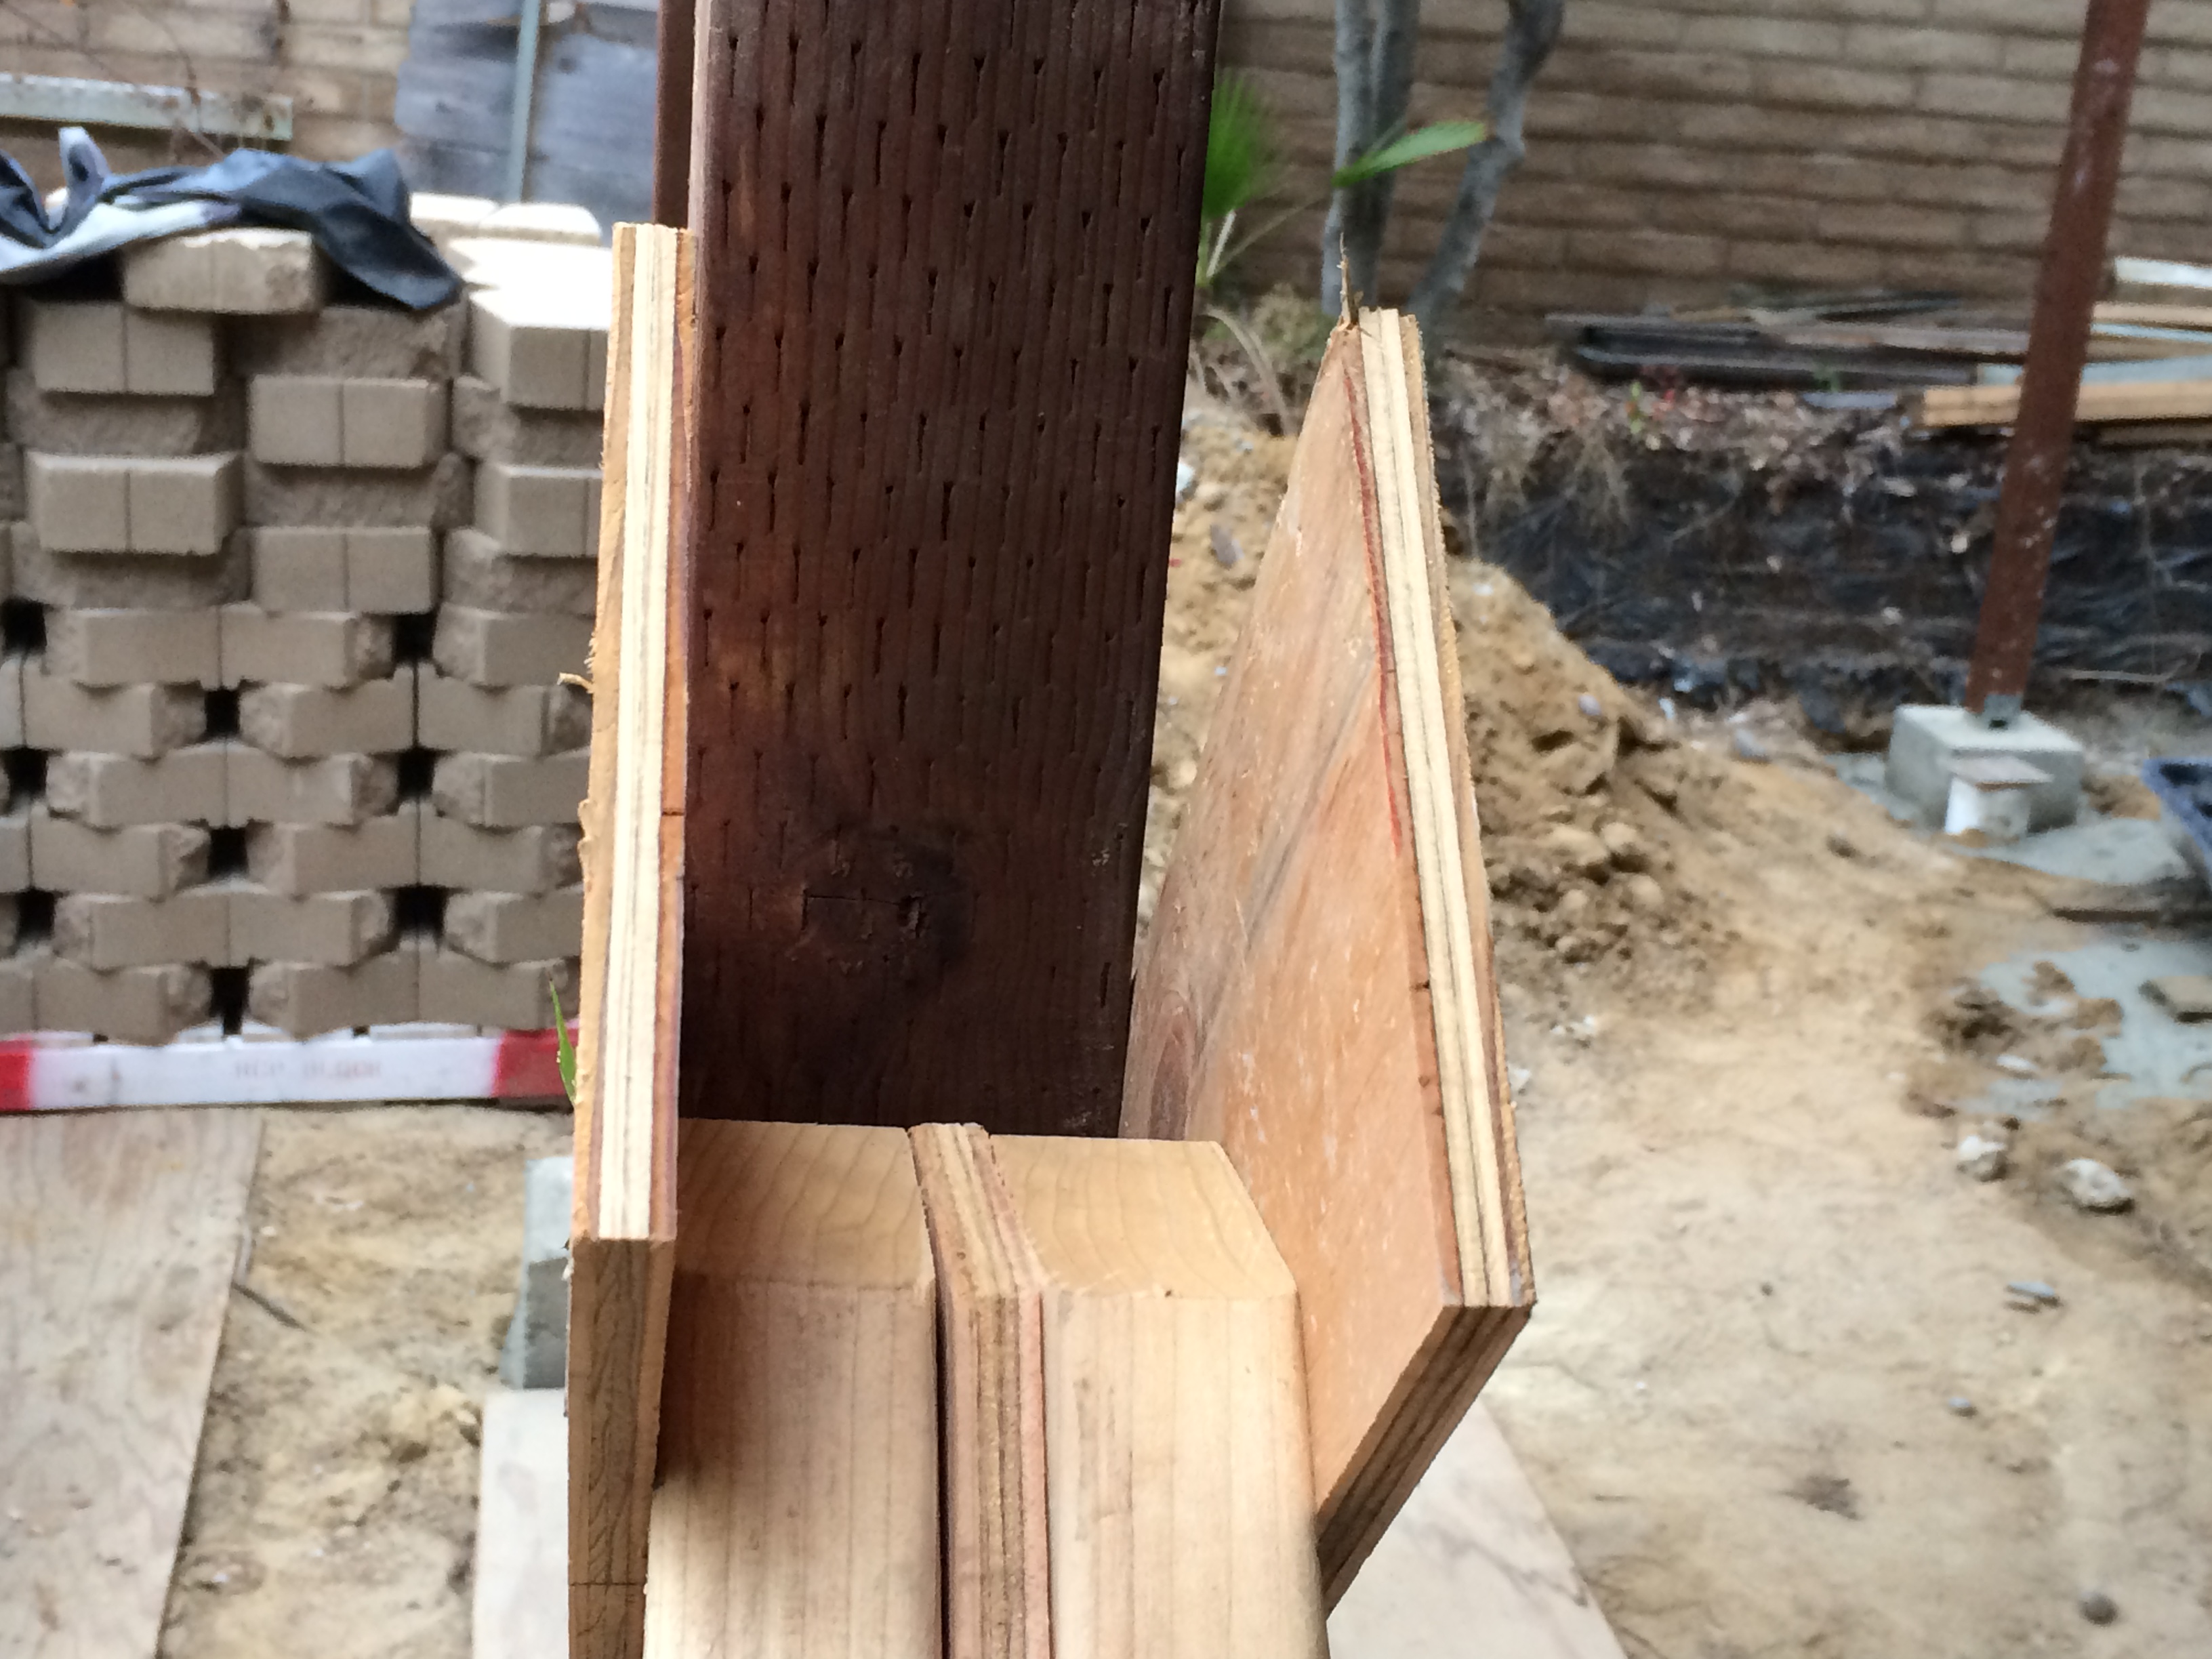
This shows the top of the jack, with the corners of the jack post cut at 45
Next up was to remove the old posts. This turned out to be more difficult than originally planned because the connecting hardware I used was meant to stay in place. Additionally, I had to do all of this while perched on a stepladder that was placed awkwardly because of the jacks and other assorted obstacles.
To get the footings out, I wanted to pull them up, and not dig them out. After seeing a few techniques on YouTube, I came up with the idea of using a winch (come-along) and hang one end from the beam above, and attach to the footing using the anchor bolt. I repurposed a couple of heavy-duty angle braces, some chain and some shackles to hook up the come-along to the footing, and I used a lifting sling to hang the entire contraption from the beam. This is a good example of “seat-of-the-pants” engineering. I did some very rough estimates in my head: some nominal weight for the footing plus whatever load would break the footing free from the ground, I figured maybe 1000#. Then got everything about 5x that (8000# come-along, 6400# lifting strap, 5000# shackles, etc.). No calculations for how much stress would be on the nut holding the plates to the anchor bolt. No calculations on the loads I would be putting on the beam or the jacks when I hauled the thing up. Never mind that you’re not supposed to use a come-along for lifting stuff. Just get everything big and pray that something doesn’t bust. Fortunately, it all worked out pretty well, and with 8 of these things to pull out, making up the rig was a great idea and a real time-saver.
Then I had to dig, form up, and pour the new footings. My recent work with concrete forms helped because I had already come up with a design concept and had built a couple of re-useable forms that I could easily take apart and put back together. I set the form on the ground and aligned it using a DIY plumb bob (weights attached to a string) hanging from where I wanted the post on the beam. I set the height of the form to the finished grade and leveled it using my new laser level (my Father’s Day present), and then dug a hole 12″ deep by 12″ dia and slipped a tubular concrete form into the hole. Then I placed the rectangular form on top and staked it in place.
Now came the fun part. I had to fill the forms and I had to hustle because I was using fast-setting concrete mix. After some experimentation, I came up with a plan to mix 3 bags at a time in 3 batches. I would always start the next batch so it was mixing while I was shoveling the mud from the current batch into the forms. What made it even more challenging from a time perspective is that I was working with a “hot” mix with the 2nd and 3rd batches. A hot mix occurs when you start a new batch of concrete in the mixer with residual concrete from a previous batch. The residual concrete already has a chemical reaction going, and that acts as a catalyst (or accelerator) for the new mix. This also occurs on the jobsite for large concrete pours, especially if you have trucks that are cycling through because they won’t take the time to wash out the truck before putting in the next load. This video shows me in action pulling and pouring the footings:
Sure enough, by the time I had cleaned up all of the concrete mess from the mixer and tools, the new footings had hardened to the point where I could pull the forms and mount the base to the anchor bolt. From there, it was relatively easy to measure, cut, and install the new posts. Then it was on to the next set of posts. Doing two at a time, it took me 2 weekends to finish, but this was one of the few projects that I completed within my original time estimate. That’s including several trips to Home Depot (I had to get more concrete and different size posts), troubleshooting and fixing an electrical problem with the cement mixer, removing old surface mounted electrical conduit, and dressing up and re-cutting the threads on the anchor bolts which I had managed to mushroom while banging them in. The concrete had already began to set, you see. At any rate, it’s all done and it’s the first step in actually building something in the back yard. Here are some photos.
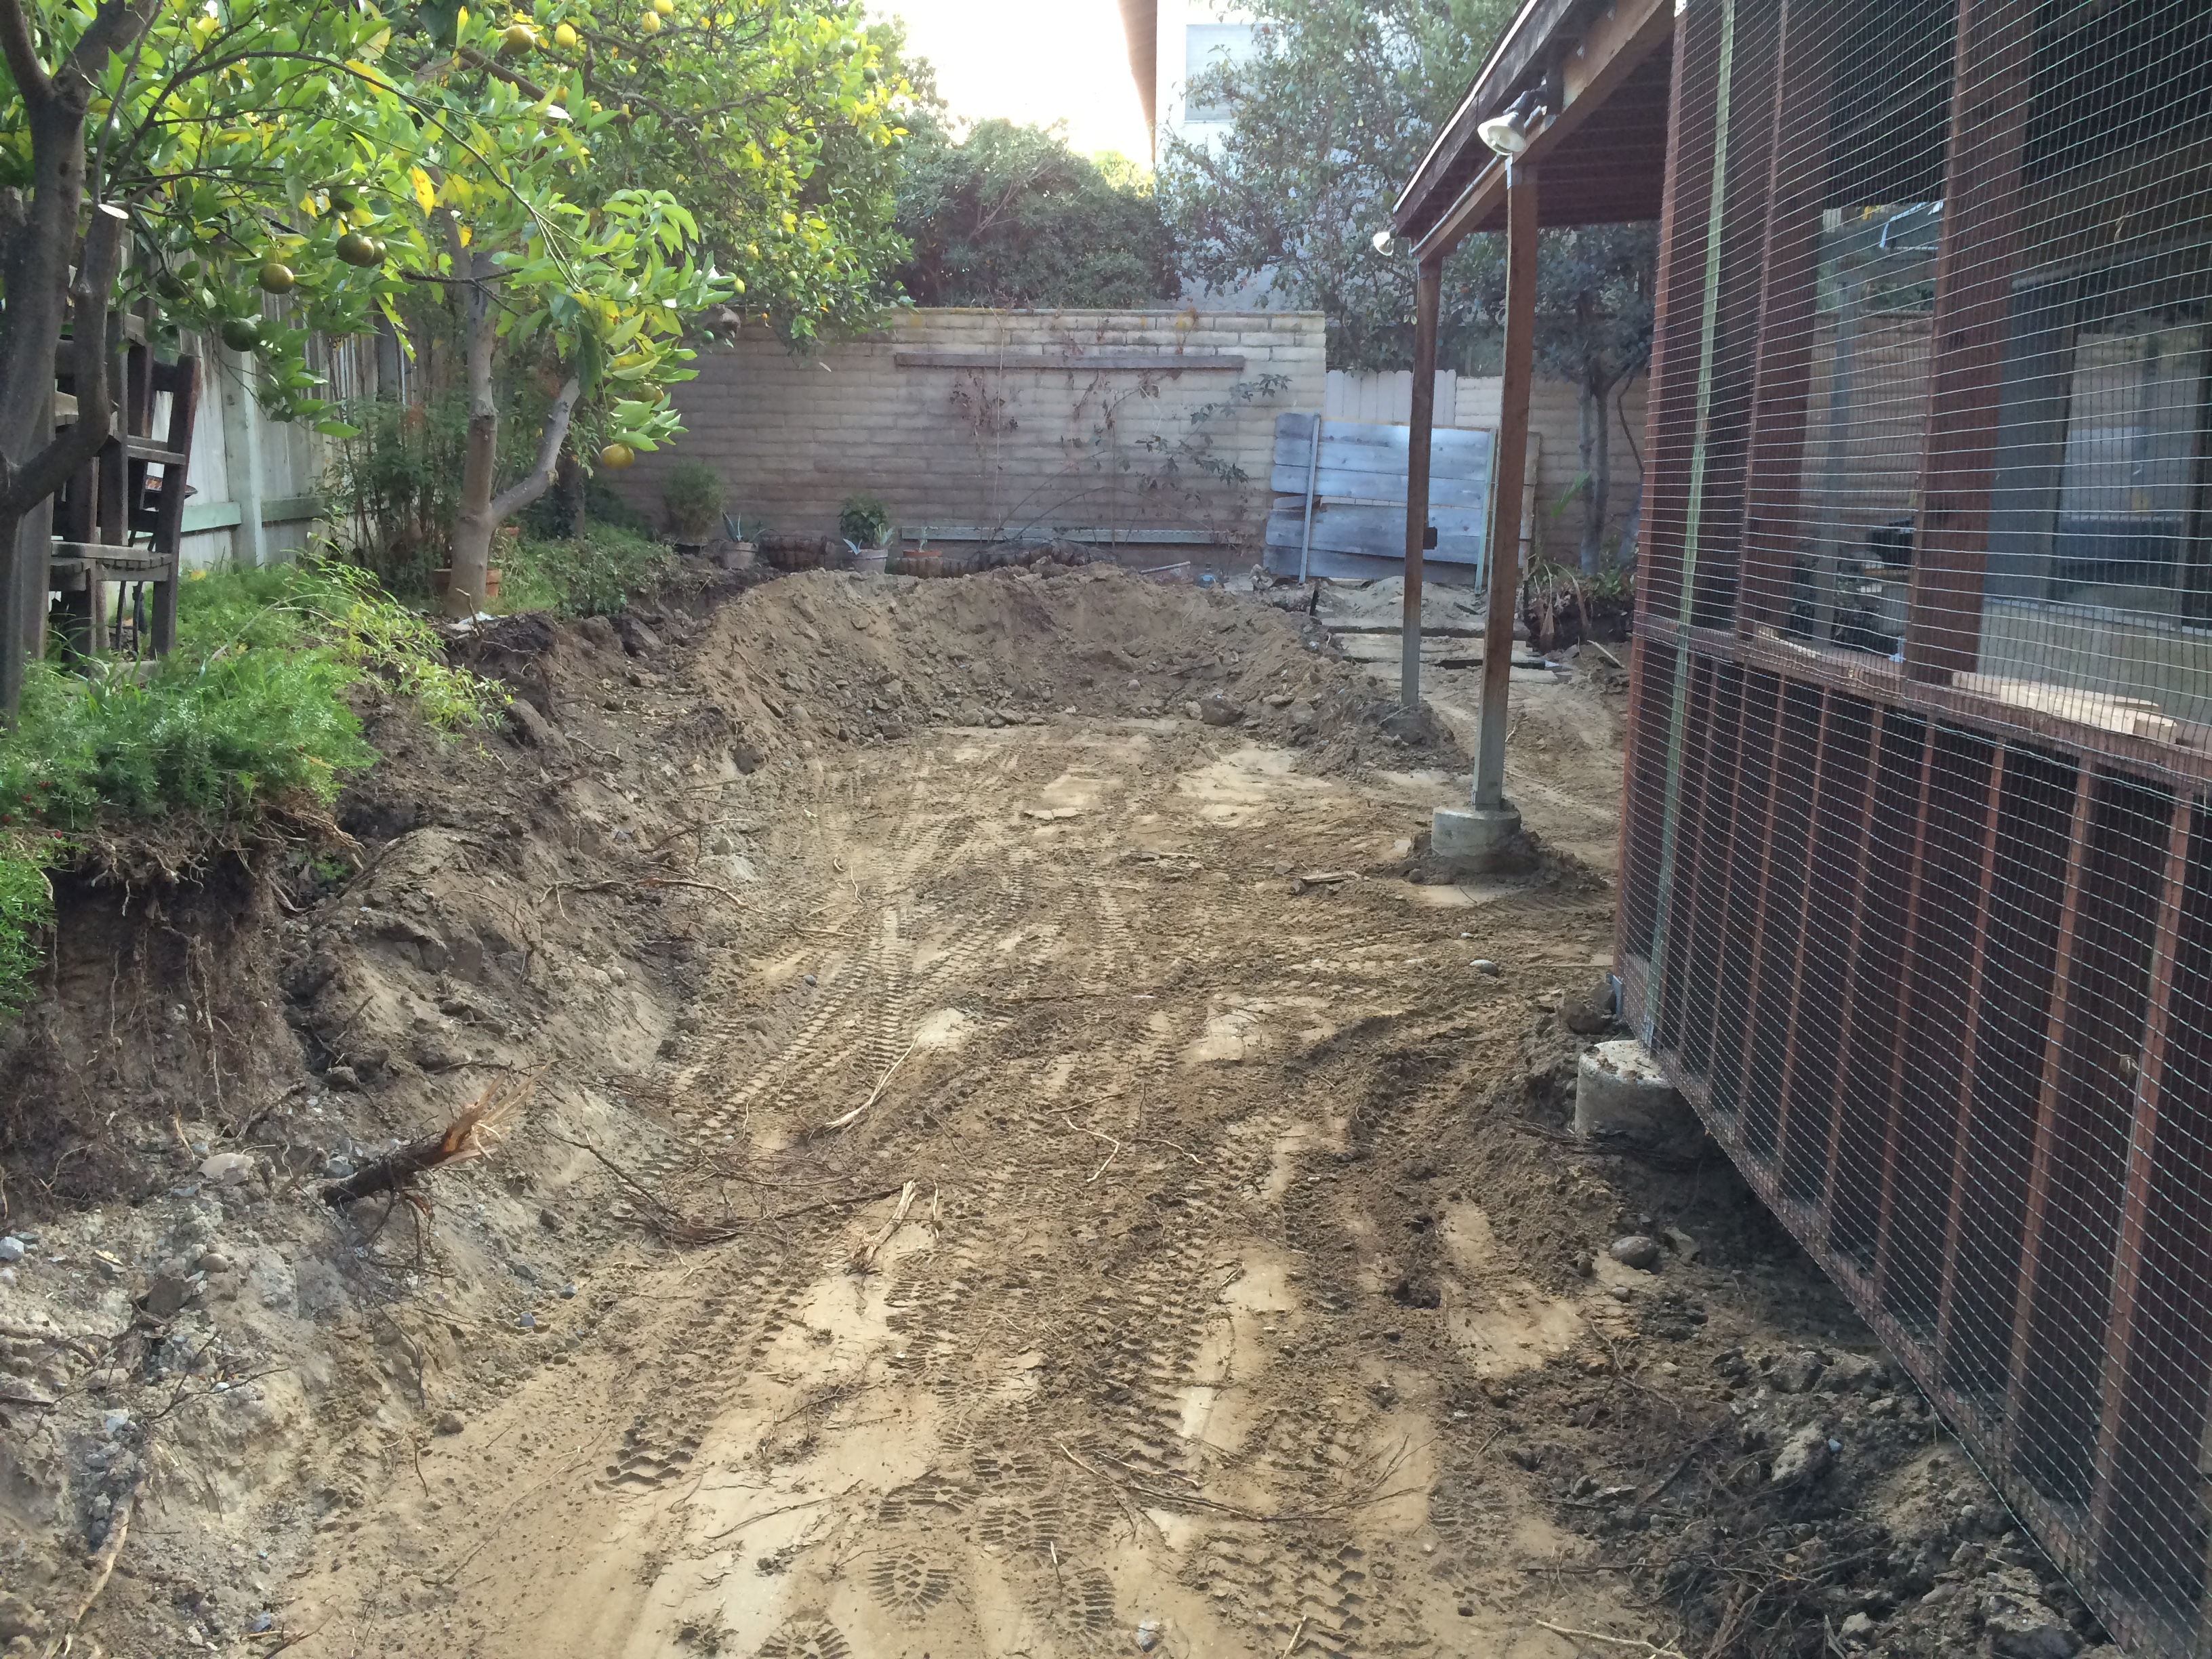
Patio Cover Footings — Before.

After — New posts and footings for the patio cover.

New footings and posts for the trellis.
The next thing I do will be to build the back retaining wall. This will be another back-breaking, dirt digging, block hauling adventure. At least I get some good cardio and strength training! I’ll try to post as soon as I can about it!
