
With demolition largely complete, it’s time to start building! Well, not quite so fast. Demolition being “largely complete” simply means that I’ve done as much as I could without actually opening up the house. This is an important distinction because once you open up the house, you have to work like hell to build it back up so that the varmints stay outside. Especially the ones who are walking by and see your expensive tools and want to take them.

My new pneumatic nail gun. The new tool for this project. I know, a REAL framing carpenter only uses a hammer, but nobody does that anymore these days.
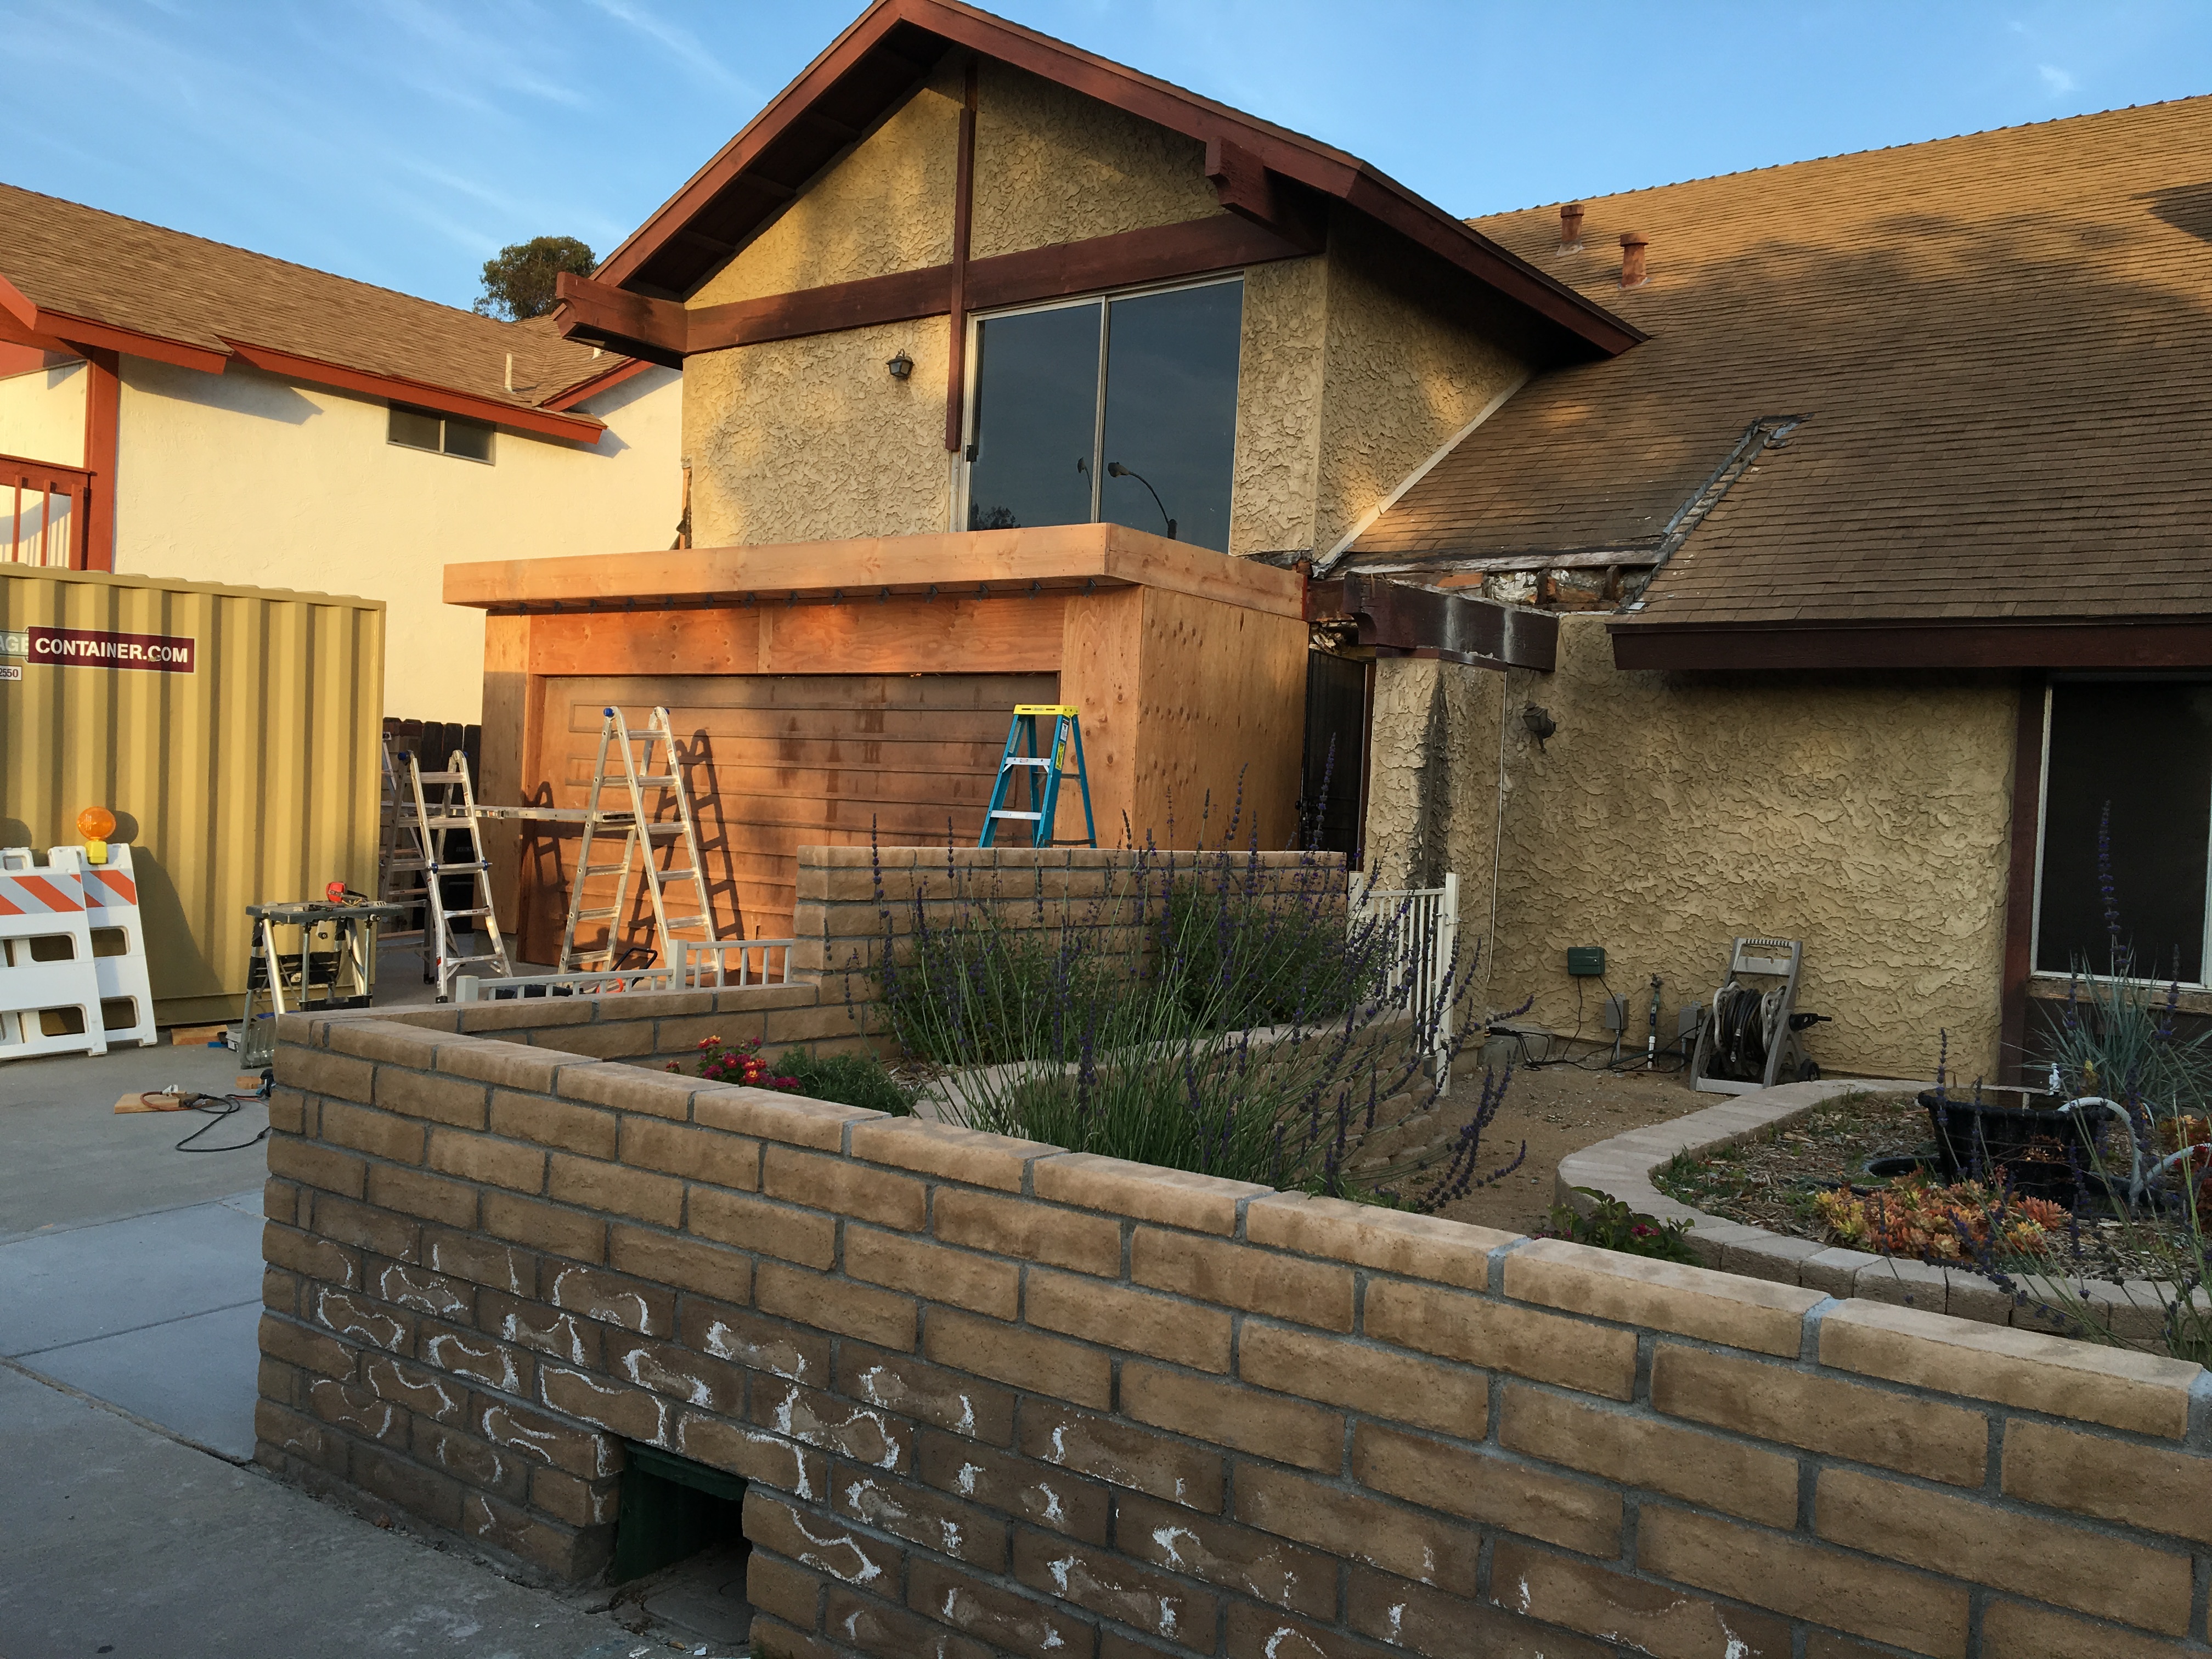
At any rate, I was ready to build the portion of the garage that was directly under the new bedroom addition. Originally, I planned to keep the existing structure and simply reinforce it and put plywood panels on the outside to make new shear walls, and build a new deck overhead. But, alas, when I removed the drywall, I found that the framing around the garage door, commonly referred to as a “portal”, was not even close to the required specifications. So, I had to take down all the walls and start from scratch, building up from the foundation. It was probably just as well because the existing framing, although adequate, was lacking somewhat in craftsmanship and accuracy. Best to get a fresh start. But I had one “big” problem.
One of the hallmarks of this project is that I’m doing EVERYTHING myself. So, I typically have to give some thought about how I will handle materials without help. In most cases, I can rig up a “third hand” or find a way to wrestle this or that into place, and sometimes have to come up with a mechanical solution (e.g., ropes, pulleys, chains). In this particular case, I had to figure out how to lift a REALLY BIG BEAM into place. I’m talking 3-1/2 inches thick by 16 inches tall by 20 feet long. While contemplating this at work, I mentioned my conundrum to one of my co-workers, who happened to have some extensive remodeling experience himself. He said, “Let’s just get some folks together and muscle this thing into place. It won’t take but a few minutes, if everything goes right, but let’s plan on a few hours because I’m a believer in Mr. Murphy.” He was referring to Murphy’s Law: If anything can go wrong, it probably will. So, with some cajoling, I was able to enlist the help of another co-worker and my oldest son, and arranged for a Friday morning beam raising ceremony. I also got my plumber scheduled so he could re-do the water service entering the house. This was important because I had run the water line through the front and needed to have the line disconnected to get the shear wall in place.
Now the pressure was on! I took 3 days off from work, figuring that I could get the demolition done and the framing up to accept the beam during the first two days, and be all ready by the appointed time on Friday morning.
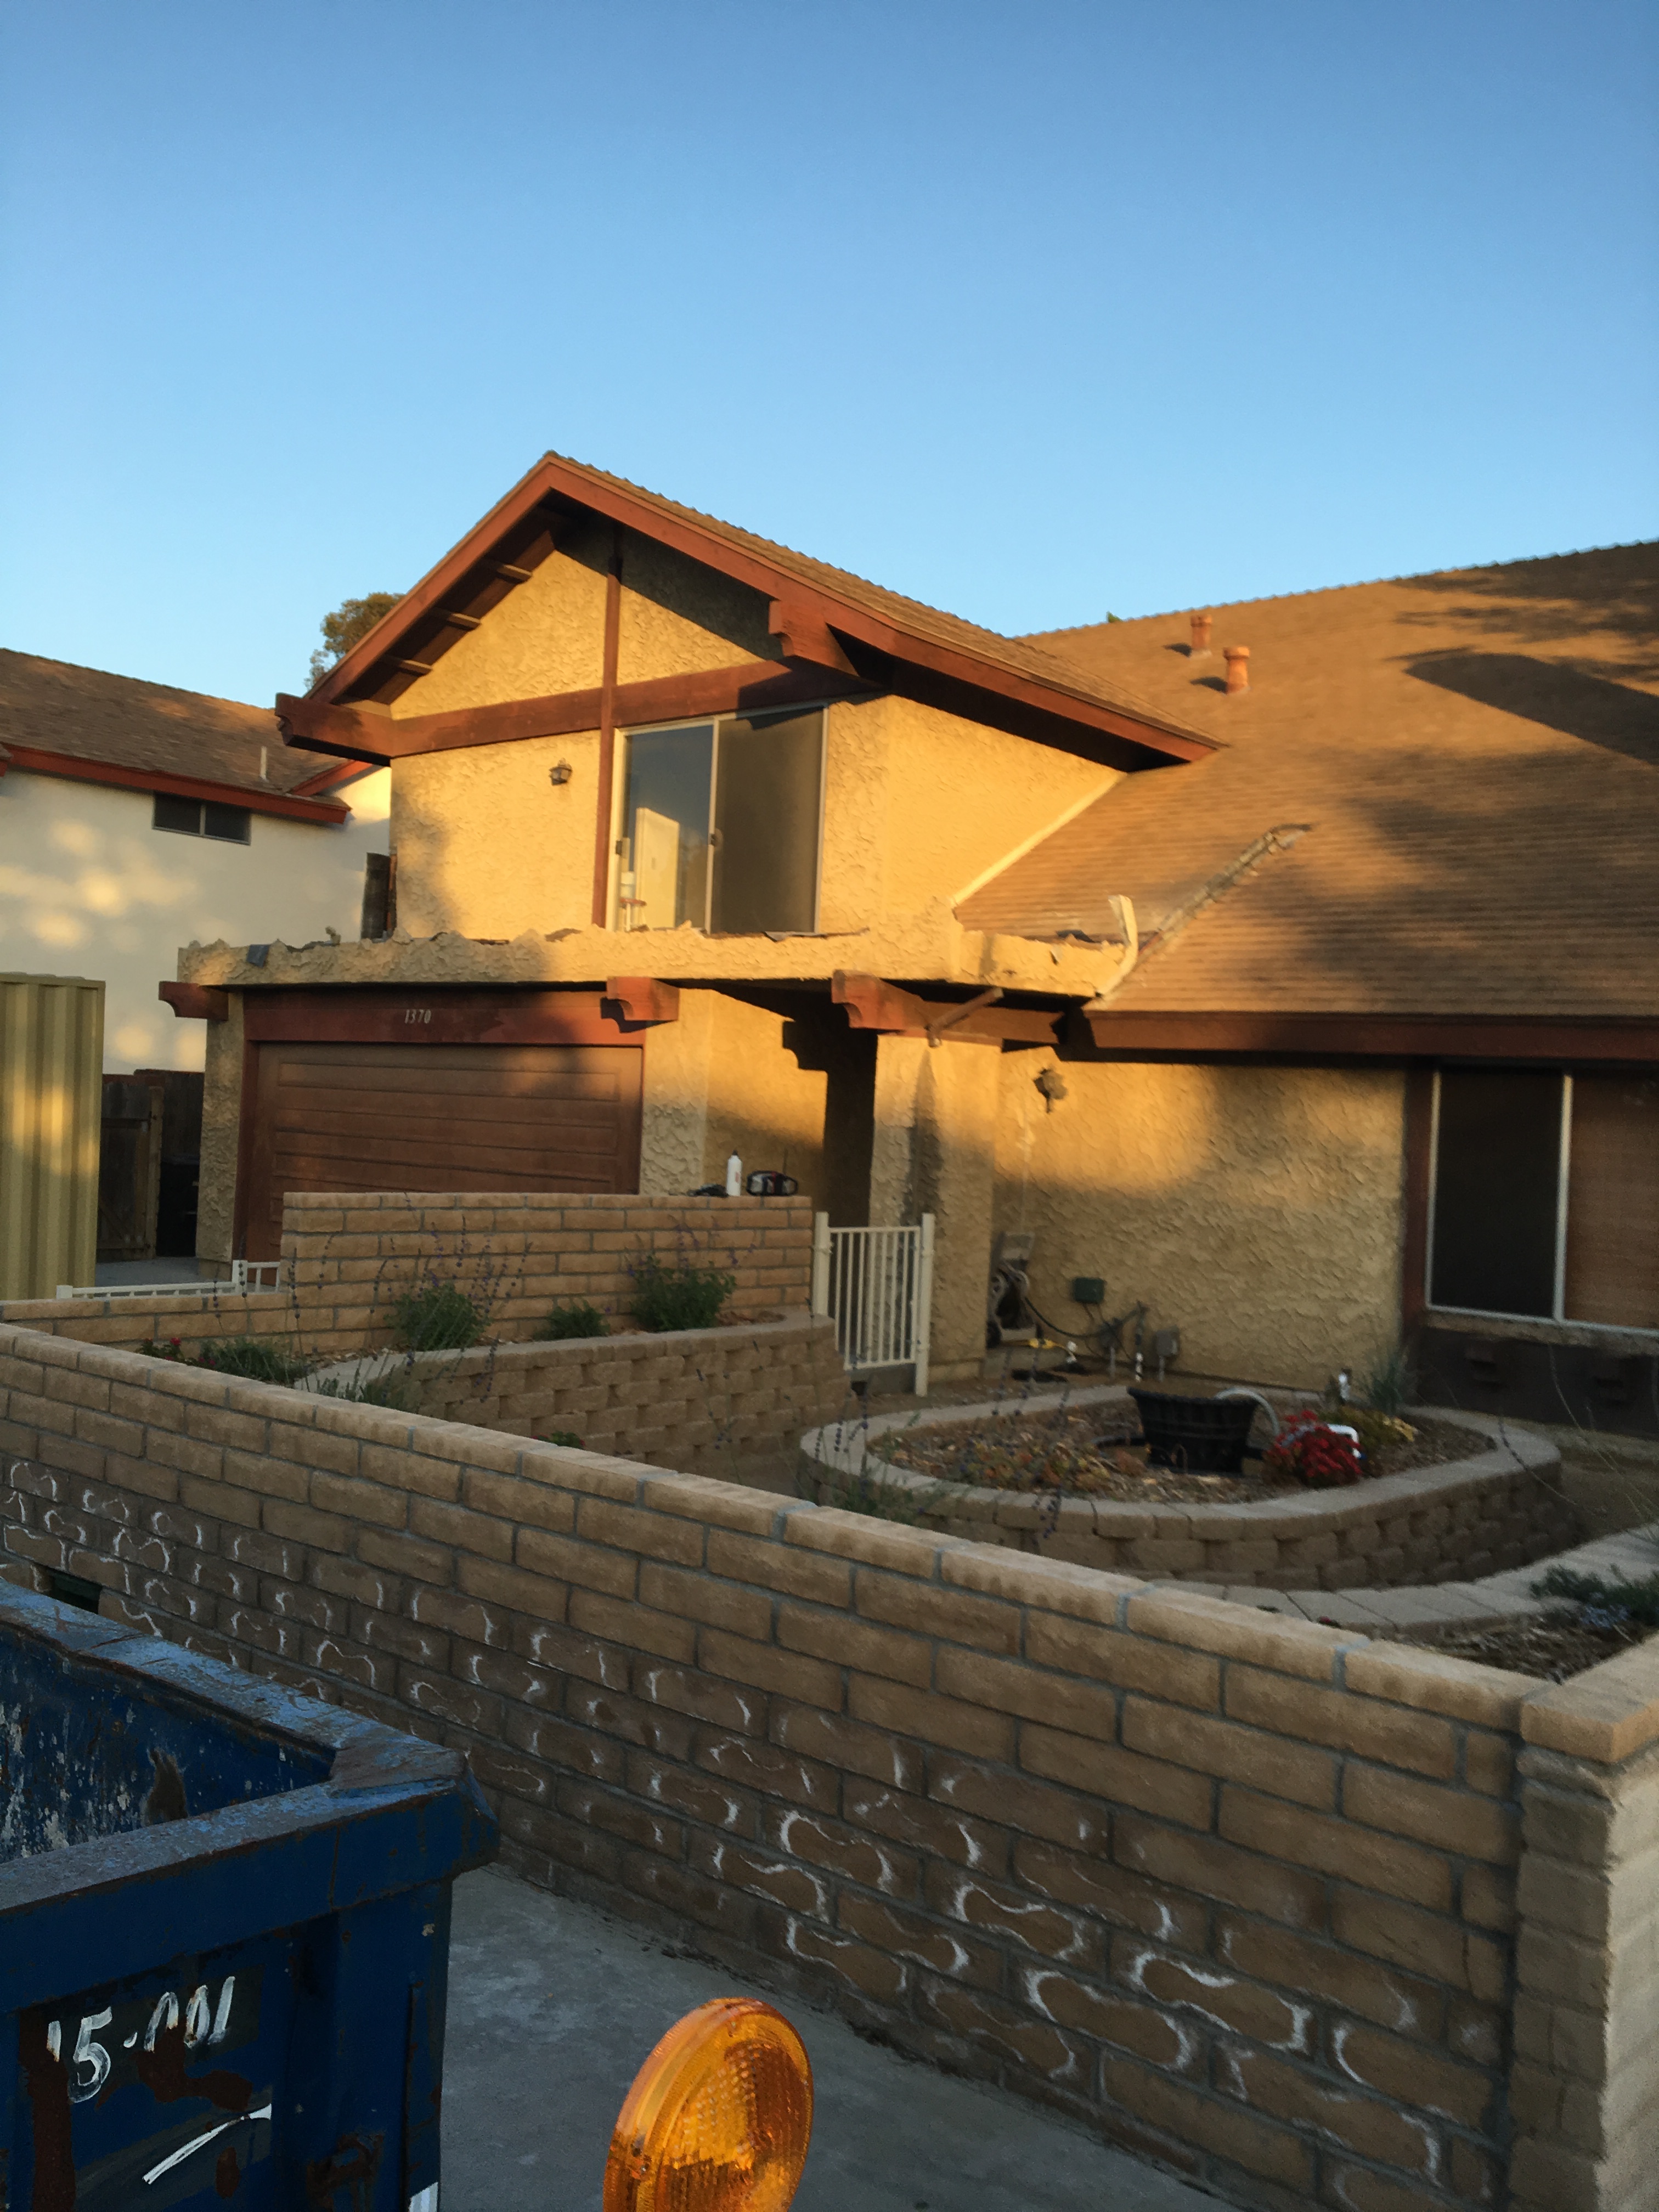
The front of the house sure looks different with the balcony removed.
Day one, Wednesday: Let the demolition derby begin! The first thing to do was to remove the old balcony floor. It turned out that the subfloor was attached with screw nails and it was a real bitch to lever off the plywood, and of course, it took much longer than anticipated. I then had to disassemble the joists underneath. I found out that I could knock them sideways and they came right down. Then, I had to remove the stucco from the walls. This is one dirty, tedious job that requires a lot of muscle work. Never mind that I had to take my 7″ grinder and precariously balance myself on top of a stepladder while getting all that dust in may face. Fortunately, I was smart enough to wear full goggles and a dust mask. Still, the goggles fog up and you end up getting covered with that crappy dust and end up looking like the Pillsbury Dough Boy. Needless to say, this took longer than anticipated (do you see a pattern developing?) and I had to stop before I could finish. Plus I was dead tired. I figured I could make up the time tomorrow. But first, I had to clean up and then install a big piece of black visqueen across the garage opening. I wanted to discourage random thievery and I figured that hiding everything would at least keep my valuable tools out of sight.

The stone that the builder rejected has become the chief stumbling block.
Day two, Thursday: Despite being exhausted from the day before, I had trouble sleeping because I was cramping up. That’s what happens when you hit your body hard with a bunch of exercise (as I know from my triathlete days). But woke up early because I knew I had to catch up. Went to Home Depot to get some pressure treated lumber for new sill plates because the existing ones looked like hell and I figured now would be the time to replace them. More unanticipated work. I still had one wall to knock down and some additional stucco to remove, but I couldn’t start because my lumber delivery came. It was one big load all strapped together, so the driver just slid it off the truck and onto the driveway. So, I had to move it all around in order to clear the driveway, but it was just as well because I re-stacked it in the order I needed to use it, which would hopefully save some time later. And it was getting later. By the time I had finished the remaining demo, and cleaned up, it was noon. Putting in the new sill plates took some time, but I figured that the wall framing would be pretty easy. I cut all of the lumber to the sizes I needed, but was only able to get one of the walls together and up before it got dark. And I was totally out of gas. Time to get some rest for the big day tomorrow! But first, I had to clean up and put that damned plastic back up.
Day three, Friday: I couldn’t sleep last night either because I knew I had to get that last wall up and I had folks coming at 7:30. Fortunately, I was able to get the wall framing assembled on the ground, and my son showed up to help me wrestle it in place. I was just finishing up when the rest of the crew arrived, and it was time to raise the beam! After a few minutes of strategizing, we all grabbed it and muscled it up there. I tacked it in place, but then Mr. Murphy showed his ugly head. I realized to my horror that I made the end walls 3″ too short! How could that be?? Well, like a dumb-ass I subtracted the double top plate, which I shouldn’t have done. Now we had to take out some nails, which was pretty damned difficult, and raise the beam enough to slip in a couple of 2×4’s underneath to get everything level. Unfortunately, we had to do this one side at a time, which meant that there were some small gaps at the ends because lifting up the beam on one end, even by 3″ threw it slightly out of level. In the end, I was only about 1/2″ off, but still you could see some gaps. Ultimately, gravity will settle things somewhat, but it was a little disappointing. Nevertheless, my plumber came and did his typically excellent installation, so I was able to get up most of the shear panels and ended the day with something that looked like a proper structure. After clean up and putting the plastic up (again) I could go in with a sense of satisfaction.
Day four, Saturday: Once again, I was working by myself. I got the rest of the shear panels up and then had to install some additional framing around the garage door opening so that I could re-install the garage door. I didn’t want to keep putting plastic sheeting up, plus I sure didn’t want to leave the house wide open when I went back to work on Monday. This took longer than expected because I decided to put some additional framing in to more easily locate the seismic hold-downs. I then had to attach a 20′ 2×12 to an existing beam that would support the joists of the bedroom addition floor. When I did the plans, I figured that what was existing (a built up beam of 3-2x12s) was good enough, but the plans examiner INSISTED that I put in another 2×12 and secure the whole assembly with a bunch of 1/2″ carriage bolts. At the time, I though it was overkill, but as I tried to marry up the new 2×12 to the existing structure, lo and behold, the existing beam was sagging. I mean by a very noticeable amount, like over an inch! So, I guess the plans examiner was right all along, and I now thank him for his advice. I wasted an hour trying to jack the existing beam up with what I had, but the more I thought about it, I figured the only way to straighten the whole thing out would be to replace it — a non-starter. So I did what a lot of remodelers end up doing, which is living with what you have and adapting. There will be a discontinuity when the new floor meets the old floor, especially in the center, but I’ll deal with that later. I also had to waste another hour or so cutting out the bottom of the aluminum framing around the sliding glass door. The new lumber was hitting it and wouldn’t go flush to the existing built-up beam. As usual, time flew and by the end of the day, I only ended up getting the new 2×12 tacked up and in place. Still had to install all of those bolts.

New joist all bolted into place. See the gap between the bottom of the new joist and the bottom of the existing beam?
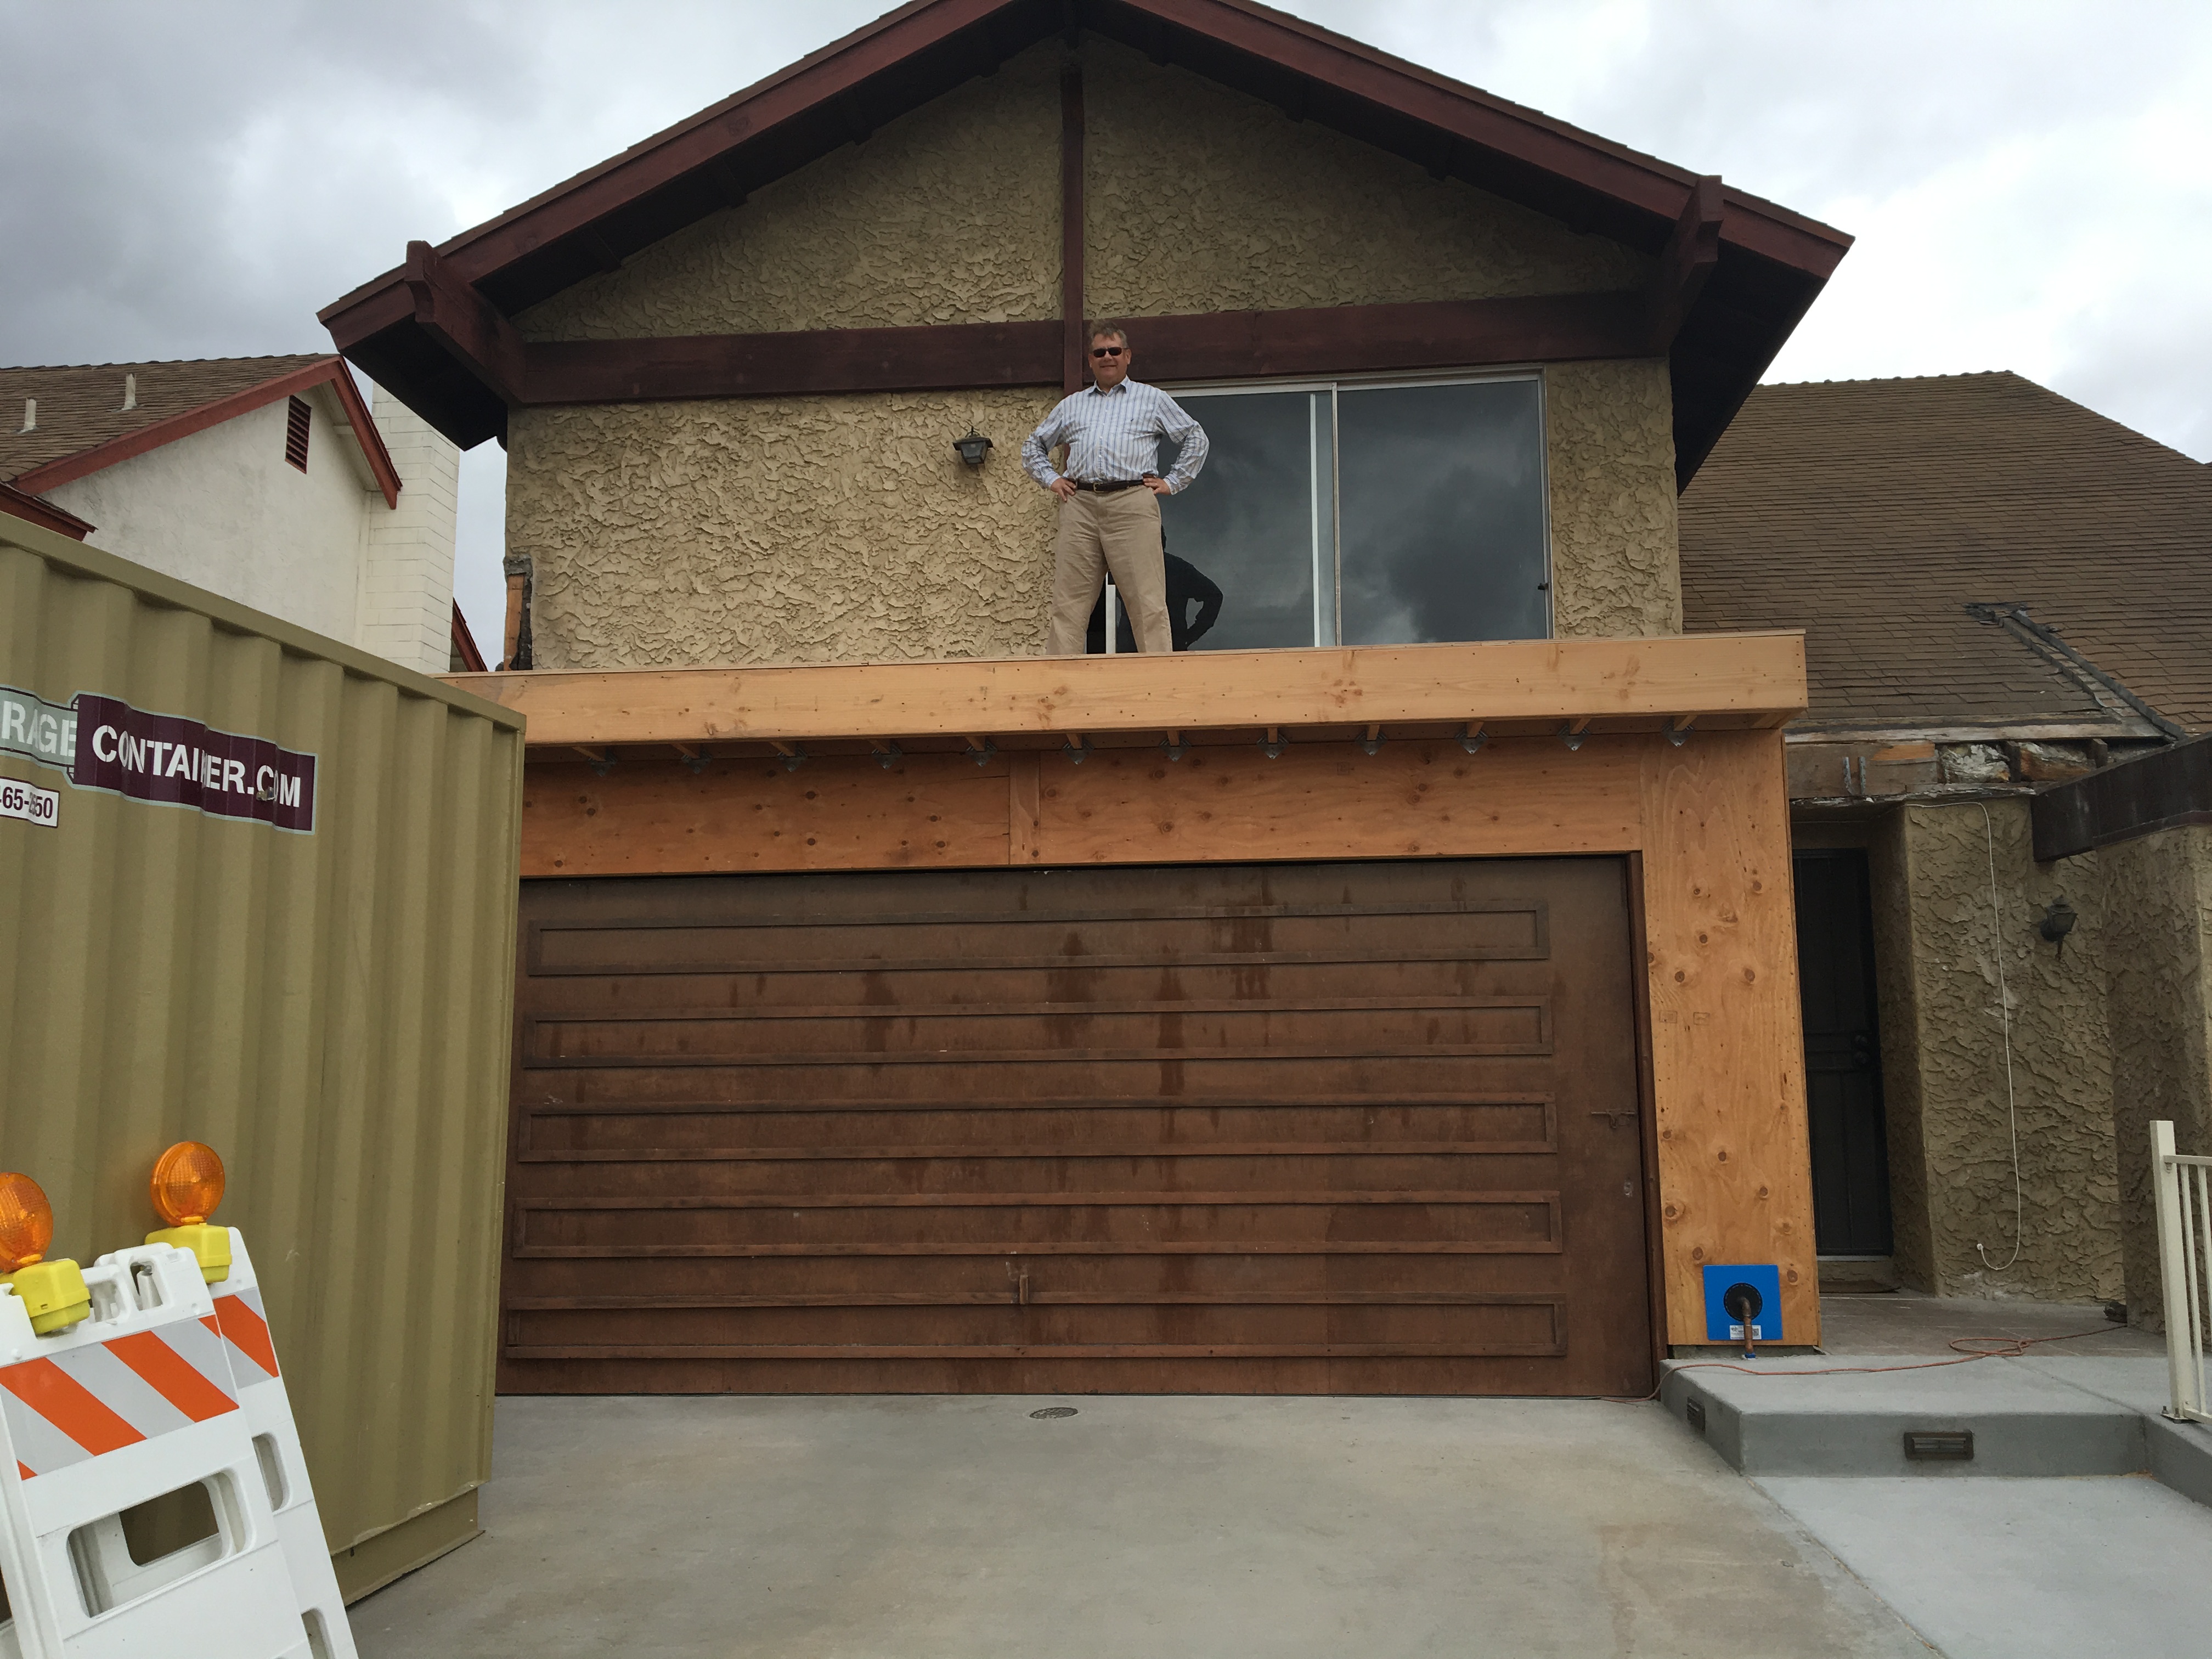
Day five, Sunday: I really wanted this to be a day of rest, but I spent several hours after church re-installing the garage door. It was a little fussy, but I got it in and working. This was good because now the garage had some physical security and I felt OK locking it up and leaving it. All the tools were out of sight, and it would take some doing to climb up and around to get into the place. So much for the “big week”. At least I got stuff closed in a bit, which removed some of the pressure to meet deadlines. After all, this is supposed to be enjoyable, eh?
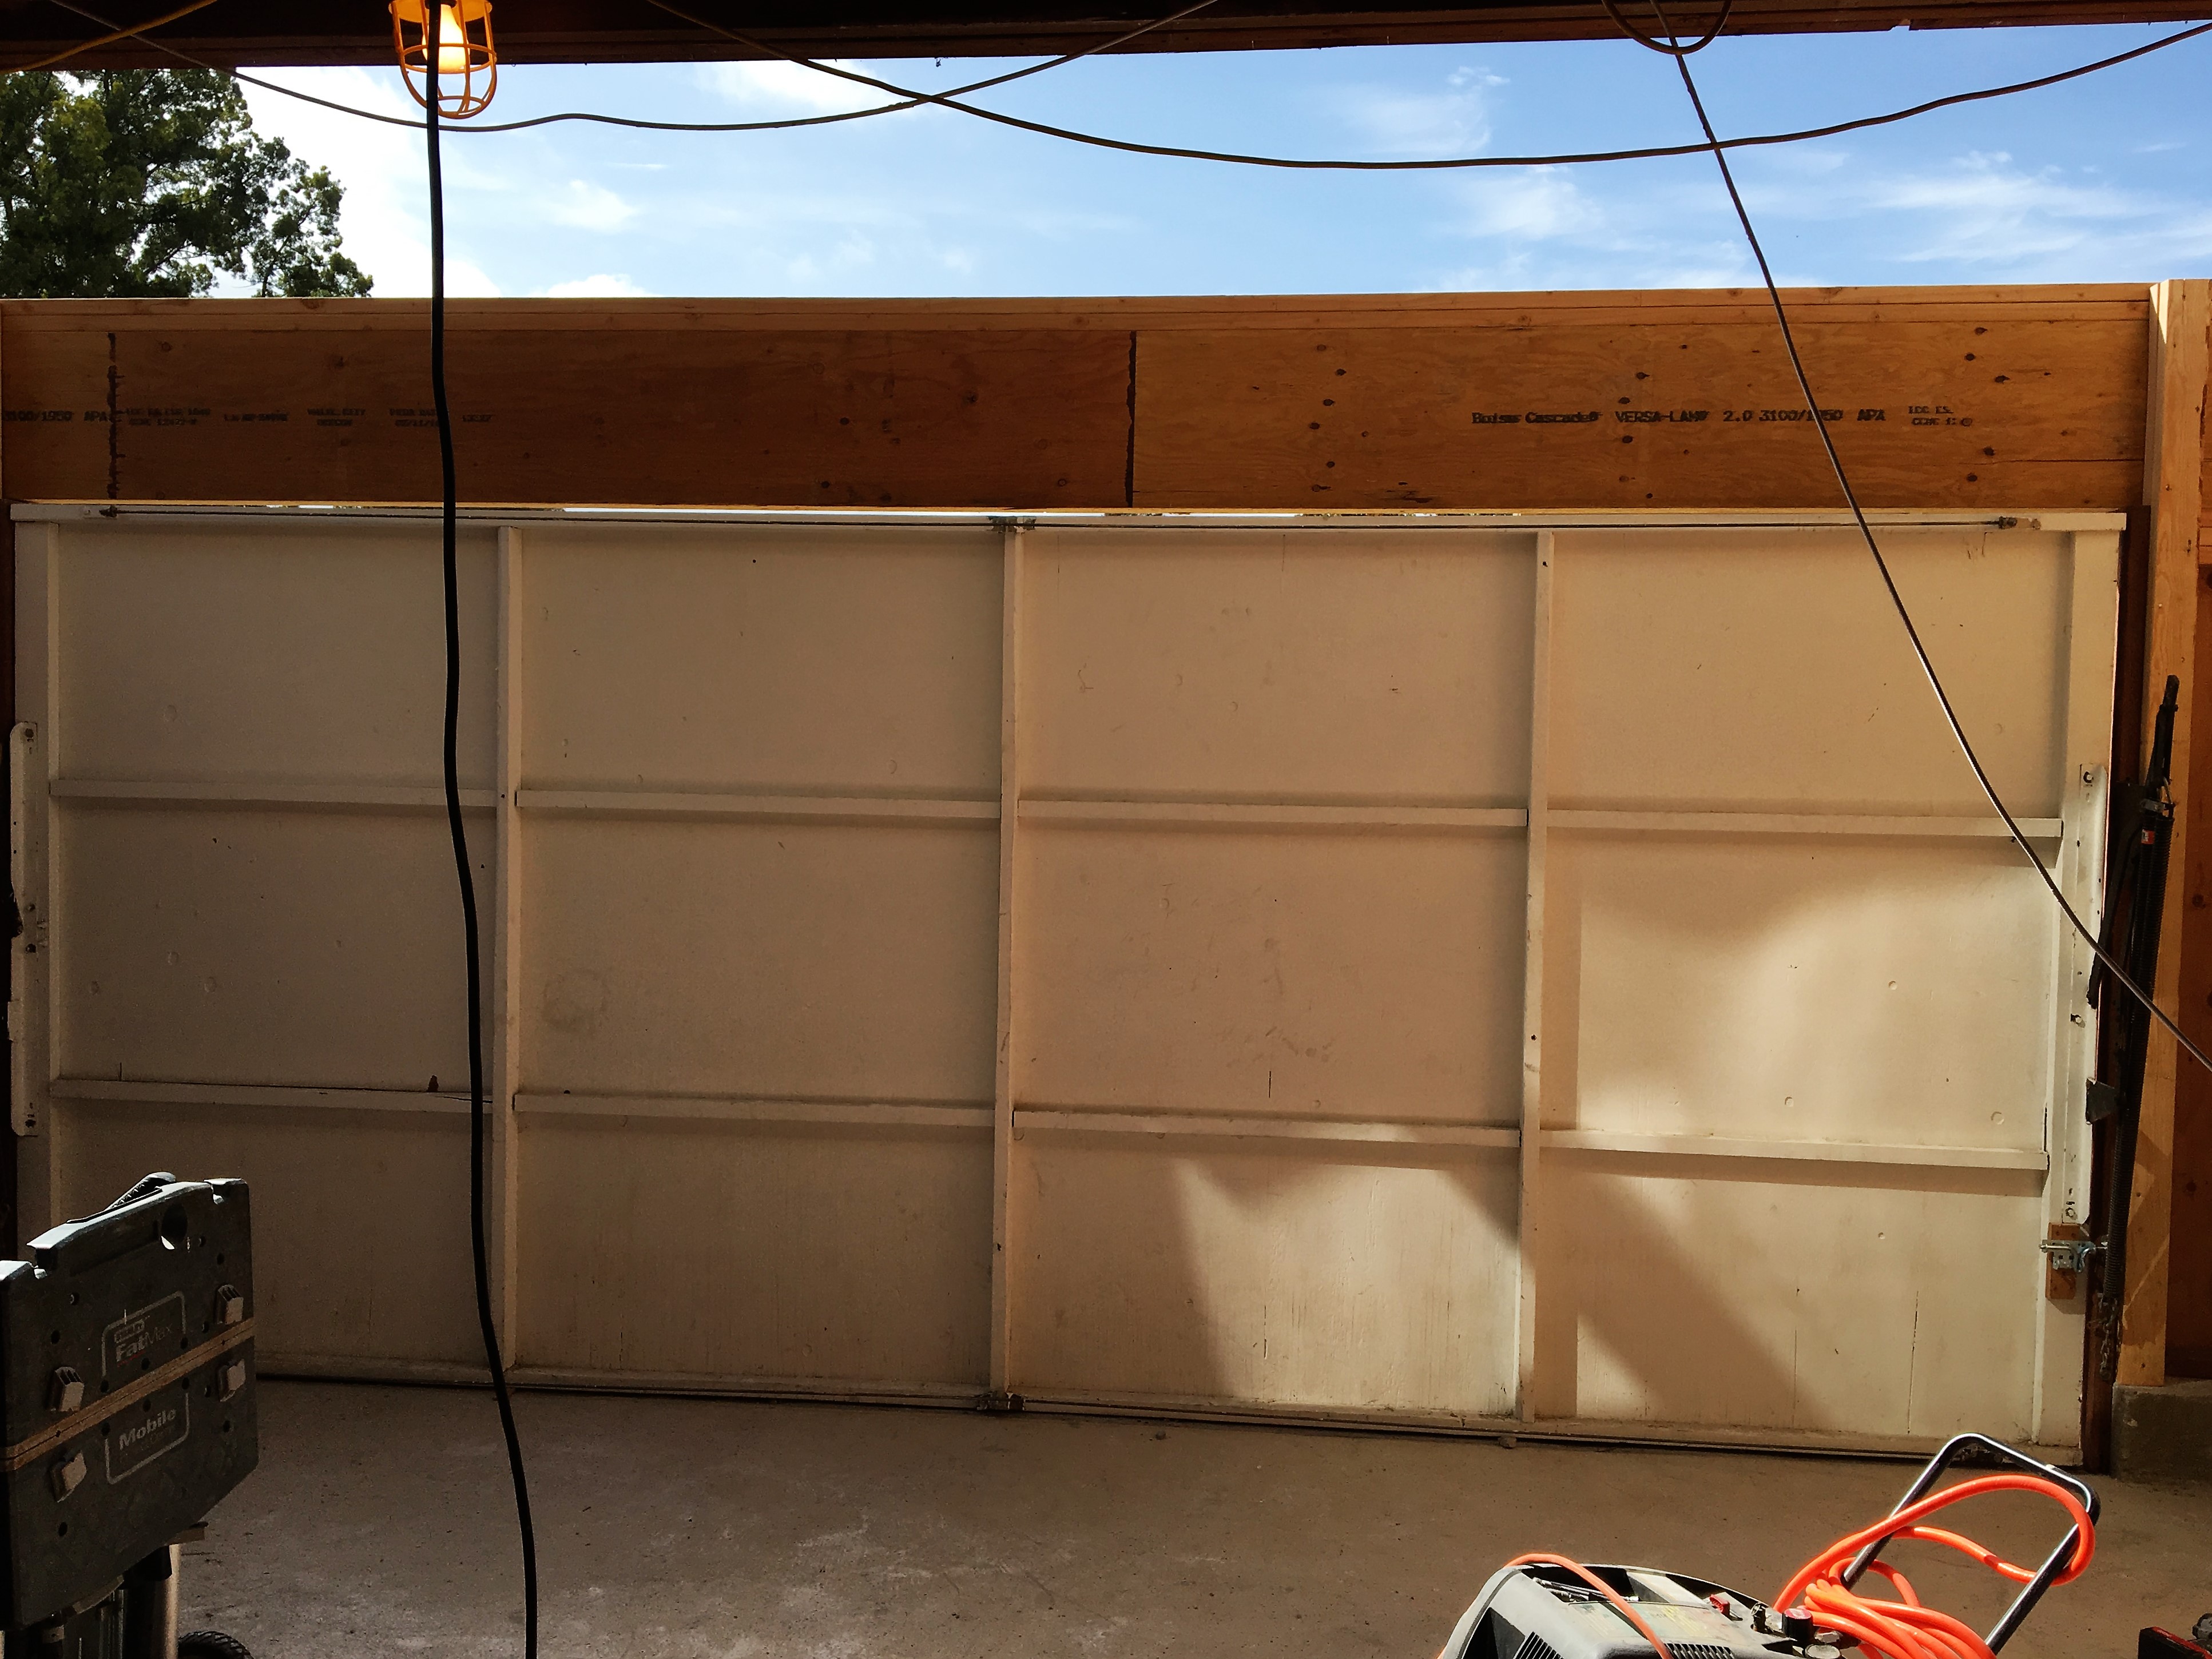
The garage door re-installed and my tools safe from random thievery.
Here is a video of the whole thing:
Now my attention turned to installing hardware. Besides the bolts for the new 2×12, and joist hangers and hold-downs for the new joists, I had to figure out where to drill holes in the foundation to install threaded rods glued in with a special epoxy to meet new code requirements for seismic loads. I had a pretty good idea where most of them should go, but there was a tricky spot in the corners next to the garage door opening. Additionally, the special epoxy installation needed a “special” inspection, meaning that an inspector certified in this sort of thing had to inspect every hole for proper depth and cleanliness before you put the epoxy goop in. So I figured I would ask the inspector about the bolt location AHEAD OF TIME. Note my predilection for avoiding future trouble caused by me.

Proposed hole locations. I really didn’t know how to do this correctly. At least I realized this ahead of time.
I looked up special inspectors on Angie’s List, and while Angie’s List is usually pretty good, here I found nothing. So I searched on the Internet and found a guy whom I contacted. He was very cooperative, and since I did the design, I knew the requirements so I was able to give the impression that I knew what I was doing. I sent him a picture of the proposed hole locations, and he contacted a colleague who happened to be a registered Professional Engineer (PE) to get his advice. After some back-and-forth, I contacted the PE, whose name is Chris Pinnow (see link to his website) and arranged for a meeting. As the appointed time came closer, he was running late and suggested that he would come the following day (Saturday) AND he would bring a hammer drill and bit and offered to help drill the holes and knock off the entire job! It was pretty easy to say yes.

“My” engineer- Chris Pinnow. Really glad to have met this guy.
Sure enough, he shows up and we get to work, and in 4 hours I have all the holes I need, properly inspected with threaded rods properly secured with that special epoxy. Turns out that I had some misconceptions about what the hold downs were supposed to accomplish, and I’m really glad that Chris came and checked things out, because he made some crucial corrections to the installation. Here is the lesson: The days of framing a house with a stack of 2x4s, circular saw, and a big box of nails, are over. Today’s construction techniques are pretty sophisticated and if you’re doing something on the order of a remodeling job that involves structures, you’d better find a PE that can help you look at a few things should they come up. Their prices are usually very reasonable for professional services, and their advice is well worth it because you won’t have to do things over.

Final location of the holes, per my engineer.
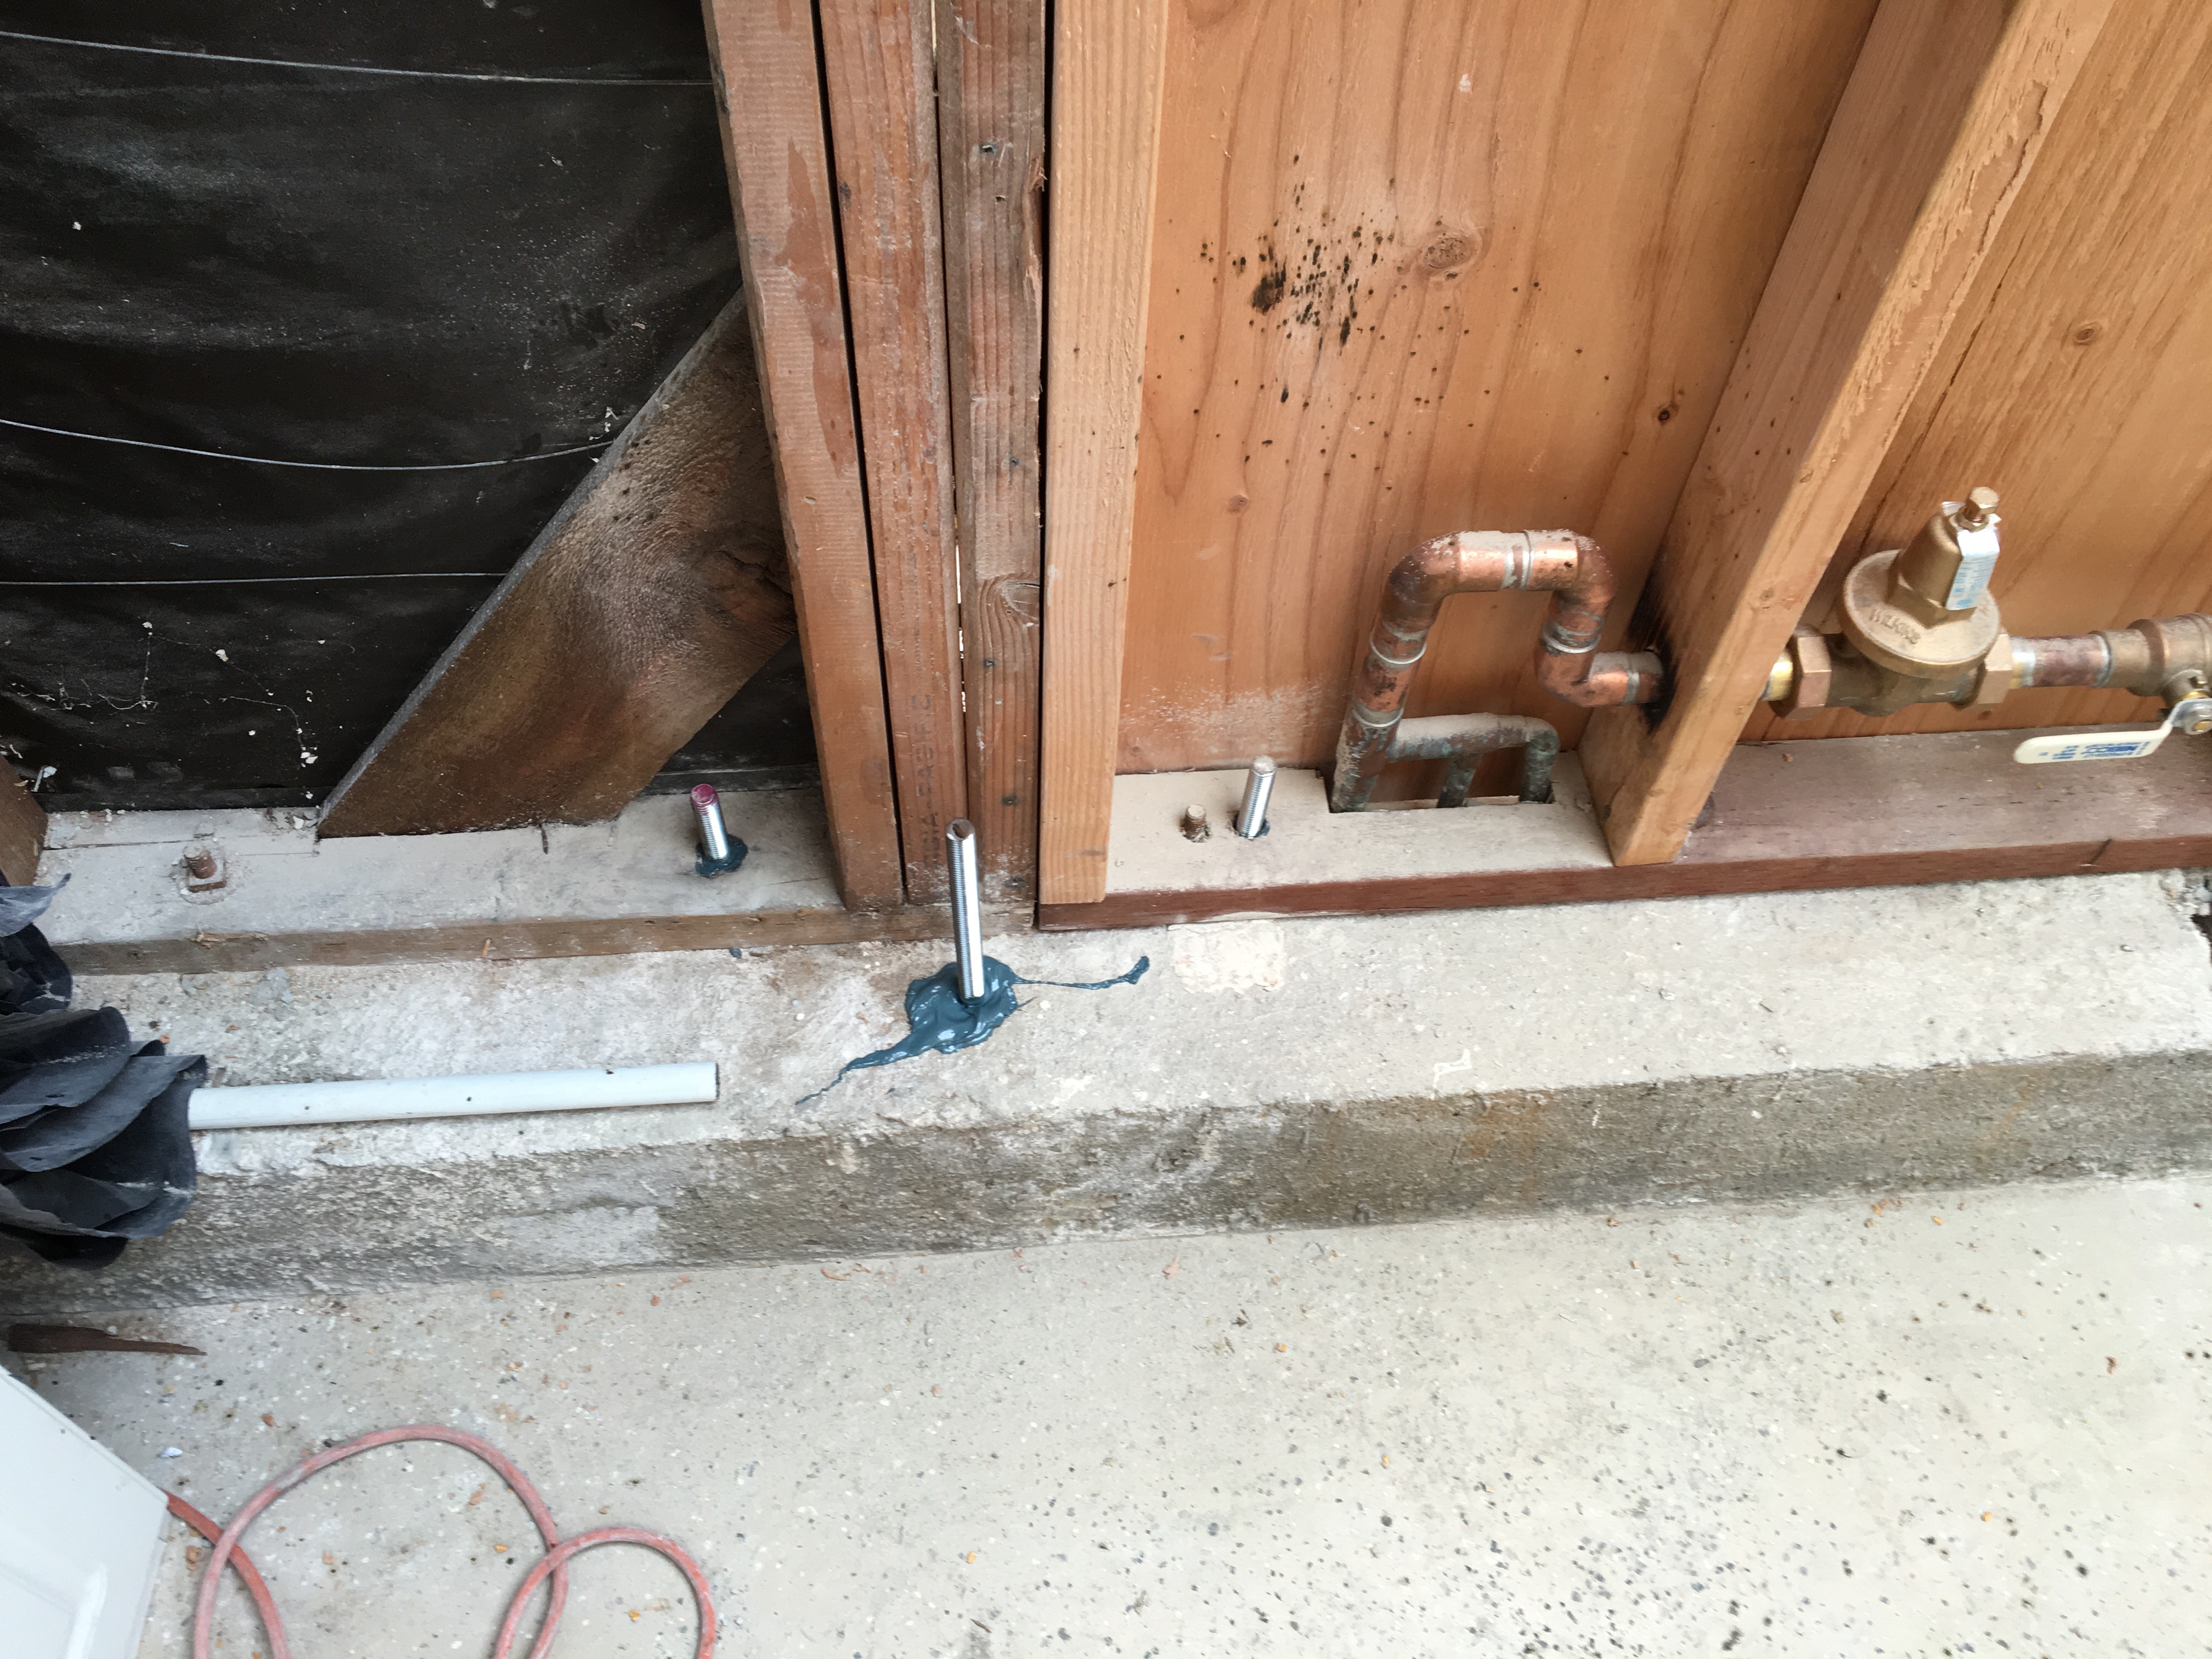
New hold down bolts all glued in place.
With that out of the way, it was time to build the deck over the garage, which serves as the structure for the floor of the bedroom addition. Ordinarily, this would be a relatively straightforward task, and if you were building totally new construction, it’s a day’s job, even if you’re solo. But with remodeling, usually nothing is so straightforward. That’s because the old stuff has most likely moved around a little bit due to settling. Plus, sometimes the carpenters who build the house may not be so fussy about accuracy, especially if they’re building a tract house and time is of the essence. So, things are not necessarily plumb or square, and you have to accommodate this when you meet up the new with the old. In my case, the built-up beam that supports the existing bedroom gable wall was not only sagging, as mentioned above, but was also bowed out and canted forward. That meant that I had to not only cut each joist to a different length to accommodate the bow, but also cut each at an angle so they would meet up correctly with the canted face. But, hey, it gives me a chance to exercise my craftsmanship skills.

Old meets new. Note the sag in the existing beam as compared to the new joist. Also note the location of the chalk line.
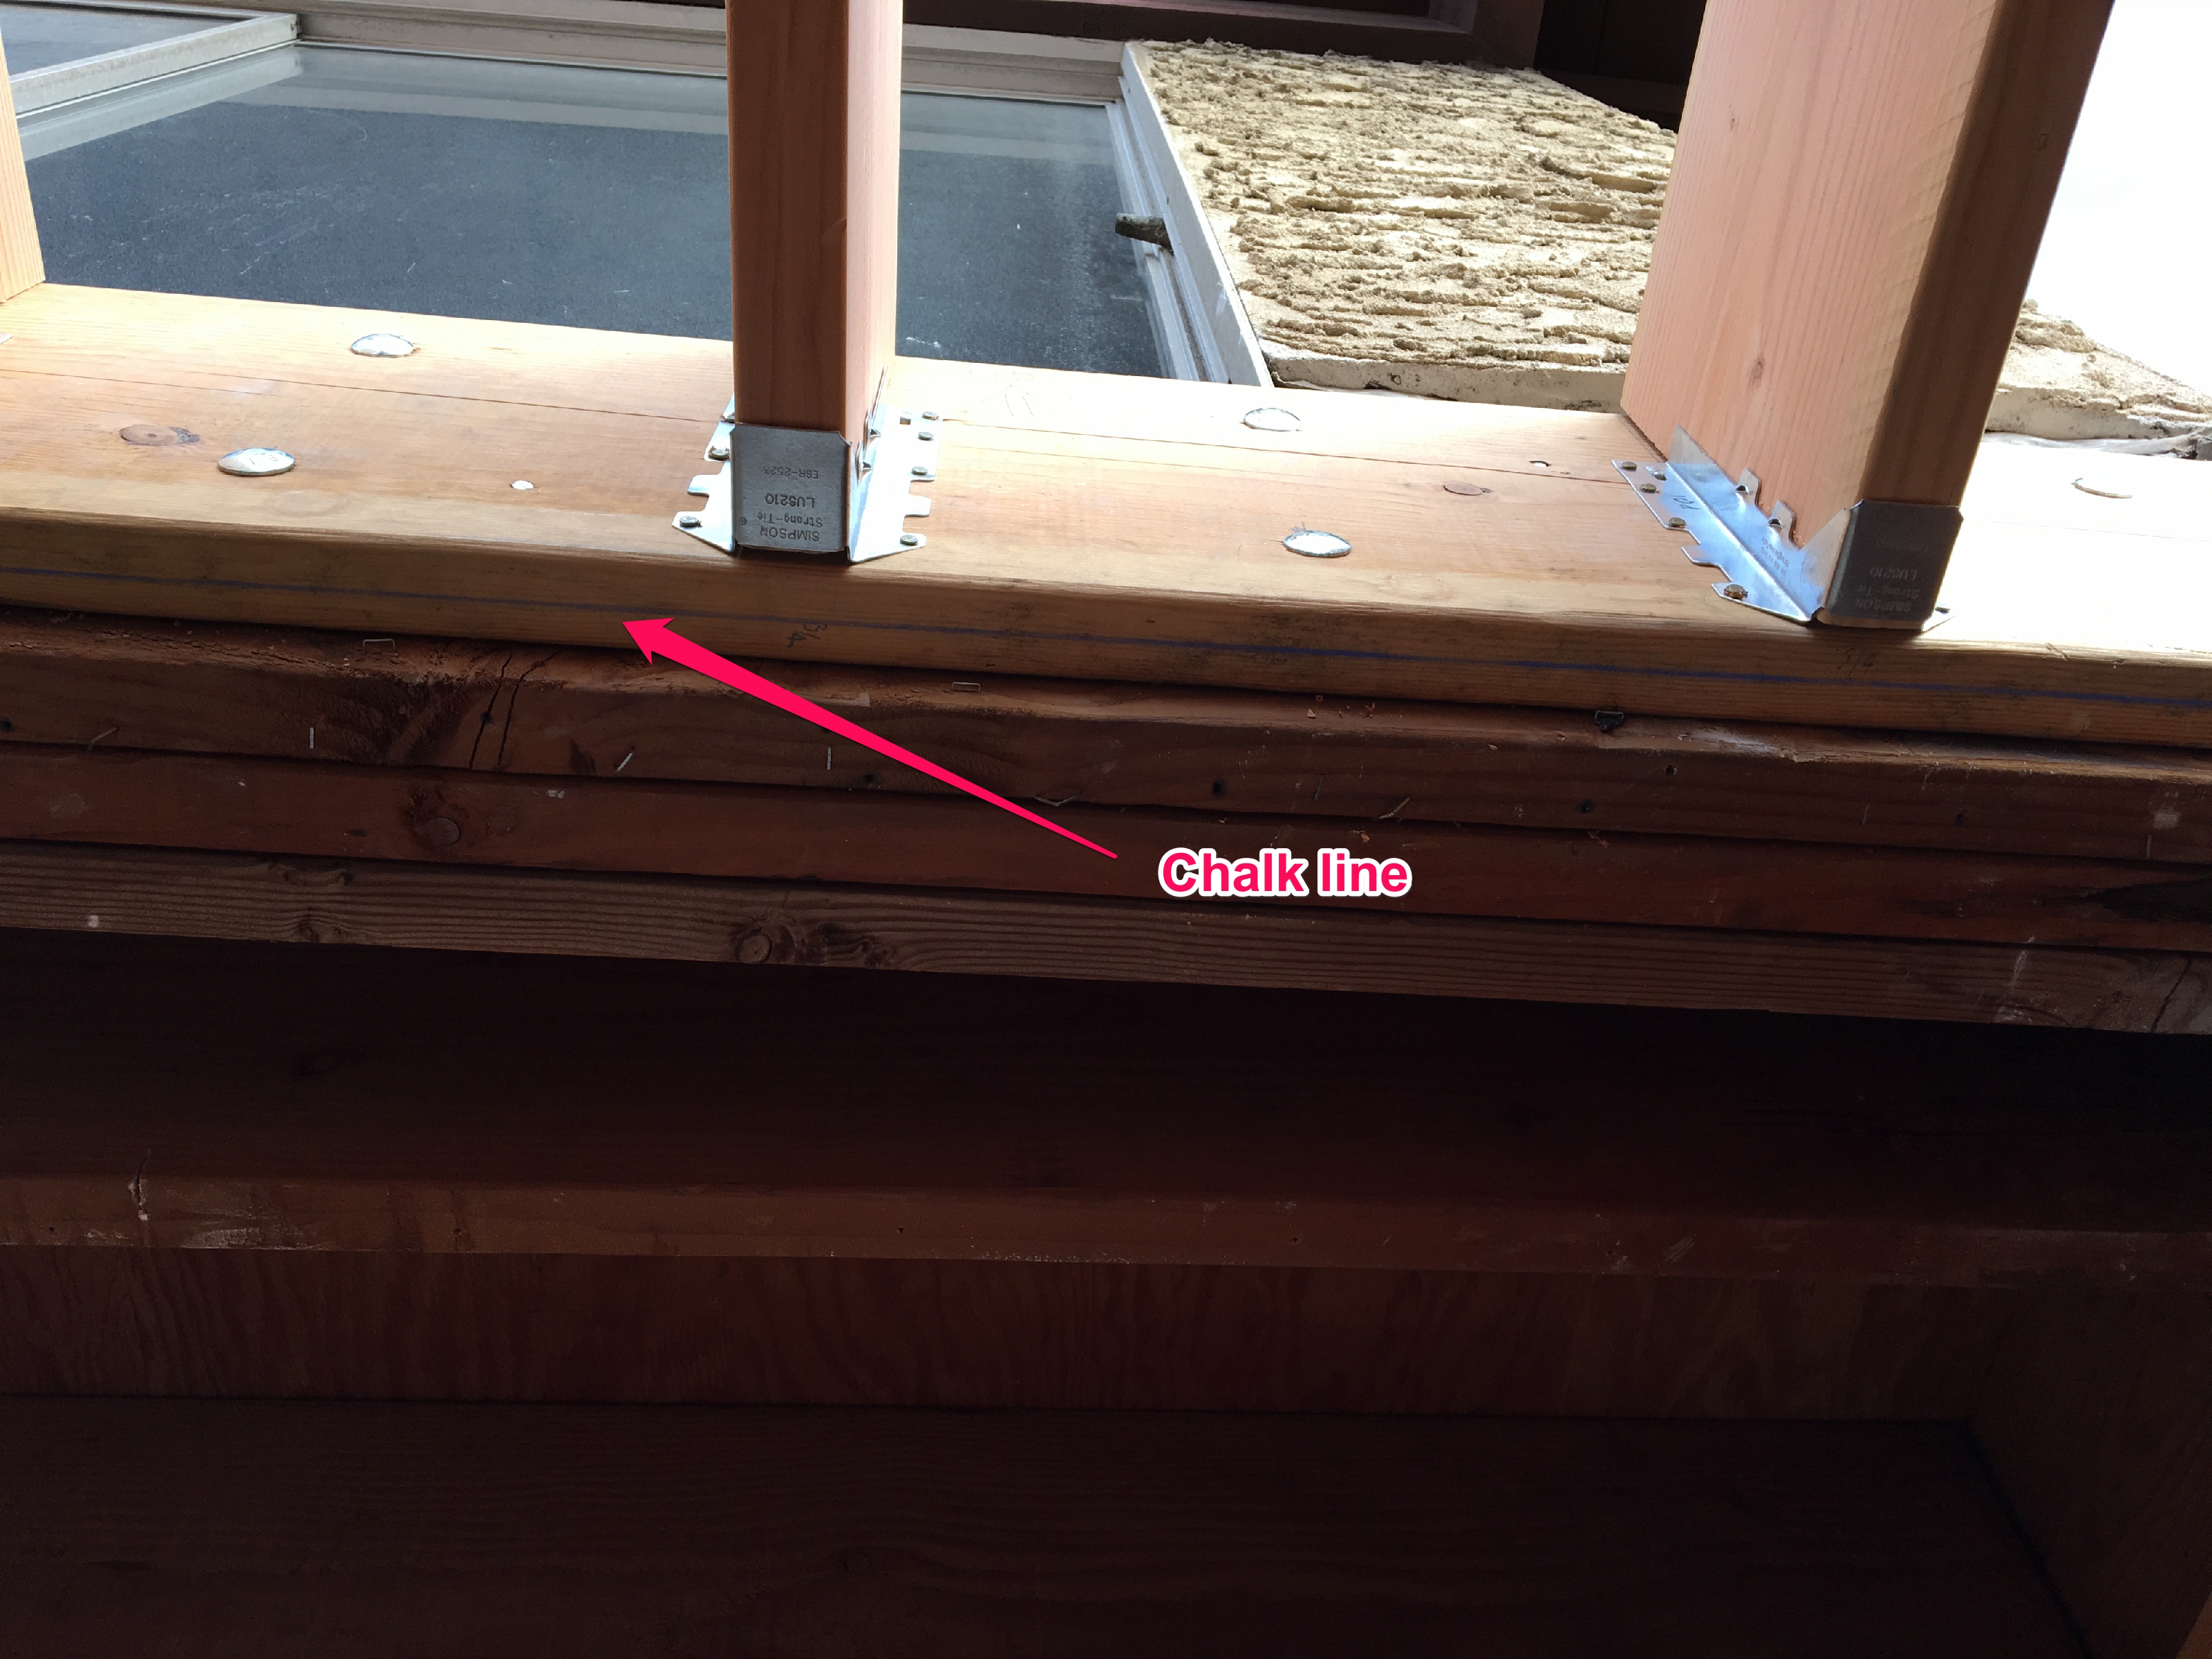
Notice the difference in the position of the chalk line. This shows the bow in the existing beam.

My worksheet to keep track of what joist goes where.

I had to cut each joist at an angle to take into account the cant of the existing beam.

All joists are up. Still have to add the rim joists.
Deck framing complete with rim joists installed.

Blocking detail. These are short blocks of wood that fit in between the joists. This not only gives the structure a lot of additional strength, but also squares up the joists nicely. Note the tight fit in the corners. Really looks nice!
Now with the framing in place, it was a simple matter to install the plywood on the frame to make a nice solid deck for the bedroom floor. I was a little concerned about fitting together the tongue-and-groove plywood together by myself, but I came up with a nifty way to do it. All you have to do is to get one corner started and then temporarily secure it with a deck screw to the joist below. Then you can coax the whole assembly together using the deck screw as a pivot. Here is a picture:

How to mate tongue and groove plywood by yourself.
With the deck in place, it was time for an inspection. This was important because if I don’t have an inspection every 6 months, the city assumes that my project has been abandoned and they cancel my building permit. Because I can only work so fast, and I didn’t have a lot of inspectable items while I was working on the outside, AND I used up my one-time extension, this was a big deal. The inspector came and had some good words of advice, particularly when he pointed out that I had installed the washers on the hold-downs upside-down. How embarrassing!!

New hold down ready for inspection. Note the position of the U-shaped washer under the nut. I had a little surprise coming.

Hold down properly installed (!)
Nevertheless, I got a couple of inspections signed off, so I punched my card for 6 more months. This whetted my appetite for the BIG buildout of the master bedroom, which is next!

New deck installed.
The proud builder atop his masterpiece.
