With the project sufficiently mature, the time has come to involve other trades for work that I was not going to do by myself. I had to get a new roof put on, get the stucco put up, paint the exterior trim, and get a new HVAC system installed. I had planned all along to contract these jobs out because there really are limits to what even a pro can do by themselves (and I’m just a lowly, but enthusiastic, DIY’er). Finally, I could relax a bit and have someone else do the hard work, right? Well, not so fast….
It turns out that when you start to bring other trades in, you have to work as your own general contractor. That means coordinating schedules, materials, inspections and the like. Fortunately for me, I have a lot of experience in coordinating projects, so this one was really not so tough from a management perspective. However, I had to hustle to make sure that I did my part of the job and get truly ready for the next steps. The one thing that you have to understand are the dependencies that the jobs have on one another.
We start with the stucco. I had to coordinate the stucco and the roofing because, on my home, there was some interrelated work. I had to contract with a roofing company and get on their schedule, and they had to come out and do some preliminary roofing work before the stucco contractor could start. The stucco contractor then had to agree that he could finish the work before the roofing folks came in. But it turns out that some other trades were involved, and because I was covering those, I had to get back to work! For example, I had to finish rough electrical work around the living room and porch because they would be inaccessible after the stucco was up. So I had to DO the work, then schedule an inspection to get it signed off, then finish installing the plywood substrate and all of the other electrical penetrations. I also had to install bases for the new exhaust vents (dryer and ventilation fans) before the lath was put on. Even so, I forgot the doorbell and the intercom penetrations. I’ll just have to compensate later.

Getting ready to cover this area with plywood. I had to tear it all apart to get the porch roof beam installed, and as long as it was uncovered, I took the opportunity to fix up the wiring and add new coaxial and ethernet cabling. I also had to get this inspected and all buttoned up before the stucco lath folks showed up. I had to hustle!

Insulation installed prior to lathing. This is R-19 underneath where the master bedroom floor cantilevers out by about 12 inches.

I also had to install all of the electrical fixtures (see the little yellow wire) and get a new front security door before the lath started. That’s because there was not enough clearance to remove and replace the old door without damaging the stucco. More unexpected work!
So, I finally got to the point where the lathing could take place, but I had one problem: I needed to remove the old electrical panel, and in order to do that I had to get the electrical service transferred. I worked with my stucco guy and we worked out a plan where I would get the electrical service transferred first thing on a Friday, then rip out the old box and have the lather come in and finish the area around the old electric box. Then the inspector would come later in the day. Unfortunately, the guy who was supposed to come to finish the job didn’t show, and the stucco contractor had to get a substitute who (a) came too late, so the inspection was called off and (b) was not a lath specialist, so he missed a few things. Fortunately, my stucco contractor and I came up with a plan “B” and he had somebody come out the following Monday to make sure everything was right, and then we got the lath inspection completed on Tuesday.

Utility workers pulling new electrical cables through the conduit that I installed almost 2 years ago. These guys are working on live lines, but are extremely careful to only work with one at a time. and they know how to do it safely. I’m way to chicken to ever do this.

New meter installed. Actually, it’s really just the existing meter taken out of the old panel and installed in the new main panel. Still, it’s my new electrical work which has been given life!

My old electric meter is now out, but we only have a few hours before the inspector comes to inspect the lath. I’m not feeling good about this…
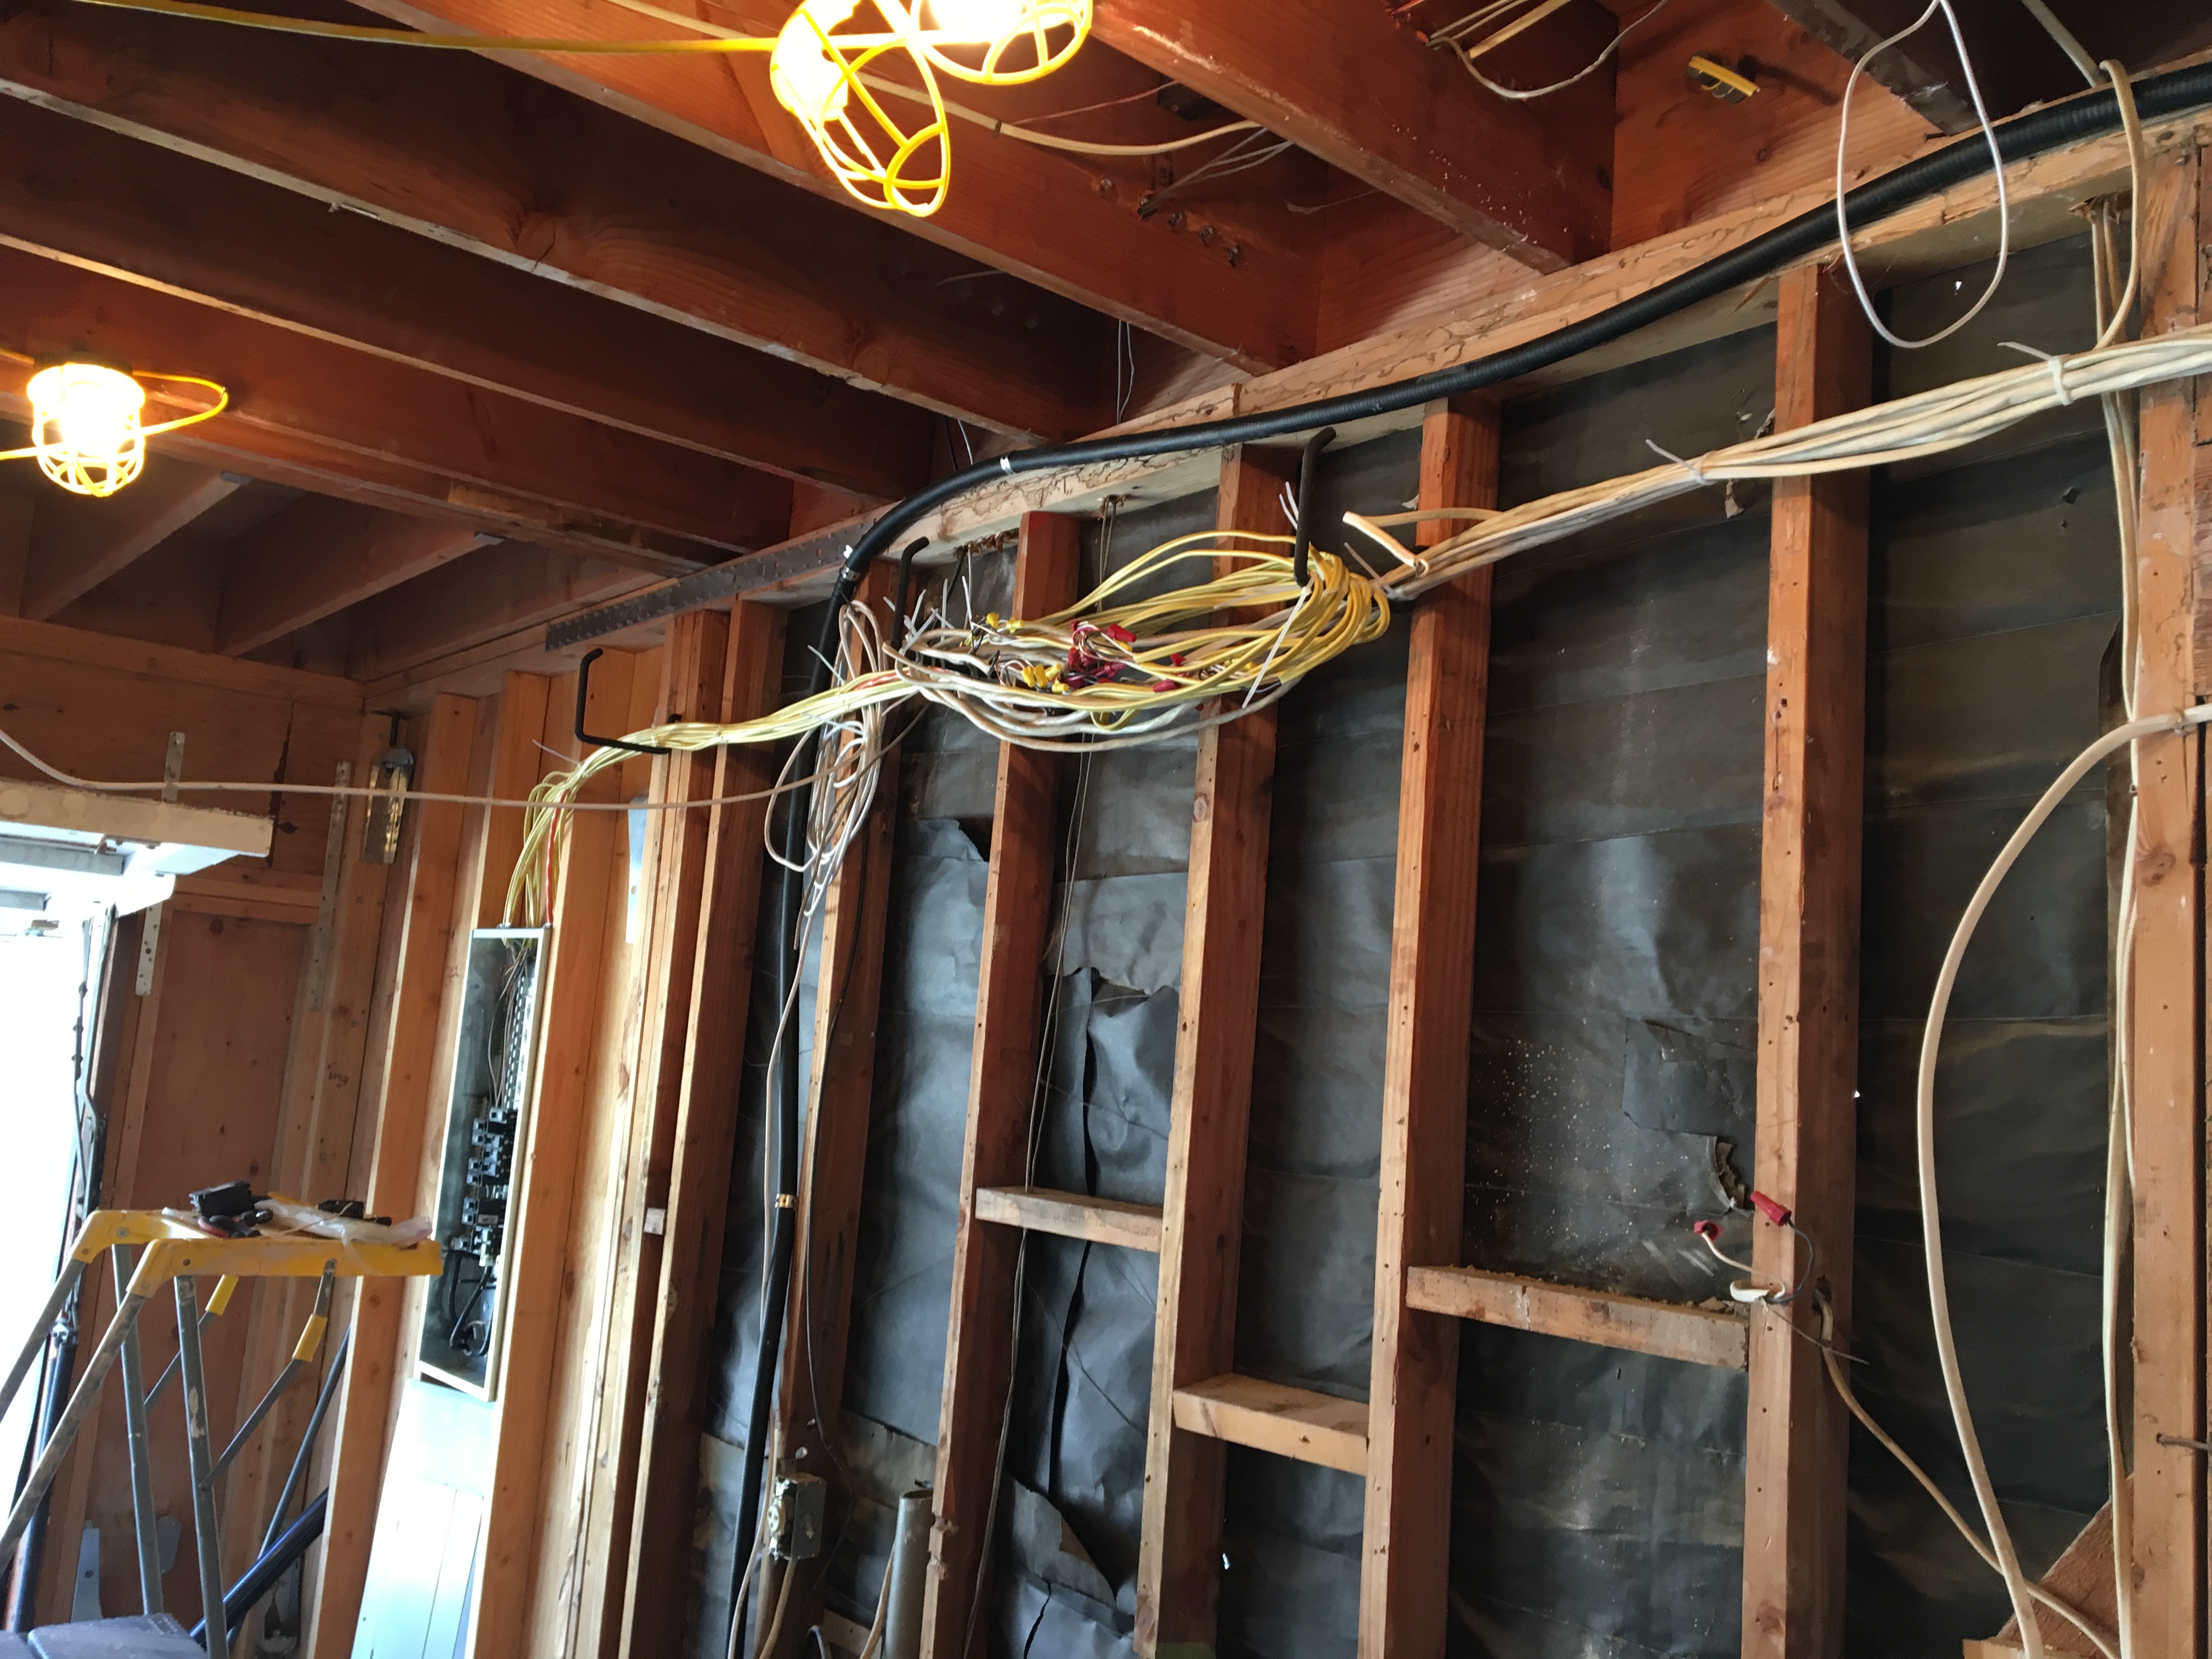
Temporary electrical hookup. I needed to install a working electrical system so I just ran new wires to the existing wiring and secured it. with tie wraps. It’s neat, and it’s exposed so I can monitor it, But definitely will need a total replacement. The good news was that everything worked when I turned it on the first time!
This little experience highlights something that I have found important as a project manager: A good project manager knows how to anticipate problems and avoid them, but also knows how to accommodate when unforeseen problems occur. I knew that scheduling a bunch of things to happen in a certain sequence that Friday had inherent risk. The electrical switchover had to go just right and be timely, the stucco guy had to come early enough and finish, and the inspector had to come late enough to give the lather enough time. So, things didn’t work out, but it was worth the try to maintain schedule. The good news was that I was done with all of the work that I was personally responsible for, so now, I’m not in the way. Nothing makes me more productive than the last minute!

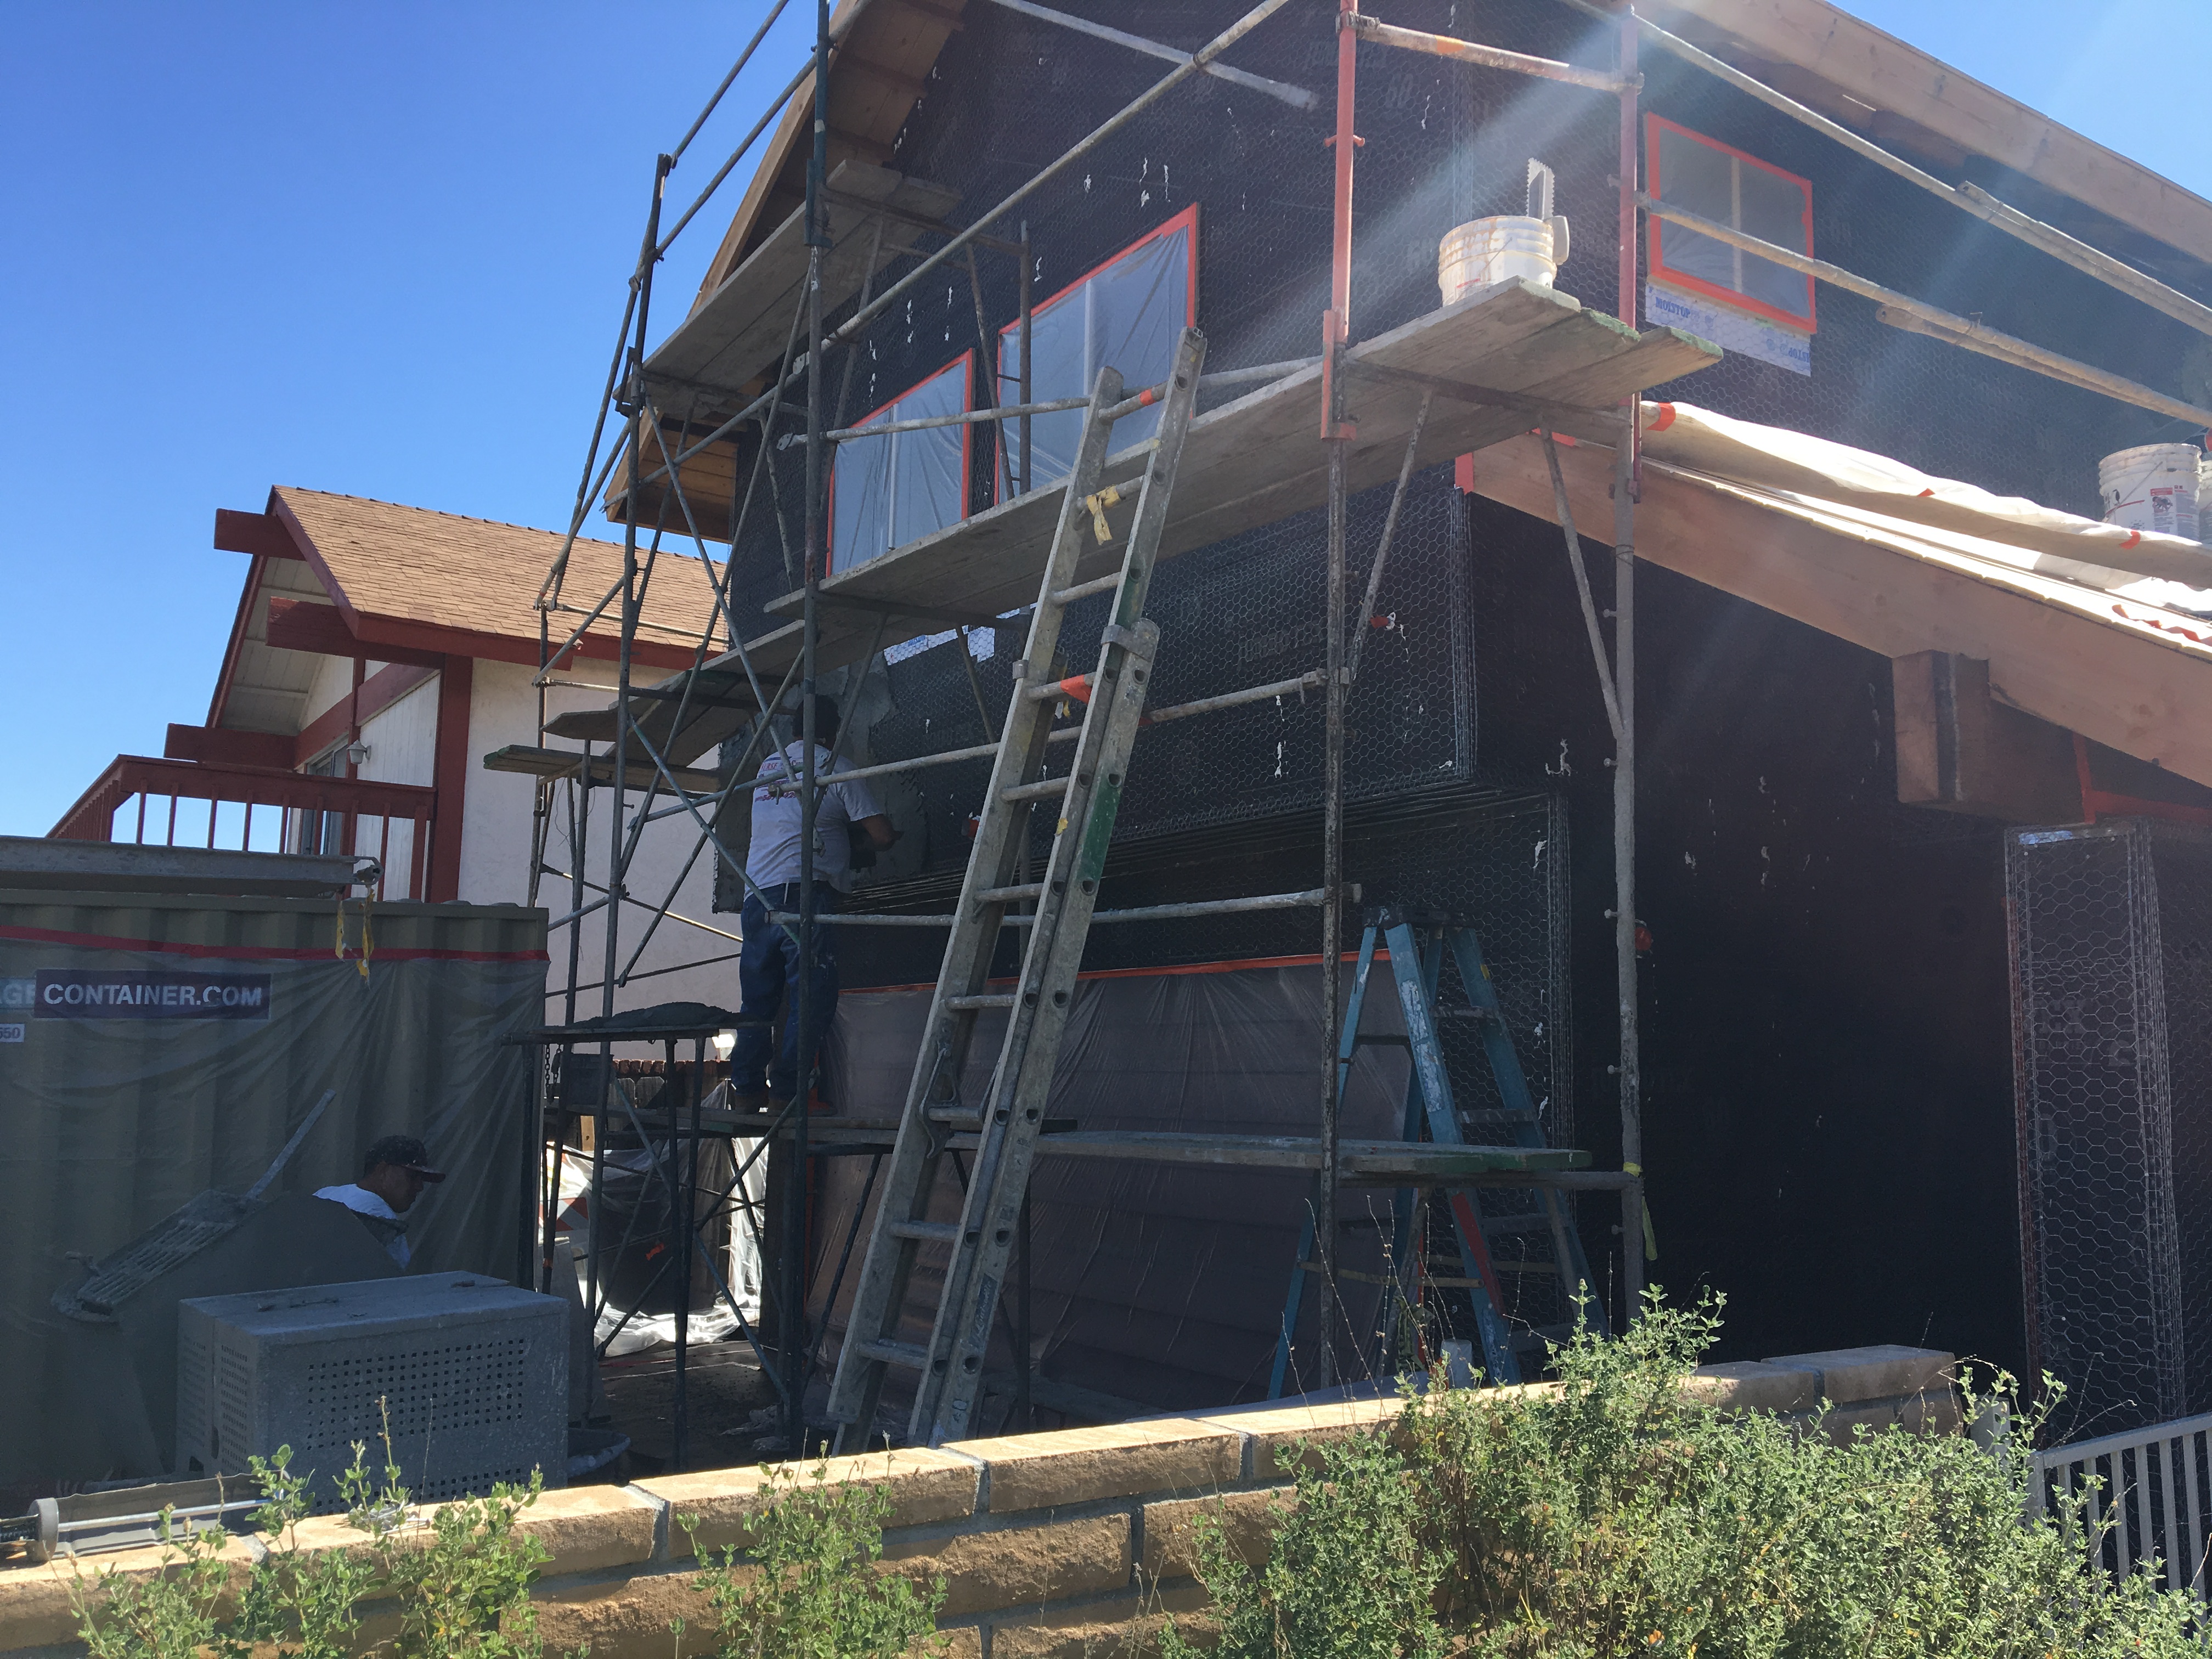
The stucco work commences first with the scaffolding. This Sam the scaffold man. His work is solid and so much better than the tower scaffold that I had to endure working on during the construction of the addition.
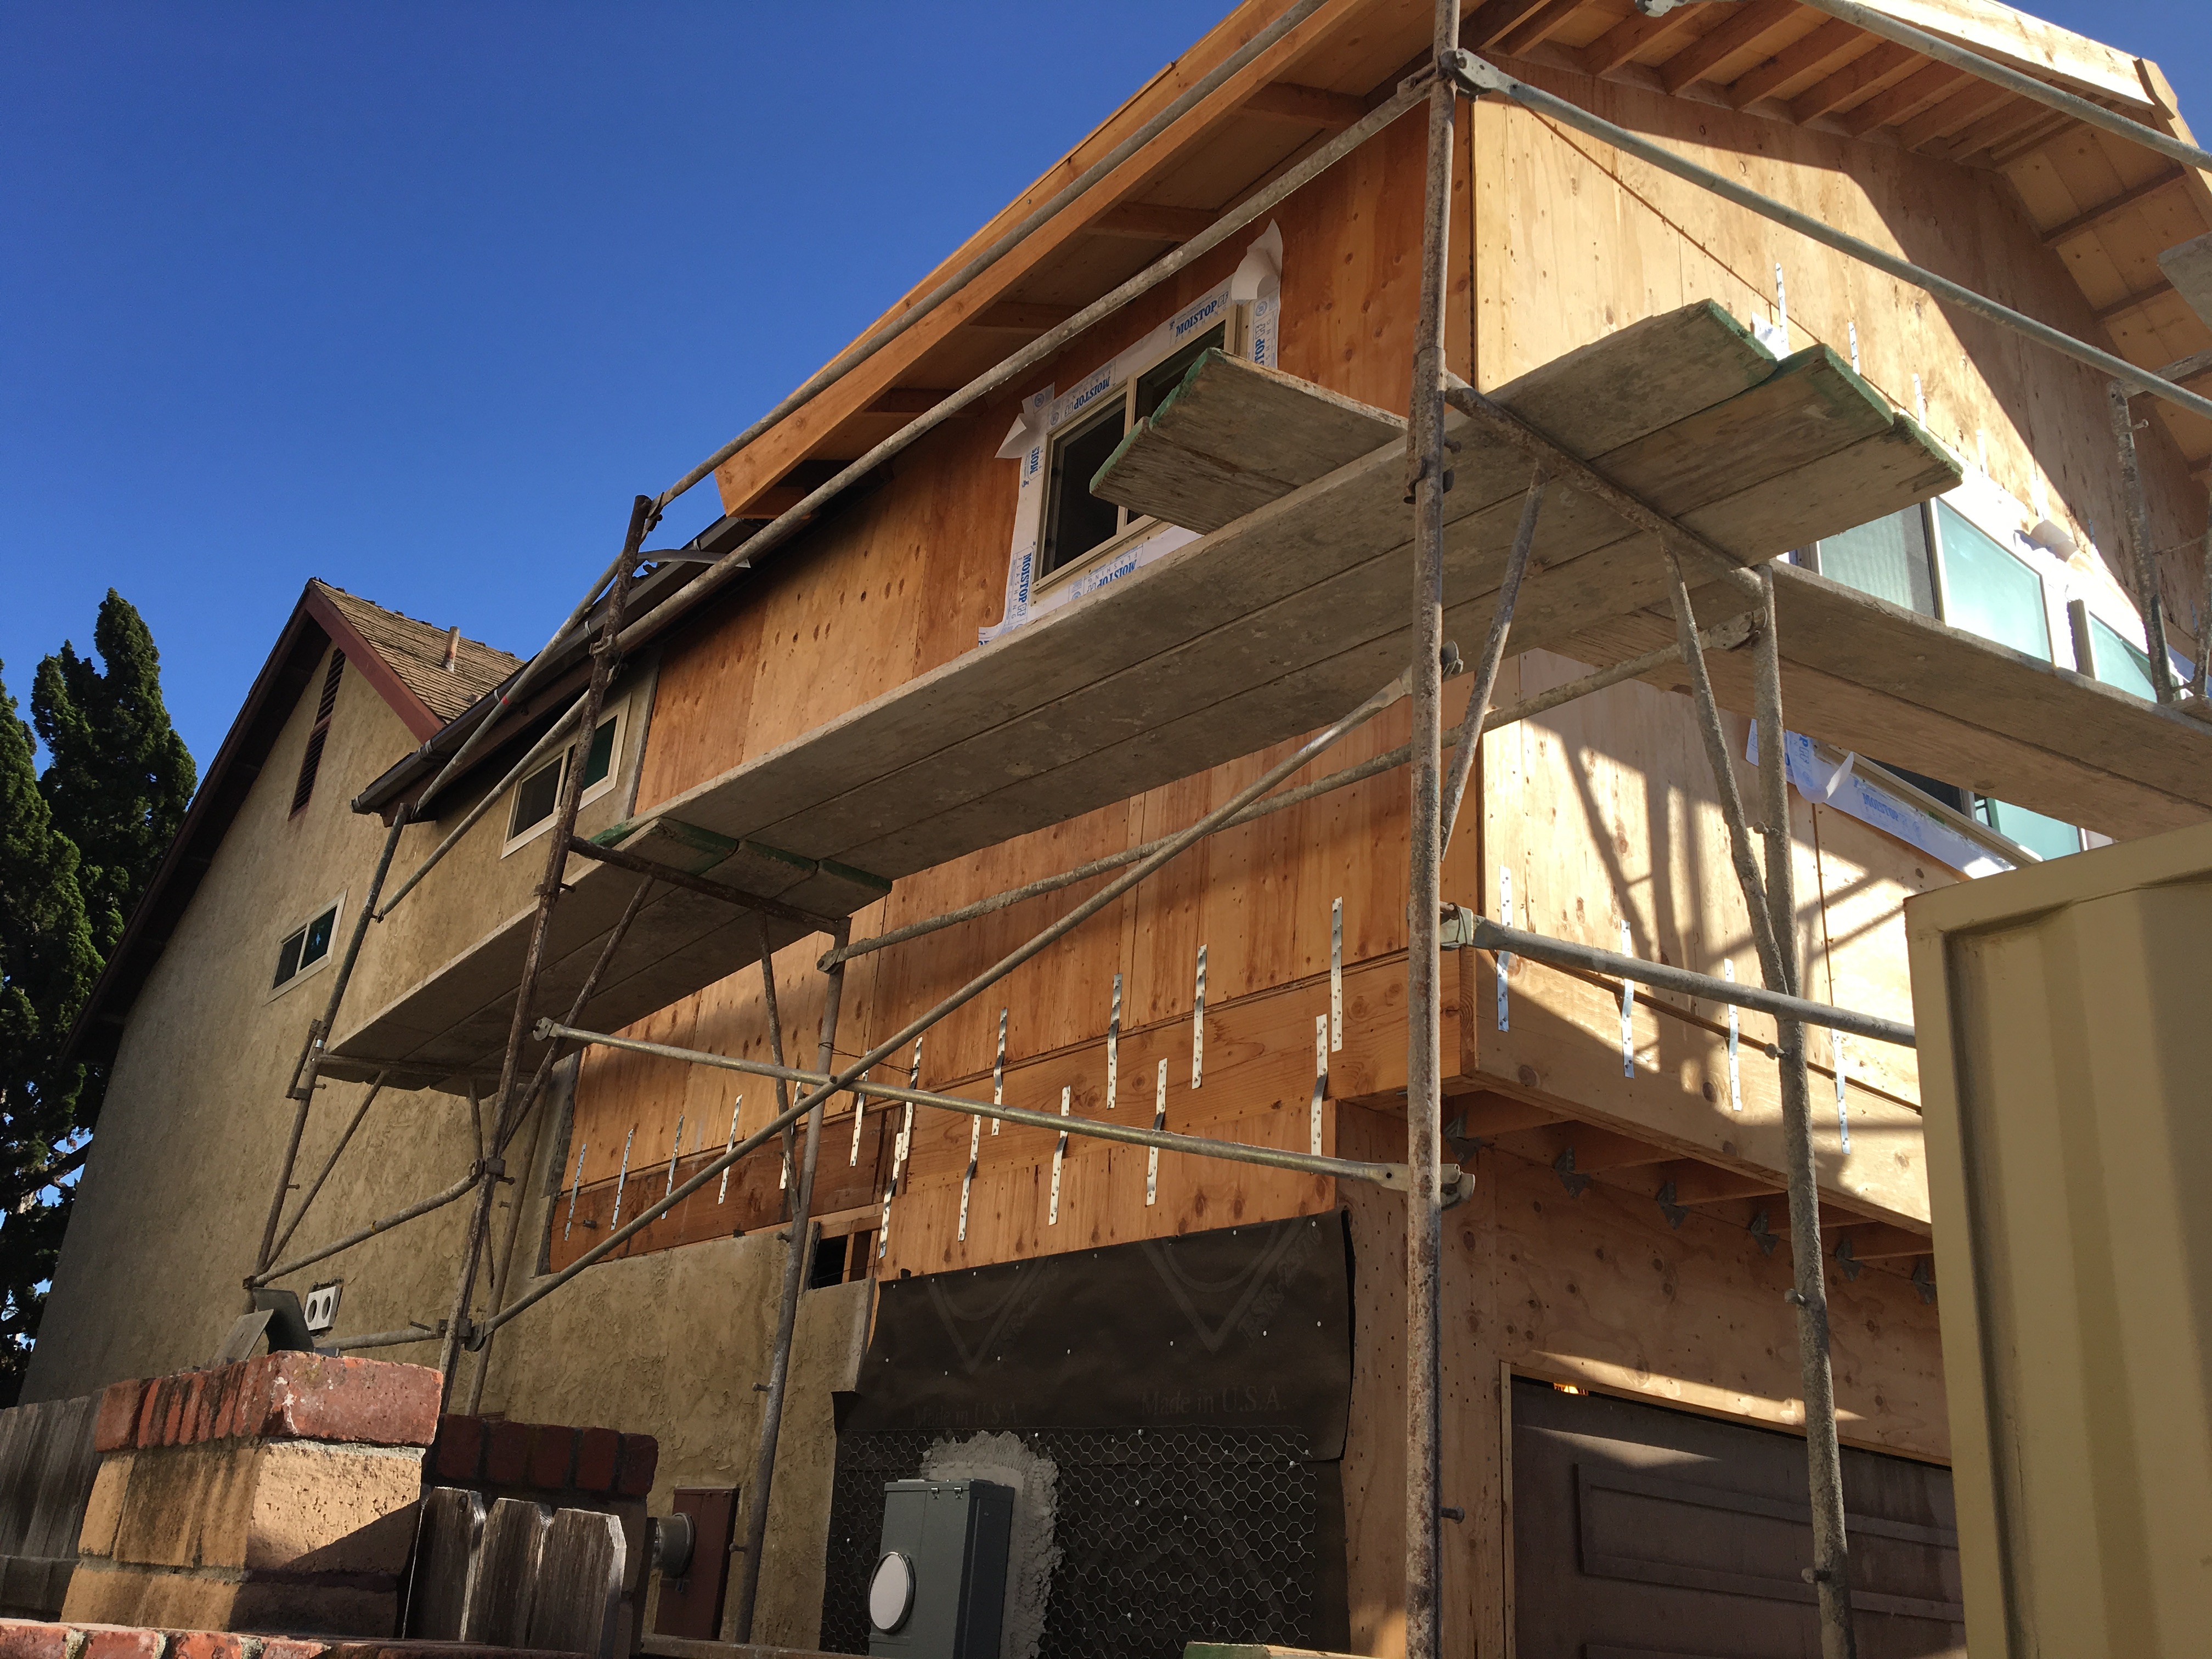
Scaffolding all ready to go to start work!

Removing some of the old stucco in front. We just had to get rid of all of that “chunky monkey” look that was popular when these houses were built. It’s not popular anymore.

Lath installed where I will get the new stucco. The rest of the house will be color coated only, but the combined effect will be like getting a brand new stucco finish.
The next day, the stucco guys came in and started the “scratch” coat, which is the first part of a 3 part stucco siding. It is designed to cling to the lath and help tie in the rest of the stucco. It is called the “scratch” coat because the finish is “scratched” to provide a good bond for the rest of the stucco. The following day, they came in and did the “brown” coat. This is the coat that gets close to the final depth of the siding, and is finished fairly smooth. Not sure why it’s called a brown coat, but that’s the lingo. Now it was time to wait a few days before the color coat. I had a hard deadline coming up because I needed the stucco guys out so the roofing guys could come in.
Let the stucco begin! First application of the scratch coat has started.

The mixer man dumping a load to hod around. This stuff is really heavy!

Brown coat complete. It really looks good, and will even look better once the finish coat is applied over the whole house.
The next week, a couple of guys came out to do the scaffolding on the entire house. That was an all day job and it really had to be all over. This is one of the many reasons that stuccoing an entire house is NOT a DIY project! Then, the stucco finishers came out and started putting the color coat on. When they put it on the back, they smoothed out the existing texture and then put an awesome lace texture on. These guys are really artists — well maybe not Michaelangelo, but same idea (and same medium).

Scaffolding on the West side of the house. Scaffold set-up and take-down is a significant part of the cost of the work.

Scaffolding outside my loft window. I’m glad somebody else is doing this work while dancing on scaffolding!
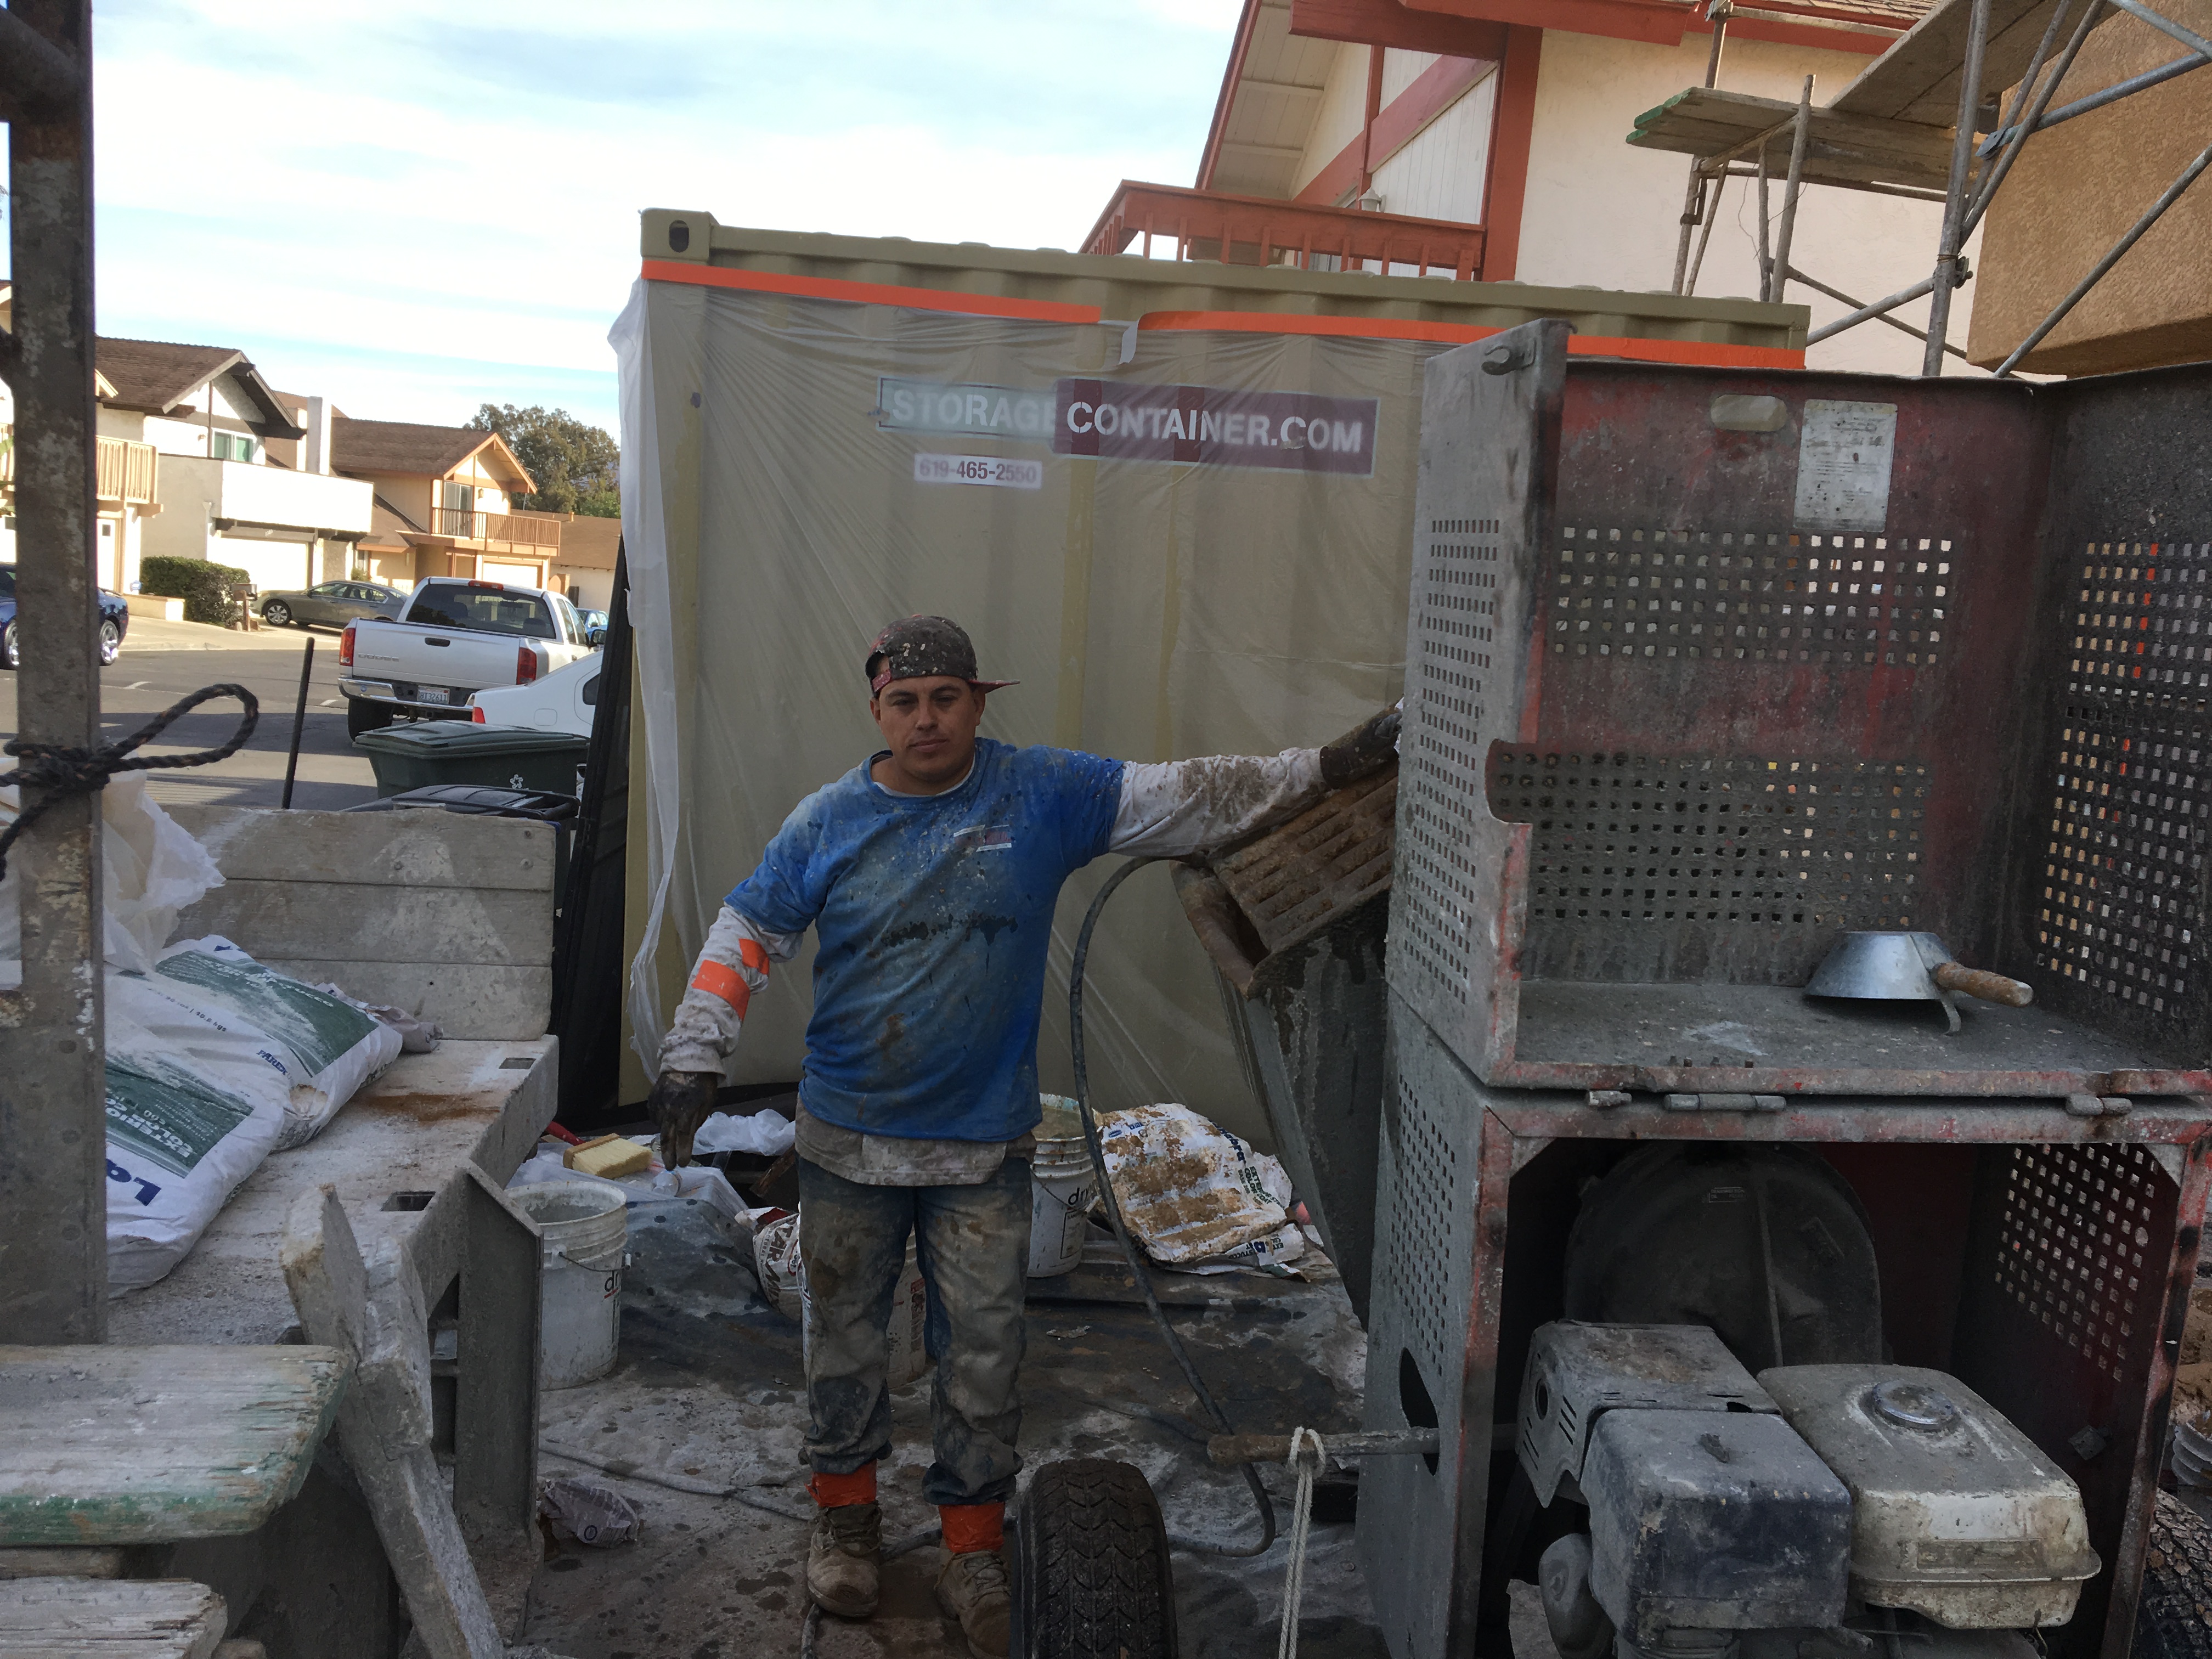
The man at the mixer mixing the color coat. Apprentices get to do the heavy work of mixing the stuff up and hodding it around to keep the plasterers busy so that they have time to work with the material. This is why I subcontracted this work out. Definitely NOT DIY!

Color coat being applied over existing stucco (right under the eaves).

The master plasterer at work. Michelangelo had nothing on this guy!

Stucco is a very messy trade. Sort of like sausage making — you don’t want to see the process, but you like the result.
In the end it all worked out. I was very pleased with the result, and my home is becoming the envy of the neighborhood. Next, onto the roof!

Close-up of the texture. This is real artisan stuff here. I have a very unique product that looks great!

Color coat complete. Looks fabulous! The roofers are coming next week, so the scaffolding still has to be removed. It’s going to be tight with the schedule!