How To Be A Safety Pro

Yesterday, I set about digging (again!), this time for a foundation for a masonry fence. Because the excavation for the foundation was right next to the sidewalk, I knew I would have to provide some kind of barrier and visual key that there was a deep (2’+) and potentially dangerous trench next to where people would be walking. Seriously, if you ended up walking into this thing, you would almost certainly break your leg, or worse, and that’s a liability I’d rather not have to bear. More importantly, being safe and providing barriers and warnings to potentially hazardous areas of your work shows consideration for those around you, and is just plain common sense. That got me to thinking about safety, and when you’re doing any kind of handy work, safety needs to be an integral part of how you approach the job.

OPEN TRENCH BARRIER

OPEN TRENCH BARRIER


First, you have to protect yourself. That means things like gloves, safety glasses, proper footwear (steel-toed boots-yes, flip-flops-no), hearing protection, breathing protection, and hearing protection. Of course, you’re not going to necessarily use all of these at once, but this always has to be part of the thought process before you proceed with whatever the next step of the operation happens to be. Almost always — safety glasses. I’ve spent way too many times trying to get crap out of my eyes and I’m probably lucky I’m not blind by now.

Second, you have to be aware of the hazards around you. Is that wire or electrical box hot? Have you checked? Is that pipe under pressure? Is my ladder stable? Will something fall on top of me? Do I have a bunch of trip hazards I have to watch out for?

Third, be considerate of the people who may be around you. Cordon off public areas where there may be hazards. Clean up after yourself. Make sure that you have a clear path around your worksite so that people can go where they have to without stumbling around in your mess.

At any rate, I finished my digging and put up an effective barrier. Those traffic barriers sure come in handy! Here is a short video of the work.

Now THAT’s Pro!

One of the great pleasures of DIY endeavours, at least for me, is to step back and have that first look at the finished product. Not only is it gratifying to see all of your planning and work become manifest, but if you do it right, you can take a lot of pride in a job that looks like it was done by a professional. On the other hand, if it looks bad, then that’s not such a good feeling as you will (a) have to do it over, or (b) figure out a way to hide the mistake. I remember a saying of one of my fellow woodworkers who said, “The difference between an inexperienced and experienced woodworker is the amount of experience you have in hiding your mistakes.” So, I usually focus on plan (b).

But today, there was no need for a plan (b). I finished the installation of my new irrigation system (well the underground portion at least), and it looks really good. Here are some pictures:

FRONT IRRIGATION PIPE LAYOUT

FRONT IRRIGATION PIPE LAYOUT

FRONT IRRIGATION BOX

FRONT IRRIGATION BOX

BACK IRRIGATION CONTROL BOXES

BACK IRRIGATION CONTROL BOXES


Notice how the lines are all neatly placed, the joints properly made, and how the control wires are secured around the piping? I also used some of the costs I saved by doing the labor to buy parts that are used commercially (e.g., for golf courses and such). This means that the system will last a long time, be easy to maintain, and perform well. It looks like a professional installation.

Alas, all of that nice, precise work has to be covered up. In reality, if I did a sloppy job of hooking up the pipes and just throwing the wires in there, nobody would have known the difference. Except for me. And you, who are reading this post. Nevertheless, I was happy to get all of the trenches covered up so I could walk around my property again! Here is what it looks like now:

FRONT YARD AFTER BACKFILL

FRONT YARD AFTER BACKFILL

SIDE YARD BACKFILL

SIDE YARD BACKFILL

I can now walk around in my back yard (again)!

I can now walk around in my back yard (again)!

How Many Hats Do I Have? — A Short Essay On Project Management

Yesterday, I was picking up some materials at one of my local suppliers (Home Depot). I got there just when the store opened (0600), yet I wasn’t ready to do any “real” work until 0900. What’s up with that?

Actually I was engaged in a lot of activity because I had to rent the truck, wait for the materials to get forklifted to the truck, drive back to the house, unpack, unload, dispose of the packing material, drive the rental truck back, top it off with gas, and then drive back to the house.

Turns out, that whenever you take on a home improvement project of any size, one of the critical tasks is to get your materials. In addition, there are a number of other tasks that need to occur before you commence “real work”. (By “real work” I mean doing the deed. Measuring, cutting, digging, assembling… whatever your concept of “real work” may be.) My Dad always said: “Always have a plan.” For simple tasks, this can be a drawing on the flap of an unused cardboard box. I did this today when I was laying out a manifold for my irrigation system. For more complex tasks, you might need dimensional drawings or a 3D model. Yet, this kind of “plan” is only one-dimensional. Well, really 2-D, but it oversimplifies the task of planning. Planning includes ALL of the tasks necessary to complete a project (of any size). Here is a list of common tasks that are necessary predecessors for “real work” in the context of DIY home improvement:

  1. Define your task. This is the fulcrum around which everything else rotates. Do you want to remodel your kitchen? Do you want to have an accessible bathroom? Do you want to have a water-conserving landscape? Do I want to put in new flooring? (Yes to all.)
  2. Make a drawing. A drawing will force you to detail  critical information. What kind of cabinets do I want for my kitchen? What kind of shower to I need to make my bathroom accessible? What kind of irrigation system do I need to have a water conserving landscape? What kind of flooring do I want? How big? How much? What shapes? As you answer these questions, your design will become increasingly more detailed, and from this, you can not only get an idea of how you’re going to put things together, but also be able to extract a list of materials. This is crucial to the next step.
  3. Source and obtain your materials. I remember before the Internet that I used to spend hours roaming the aisles of the big box stores just seeing what materials were available for my project. Now, I spend hours roaming the Internet. The cool thing is that I now have access to exponentially more choices of materials, and most come with free shipping, so I don’t even have to leave the house. Stuff just shows up. As a matter of practice, I develop my material list in conjunction with the design process, so by the time I have finished the drawings, I also have my shopping list.
  4. Perform a cost estimate and obtain financing. OK, for simple projects, that may mean taking $200 from your savings account. But for bigger projects, like a home remodel, this step is more integrated with the planning process as you will be making trade-offs with your design. Cost estimation is a science unto itself, and there are some good software tools out there when it comes to estimating residential construction projects. I did a detailed cost estimate using an online program called Clear Estimates just before I had my plans approved. Not only did I get a good figure the cost of my remodel, but I also was able to get estimates for the work I plan to contract out. Now I have some benchmark costs so I can better evaluate the bids of the subcontractors.
  5. Set aside time for the project. You want to have a block of free time that allows you to have an uninterrupted workflow to make the job go faster, and minimizes repetitive set-up times. Planning when to work on the project also helps you schedule your material procurements and deliveries. Frequently, deciding on when I’m going to do a project is the first thing that I do because it helps me plan and complete all of the predecessors (task definition, design/drawing, and material procurement). Deadlines are an effective motivator.
  6. GET TO WORK! Finally!

The steps above are the essence of what is called “project management”. It’s actually pretty straightforward if the project is simple, and if the project is larger, you just have to break it down into smaller chunks until what you’re left with are a bunch of simple projects. Here is where it gets interesting. This collection of simple projects, representing a much larger project, is not just a “honey-do” list. These sub-projects are interrelated. Some tasks have to be completed before others can start. Some tasks can be done in parallel. Some tasks require specialized skills which are best left to professional contractors. So, answering the questions of “where to start” and “what’s next” can become quite complicated. Large commercial projects develop what is called an “Integrated Master Schedule” (IMS) which typically uses computer software (e.g., Microsoft Project) to logically link all of the sub-tasks and assign labor and material resources to each task. In theory, you can get an accurate estimate of how much the project will cost and how long it will take. In reality, there are ALWAYS cost overruns and ALWAYS schedule delays, largely due to the facts that (a) there is always a measure of uncertainty in planning any project, (b) the bosses will tend to be overly optimistic because they want to win the bid, and (c) the customer frequently has a change of mind, which results in a change in the plans, and things just cascade from there. I actually have experience with doing this, and I made up an IMS for this home remodeling project about a year ago. That schedule showed that I would complete the project sometime later this year (2015). Alas, the IMS was difficult to keep up to date, and since I’m the only guy working the project, I made a choice to ditch the IMS in favor of doing “real work”. Needless to say, I now only have a vague idea when I’m going to finish, and I’m not quite sure what the final cost is going to be. All I know is that I’ve been stopping by Home Depot almost every day to pick up yet another part that I seemed to have overlooked in planning.

So, as the only person who is working this project, I need to wear many hats. Designer, draftsman, planner, scheduler, estimator, finance manager, procurement specialist (shopper), shipping and transportation (bring the stuff home), warehouse manager (store the stuff), general contractor, and finally tradesperson. I’m sure I left something out, but I think that’s enough to illustrate the point.

Now, when you see a construction crew at work, realize that there is a lot of action behind the scenes that is necessary to support that work. Even if that construction crew is a crew of one.

Here are some pictures of my warehousing operation:

WAREHOUSE

WAREHOUSE

WAREHOUSE  Do you see my ShopSmith?

WAREHOUSE
Do you see my ShopSmith?


I Always Wondered What It Was Like To Be a Ditch Digger

In my childhood, my parents would admonish me to do my homework and get good grades at school because “you don’t want to be a “ditch digger” when you grow up!”. The implication was that the profession of being a ditch digger was low brow, low rent, and definitely not in consonance with my (supposedly) superior skill set.

Fast forward several years to an experience I had while I was participating in a simulated undersea battle as part of my professional education as a nuclear submarine officer. I was assigned a lowly position that is typically assigned to a junior enlisted person on a sub. The instructor told me to use my (supposedly) superior skills as an officer to come up with the correct answer to shoot the enemy submarine up its butt. Which I did. This was an important lesson for me because it taught me that there are subtleties and nuance in lowly tasks which can be leveraged to produce a superior result, provided that you pay attention. And use your (supposedly) superior skill set. Mom and Dad, I hope I made you proud.

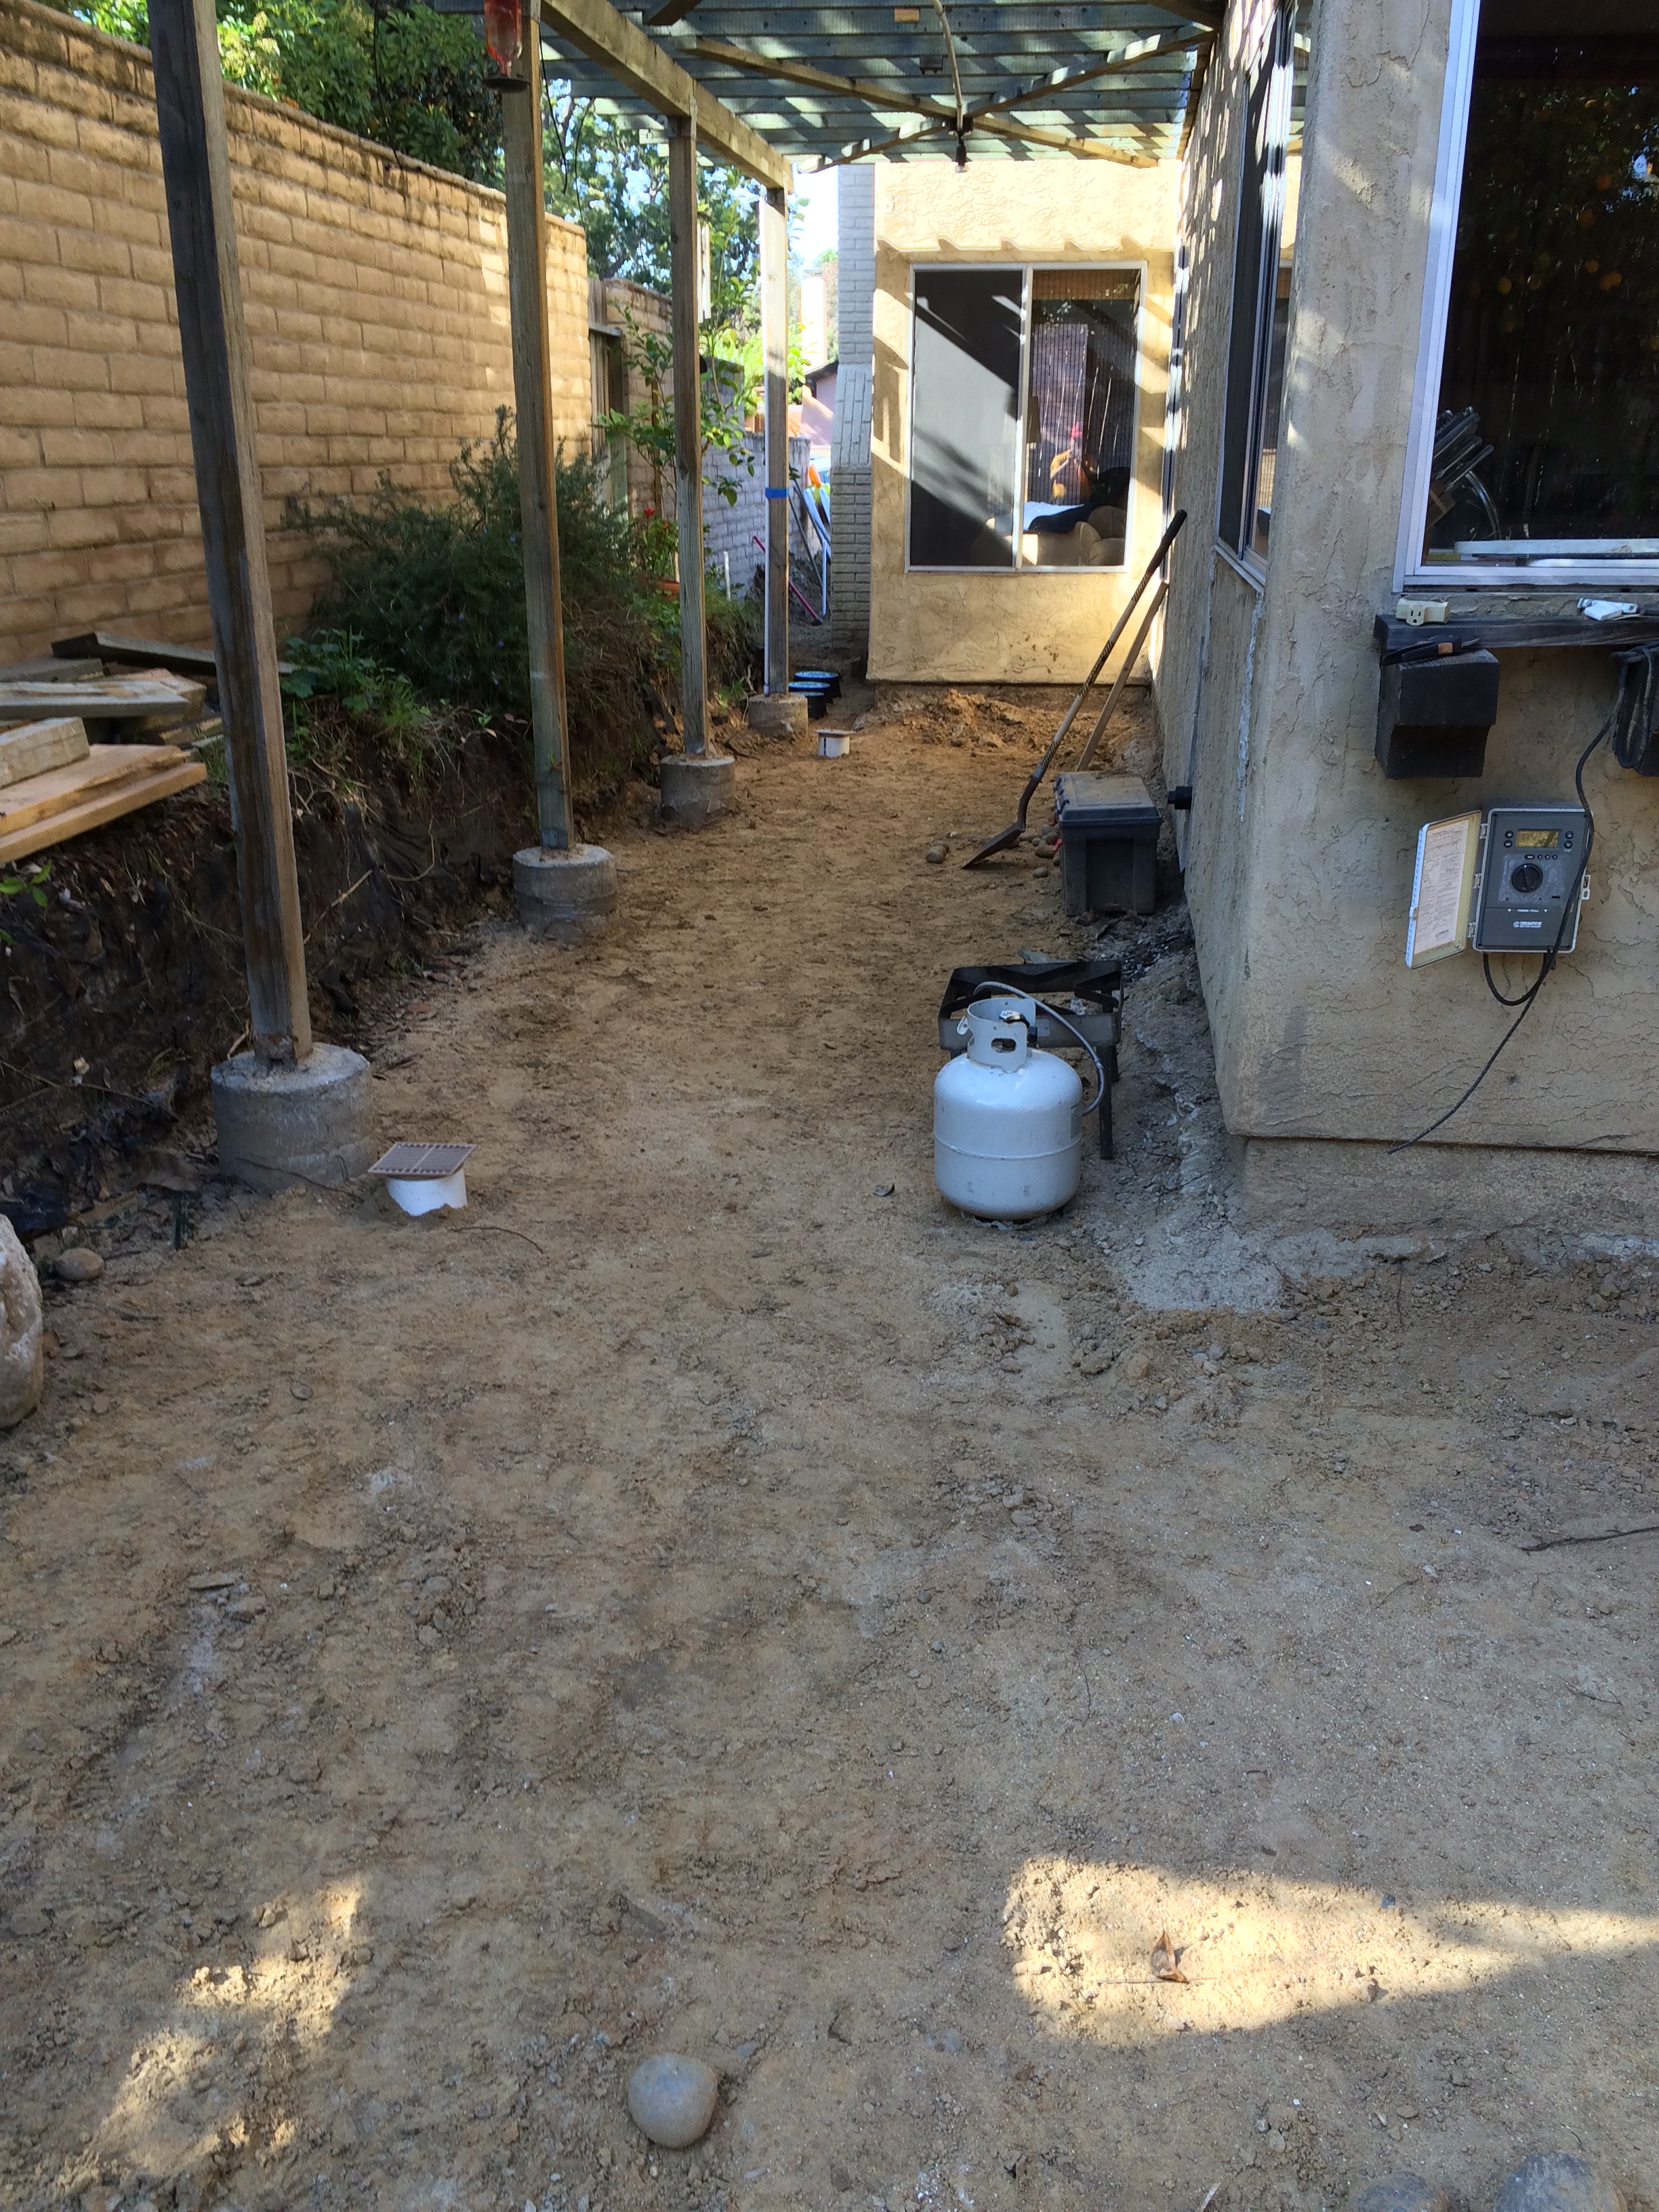
One of the lowly tasks that I’m having to perform as part of this remodel is to dig ditches. This is very important because there are myriad underground services which are part of the infrastructure of the modern home. The list includes: water, sewer, electricity, cable/internet, site drainage, and irrigation. All of which require a “ditch digger”. It turns out that ditch digging has some subtleties and nuances that become more obvious once you actually have to start digging. In today’s world, most of the work of “ditch digging” is assisted by machines, which makes the profession of heavy equipment operator the parallel of the “ditch diggers” of yore. If you actually get to talk to one and show interest in what they do, you find out it’s much more of an art, like a sculptor of sorts. It’s just that you’re using big machines and the medium happens to be dirt. But sometimes it’s back to picks and shovels, especially when you’re digging around live electrical lines, and water and gas lines under pressure. And heaven forbid, you certainly don’t want to cut your cable or telephone service and be without football and Facebook!

Because I knew I would have to do some digging by hand anyway, I assessed the value of renting a trencher, which is a machine with a bunch of dirt scoops on a chain that loops around a digging bar — sort of like a chainsaw. But they aren’t cheap to rent and I would have trouble fitting it into the tight places I needed to. So I decided to do it all by hand. Heck, I needed the exercise!

So, what does a “ditch digger” have to do? Well, it’s as easy as 1-2-3!

1. Get the proper tools. OK, so a shovel is a given. But what kind of shovel? Flat? Point? …. Turns out that there are a lot of implements that are available to deal with dirt. If you’re trying to dig up a large volume of dirt, then a bunch of dirt, then a point shovel is what you need. If you’re trying to scoop up dirt from the sidewalk or a flat surface, then the flat shovel is best. If you’re trying to dig a deep hole with vertical sides, then use a post hole digger. Trenches are best attacked with a trenching shovel. If you have to deal with rocks and/or clay, then you’ll need a pick and/or a mattock. A hoe and a rake are also useful. For most jobs, you’ll end up using several tools, depending on the demands of the moment.


DIGGING TOOLS

DIGGING TOOLS

1a: Pick. Used to loosen up dirt (esp. clay) and dig out rocks. Wear safety goggles! 1b: Post Hole Digger. Used to dig, well, holes for posts. Also very useful when you have something deep to dig and want the hole to have straight sides. 1c: Trenching Shovel: Used to dig trenches (what a surprise). The technique involves starting the trench with one of the other tools, and then sliding the trenching shovel back and forth along the bottom of the trench. 1d: Flat Shovel. Good for skim cutting the ground for a nice flat grade, or for shoveling bulk material (e.g., gravel or sand). 1e. Point Shovel: Used for digging big holes and moving a lot of material.If the ground is soft enough, then you can jump on it and the blade will penetrate the ground. 1f. Hoe. You’d be surprised how useful this is. It’s good for spreading materials, gathering up materials, and cleaning up trenches. 1g. Mattock. This is used to break up the ground. It has a sharp point like a pick, and a blade on the other end that is really good for trenching because it allows you to break up the dirt in just the trench and leaves a nice clean cut.


2. Figure out where the services have to run to and from and mark out the layout. For me, this was relatively easy because I had to submit plans for approval, so I had it all on paper. Easy from a bird eye’s (i.e. “plan”) view. But you have to remember that there is the “up-and-down” dimension. Here are the plans for the drainage and irrigation:

DRAINAGE PLAN

DRAINAGE PLAN

IRRIGATION PLAN

IRRIGATION PLAN


3. Figure out the depth. Most underground services need to be buried a specified minimum depth. For my new 200A electric service, that turns out to be 36″. That’s pretty deep if you’re digging a ditch by hand! If you’re installing drainage, you need to make sure that gravity works for you, and thus need to make sure that the drain pipes have a slope of at least 1% in the direction you want the water to go. So now, you have to figure out a way to determine elevation. 3-dimensional space is wonderful, don’t you think?

Here is how I did it:  To transfer the measurements from the plans to the actual drawings, I decided to use a system of lines that were centered on the trenches I needed to dig, and set at a constant, reference elevation. To do that, I used what are called “batter boards”.  These consist of two upright stakes driven into the ground with a cross piece. You install this arrangement at either end of the trench, set the height of the top of the cross piece to the chosen reference height (I used the weep screed of the house), and then string a line between the cross pieces. Volia! A perfectly straight line at the reference height.

BATTER BOARD

BATTER BOARD


Here is a link to a really nifty video on how to run string lines.

The next step was to set the drainage basins in position, mark where they needed to be on the dirt, and dig a hole for each one. I would dig until I got the bottom of the basin to where it needed to be based on the plans. You may need to do a little arithmetic to get the answer for the right depth. For instance, I needed the top of the drain to be 4″ down from the reference (weep screed), plus 2% of the distance from the house, which was 2.5″ (10′ = 120″x2% = 2.4″), so 6.5″, and the distance from the top of the drain to the bottom of the basin is 12″, so 6.5″ + 12″ = 18.5″. Really no big deal (unless you are challenged by arithmetic).

BASIN IN POSITION

BASIN IN POSITION

DIGGING THE HOLE

DIGGING THE HOLE


CORRECT HEIGHT (DEPTH)

CORRECT HEIGHT (DEPTH)


Then you dig the trench between the catch basins, and you know that the depth of the trench will be correct because you’ve set the depth of the basins. With the string line, you can easily measure the depth at any point along the line to confirm that you’re digging to the correct depth. Here are some pictures of the finished product.


DRYWELL TRENCH

DRYWELL TRENCH


DRYWELL PIPING

DRYWELL PIPING

FRONT DRAINS

FRONT DRAINS


One of the things that I didn’t give much thought to was where to put the dirt. In my brief career as a ditch digger, I simply assumed that it would go next to the hole. However, this became problematic as progress continued with the “moat” I was digging around my postage-stamp size lot. This was complicated by the fact that ALL of the digging and installation of underground services must be complete so that the inspectors can give their approval before you cover it up. Towards the end, it became quite a challenge to navigate my way around the property between the high-wire walk along the trenches, and having to step over those batter boards.

DIRT PILES

DIRT PILES

PETRIFIED POTATOES

PETRIFIED POTATOES (I ran into lots of rocks. THAT was fun!)


Eventually, the inspectors came, gave me the thumbs up (yaay!), and I was able to start covering up stuff. You’d think that filling up a hole with dirt would be pretty simple. But yet again, there is nuance. You need to compact the dirt as you go because if you don’t, it will settle and at best leave you with gullies where the trenches used to be, and at worst, cause underlying structural problems with your concrete, or whatever you put on top of the dirt. Alas, the other realization I came to was that what goes out, must go in, and so the large amount of digging resulted in a large amount filling. That gosh-darned dirt seems to get heavier with each shovel-full!

ELECTRICAL SERVICE TRENCH (Before)

ELECTRICAL SERVICE TRENCH (Before)

ELECTRICAL SERVICE (After)

ELECTRICAL SERVICE (After)


The great news is that the outside of the place is never going to look worse than it does right now, and I’ve actually begun installing things instead of demolishing stuff and hauling away the detritus. Speaking of detritus, does anybody have any suggestions for getting rid of the rocks that harvested? People buy this so-called “river rock”, so maybe I can give it away. Too bad the Pet Rock fad is over. I’d be sitting on a fortune!

Happy New Year! Reflecting on 2014 and Looking Forward to 2015

The turn of the year is always a good time to reflect on the past year and look forward to the next. It’s a common demarcation point, and it occurs when we’re collectively given the time to reflect and plan, according to our nature. I know what you’re saying” “If you’re in retail, or emergency services, or in the military on deployment, the maybe I’m not given the time.” However, I think because of the time of year, everybody is doing it, and you can’t help yourself. Actually, serving your customers, community, or country can have special meaning at this time of year.

OK, well maybe not so much in retail.  As they say, anybody who says there are “No stupid questions!” has NEVER worked in customer service. You know, retail is a dang hard job, and I truly appreciate everybody who helps me when I’m shopping.With a smile and a kind word, you will always get superior customer service! All you have to do is to distinguish yourself from the a**hole who decided to take out their frustrations on some poor, underpaid retail associate who is constantly bombarded by yet another a**hole! But you have to remember to take the time to take the survey and say nice things. If you REALLY want to reward good customer service, then have the presence of mind to remember the name of the person who helped you, and then take the time to make a positive comment  on the survey, or the website. These people get promotions and monetary rewards for this kind of stuff. So, the lesson is: Be nice, and when you get good service, make sure you tell the boss!

Where was I?

Reflections on 2014: I had been planning my remodel since 2012, when my lovely wife and I started discussing concepts and the things that we really wanted out of  life, and how our home would reflect that. At the beginning of 2014, I had finished detailed planning and had drawings that I thought were good enough to submit to the city building department for approval. 8 months later, after 3 revisions, I finally got the building permit! Actually, I didn’t wait to get the building permit do start work. I knew that I needed to take out my patio in back, and I wanted to save the bricks and sand. That was a major undertaking which filled the dead time in between the review of the latest plan revision, and answering the comments for the next plan revision. Once I got the building permit, I started in earnest, with site demolition, excavation, and installation of underground services.

What I learned:

  1. If you don’t follow the prescribed approach in the codes, then you will have to have a licensed engineer sign off on your plans. For a small job, it’s not worth it (and they were kind enough to tell me that). Learn the codes and follow the prescriptive approach.
  2. Take each “rejection” as an opportunity to improve your design. I can say that my plans have been significantly improved by having reworked them for the building department.
  3. Detailed planning helps you build faster. My plans have speeded up my work (thus far) in ways that I could not have imagined before.
  4. Detailed planning does not account for everything. Inevitably, you run into unexpected obstacles. The fittings don’t fit like you expected. You need to change the routing of the conduit to account for other buried services. Remain flexible and adapt. “No battle plan survives first contact with the enemy.” (Field Marshal Helmuth von Moltke.)
  5. Know when to quit for the day. Something my dad taught me.  This is a big project and you have to know your limits. If you push too hard, then quality suffers. It’s OK to have goals, but sometimes (OK , frequently), the goals are too optimistic. There are only so many hours in the day, and you need to take care of yourself. So know when to quit for the day, and make sure that you leave enough time for clean up!

Goals for 2105:

  1. Don’t get injured. Building can be dangerous if you’re not careful!
  2. Keep my job. Don’t get too involved in the remodeling at the expense of the day job. Yes, I still have to pay for all of this somehow.
  3. Go to Smithfield, VA for my  wife’s 50th high school reunion.
  4. Finish the site work. I’m optimistic this will be done by March. But who knows?
  5. Move out of the master bedroom, and do the demo.
  6. Build the addition and close in. I’m hoping by July-August. Before the rains come in any case.
  7. Install A/C. That will be contracted out.
  8. Install a new roof. Also contracted out.
  9. Re-stucco the front. Yet more contract work.
  10. Paint the house. Did I mention contract work?
  11. Install new electrical service. This will be all me. Wish me luck!
  12. Don’t take the remodeling too seriously. Yes, it’s important to have goals and to work hard to achieve them, but in the end, this is supposed to be rewarding and it’s important to take pride in one’s accomplishments. Otherwise, I’d be hiring somebody to do all of this!

I wish all of you a very happy New Year, and I hope that you continue to follow my blog. I’m working on an epic post for digging ditches!  Stay tuned……