This week was a bit of an interlude. I had just finished one project (the new patio cover/trellis supports and footings), but I really wasn’t ready for the next one (building the backyard retaining wall). Nonetheless, there was a lot of work to do. I had to determine exactly where the backyard retaining wall would go based on how much dirt I had to accommodate from the net result of my adventures in grading (see previous posts). So, early in the morning, I went out with my AWESOME laser level and grade rod and determined the level of my retaining wall, and then went back to my computer model to set the dimensions of the retaining wall based on the volume of dirt I had to re-distribute. I then calculated the number of retaining wall bricks and capstone that I would need.
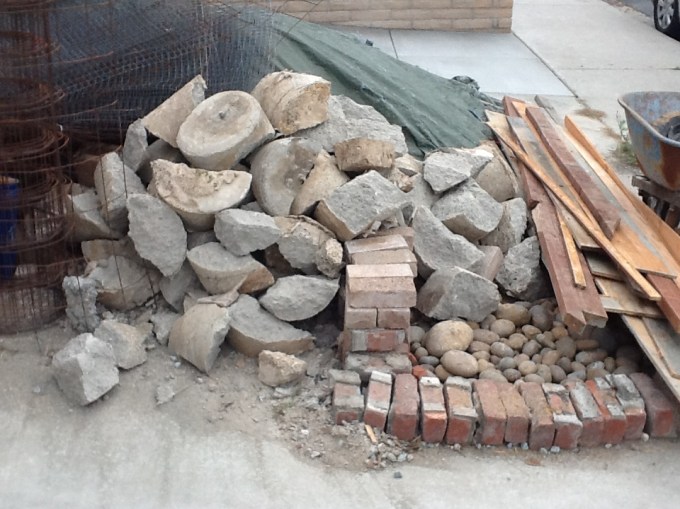
I also had to demo the old footings with a jackhammer. It cost $75 for 4 hours — if I would have done this earlier, when I had the jackhammer for other reasons, I would have saved the $75. That is (part of) the price of not thinking ahead. Oh well. I also had to sort through a bunch of other demolition products, primarily lumber, so Habitat for Humanity could pick it up. To meet their requirements, I had to disassemble all of my structures (e.g., concrete forms), and also had to rid some of my other used lumber from nails and screws. I don’t want to pay somebody to take this lumber to a landfill where it will rot and pollute our environment, instead of being repurposed for someone else’s needs. My lovely wife is the great conservator and recycler, and I always follow her recommendations. Over the years, I have come to truly appreciate her wisdom and forward-thinking about our care for our environment. It makes a difference on many levels.

All the lumber I used for my concrete and footing work, ready to be repurposed by Habitat for Humanity.
Part of my demolition activity was to remove the forms from the concrete pour. In particular, I had to remove the forms which made a recess in the concrete to fit in my footlights. These were all left in place when the outside forms were removed because it was important to have the concrete cure and gain maximum strength because removal of these forms places a stress on the surrounding concrete. Thanks to my naiveté, I did not seriously consider the potential difficulty in removing these little forms. After all, they were just little plywood boxes held together with a few finish nails. And the concrete contractor did a good job of spraying release agent (diesel fuel — you can smell it when you pull the forms), so I figured no big deal. I’ll just yank these bad boys out by inserting a few screws and pulling with pliers.
This approach did not work out well.
Turns out that the fresh concrete has water (duh!) which gets absorbed in the wood, no matter the release agent. This causes the wood to expand, and, unless you live in a desert (I do) and are willing to wait for several months to let ALL the moisture evaporate (forget that — I have a schedule to keep and I’m impatient), then you will have to remove the forms using brute force. This was an “inside” form, meaning that when it expanded, it only forced itself tighter against the surrounding concrete. I tried a couple of methods which involved a somewhat clever use of jackscrews that would push out the form from behind, but all ended up in failure. If I would have foreseen this complication, I could have installed the correct hardware before the pour, but I didn’t, so I was stuck. In the end, the brute force method was the way to go.
Brute force means removal by destruction. Basically, you use an array of tools, (hammer, crowbar, hand-held jigsaw, drill, chisel) to cut up the form and lever it out. Without doing damage to the concrete, of course. I would cut the top and bottom of the plywood with a jigsaw and then crowbar the top and sides out. For the back, I would drill a horizontal and vertical line of holes, and then use a chisel to break the plywood along the drill lines. The remaining pieces could then be pried out. So was this DIY hell, or was it what the pros do?
In a word, yes to both.
I had a basic misconception with how difficult the form would be to remove based on overlooking the expansion of the wood due to moisture in the concrete. My initial attempts did not take this into account. After trying the alternative jackscrew approach (the screws would either strip or shear off), I found that the brute force demolition approach was not so bad. This is what I think pros do in this situation. So I eventually came up with a “pro” approach. It just took me a few iterations. And a lot of time. Which is why pros are always faster. But I had “fun” doing it, right? Truthfully, no, but I learned something, and that is one of the benefits, if not a joy, of being a DIY.
Here are some pictures and a video:

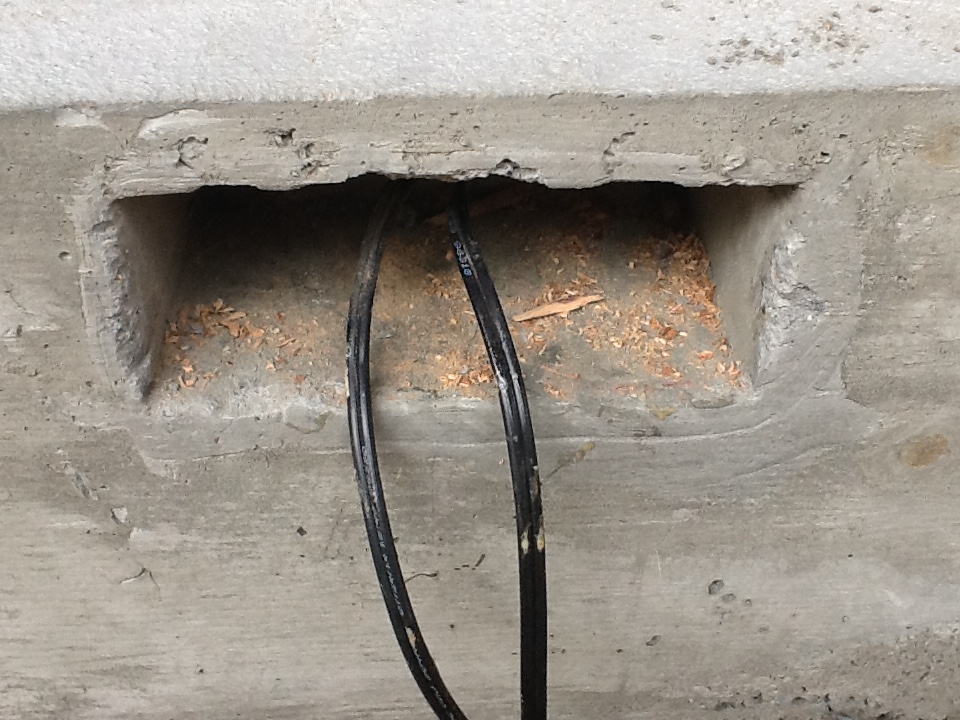
Here is an “after” picture. Note how the edges of the well are a bit rough. I’m going to have to figure out how to hide this. Hiding your mistakes is an essential part of being a good DIY’er. Hey — even the pros do it!

The detritus from the destructive removal of the concrete forms. That entire project turned out to be a “well spent” afternoon (!)
I’m trying to get a little more traffic on my blog and I ended up getting a domain name: http://www.diydivo.com. It’s easier to remember, so please visit often!


Heya i am for the first time here. I found this board and
I find It truly useful & it helped me out much. I hope to give something back and aid others like you helped me.
LikeLike
I’m still learning from you, but I’m trying to achieve my goals. I definitely enjoy reading everything that is written on your blog.Keep the posts coming. I enjoyed it!
LikeLike
Awesome! The idea of a DIY project and doing some handywork around the home is a smart idea to save resources such as money, materials and manpower. It is not a problem having a do it yourself project if the person doing the task is skillful and knowledgeable enough in line with constructing. For larger projects, I was able to get help from the amazing people at http://www.uni-span.com.au.
LikeLike