One of my “successful” DIY projects was a paver patio I built when I was living in Chesapeake Virginia. In fact, you can still see the results of my handiwork on Google Earth. The address is 1901 Shady Cove Ct. (if you want to check it out). Building a paver patio is DEFINITELY in the realm of DIY. The question is, do you want it do look like DIY, or do you want it to look professional? I always choose the latter. And I think that all serious DIY’ers aspire to create works that equal the quality of, if not exceed, those that can be professionally built. I guess that strays into the realm of “artisan”, but let’s keep the discussion on the practical side.
We start with the basics. Looking good is one thing. Looking good and lasting a long time is quite another. In my second attempt at building a paver patio, which happened to be at my current address, I took a few shortcuts. While the initial results were nothing short of outstanding (hey, this was the second time I was doing this, right?), over time the patio deteriorated. I didn’t put in a proper aggregate base, and I didn’t seal it, so the ants came in and undermined the sand under the pavers which caused the pavers to sink and the ants to rise up and threaten our very existence. Additionally, the level and slope did not provide proper drainage. I spent a lot of time and effort (and $) fixing the level and drainage problems, as profusely documented in other posts on this blog, but I want to now focus on slope.
It is important to make sure that the ground has at least a 2% slope away from the foundation of the house to allow for proper drainage and water shedding during a heavy rainfall. While we don’t get a lot of rain here in San Diego, when it comes, it comes in gigantic buckets. So my landscape has to be able to handle large rates of rainfall, as infrequent as they might be. A 2% slope is more than adequate, but how, exactly, do you do this?
Making an accurate slope starts with defining a reference point. In the case of a slope away from a house, the reference is, well, the house. Convenient references are typically siding or the weep screed on stucco. Since I have stucco, I’m using the weep screed. Because stucco absorbs water, the top of the finished grade must be at least 4″ below the weep screed. Adding 2″ for the pavers, 1″ for the sand base, and 4″ for the aggregate base means that the ground must be 11″ lower than the weep screed. That’s fine for the level at the foundation, but my drainage grates are 10′ away from the house (120″) meaning that I have to subtract an additional 2-1/2″ to from the 11″ to get the required 2% slope away from the foundation (120″ x 2% = 2.4″). This means that the ground must be 13 -1/2″ lower than the weep screed at the line of my drains.
Now, you have to transfer these measurements to the surface of the soil. You can use a tape measure to transfer the marks from the weep screed, and then use a line level to transfer that mark to the reference you’re using for the slope, and measure down from there. However, that’s not very accurate, and it’s pretty fussy, especially for a DIY’er. A far better method is to get a laser level and a grade stick. It used to be that these setups cost thousands of dollars. But now, you can pick up a good rig for around $375.00. OK, that’s not exactly cheap, and if you’re doing just one job, then maybe renting is a good idea. But if you are doing remodeling as a DIYer working alone, this will come in mighty handy. Plus, isn’t collecting cool tools part of the DIY experience? I can always justify the expense by how much I save in labor costs. But I digress. Here is what you need:

Laser level tools. Make sure you get a grade rod calibrated in fractional inches. Most surveying grade rods are in decimal feet, and that can be a pain to convert, unless you’re a professional surveyor, in which case you don’t bother converting and leave that to the other trades.
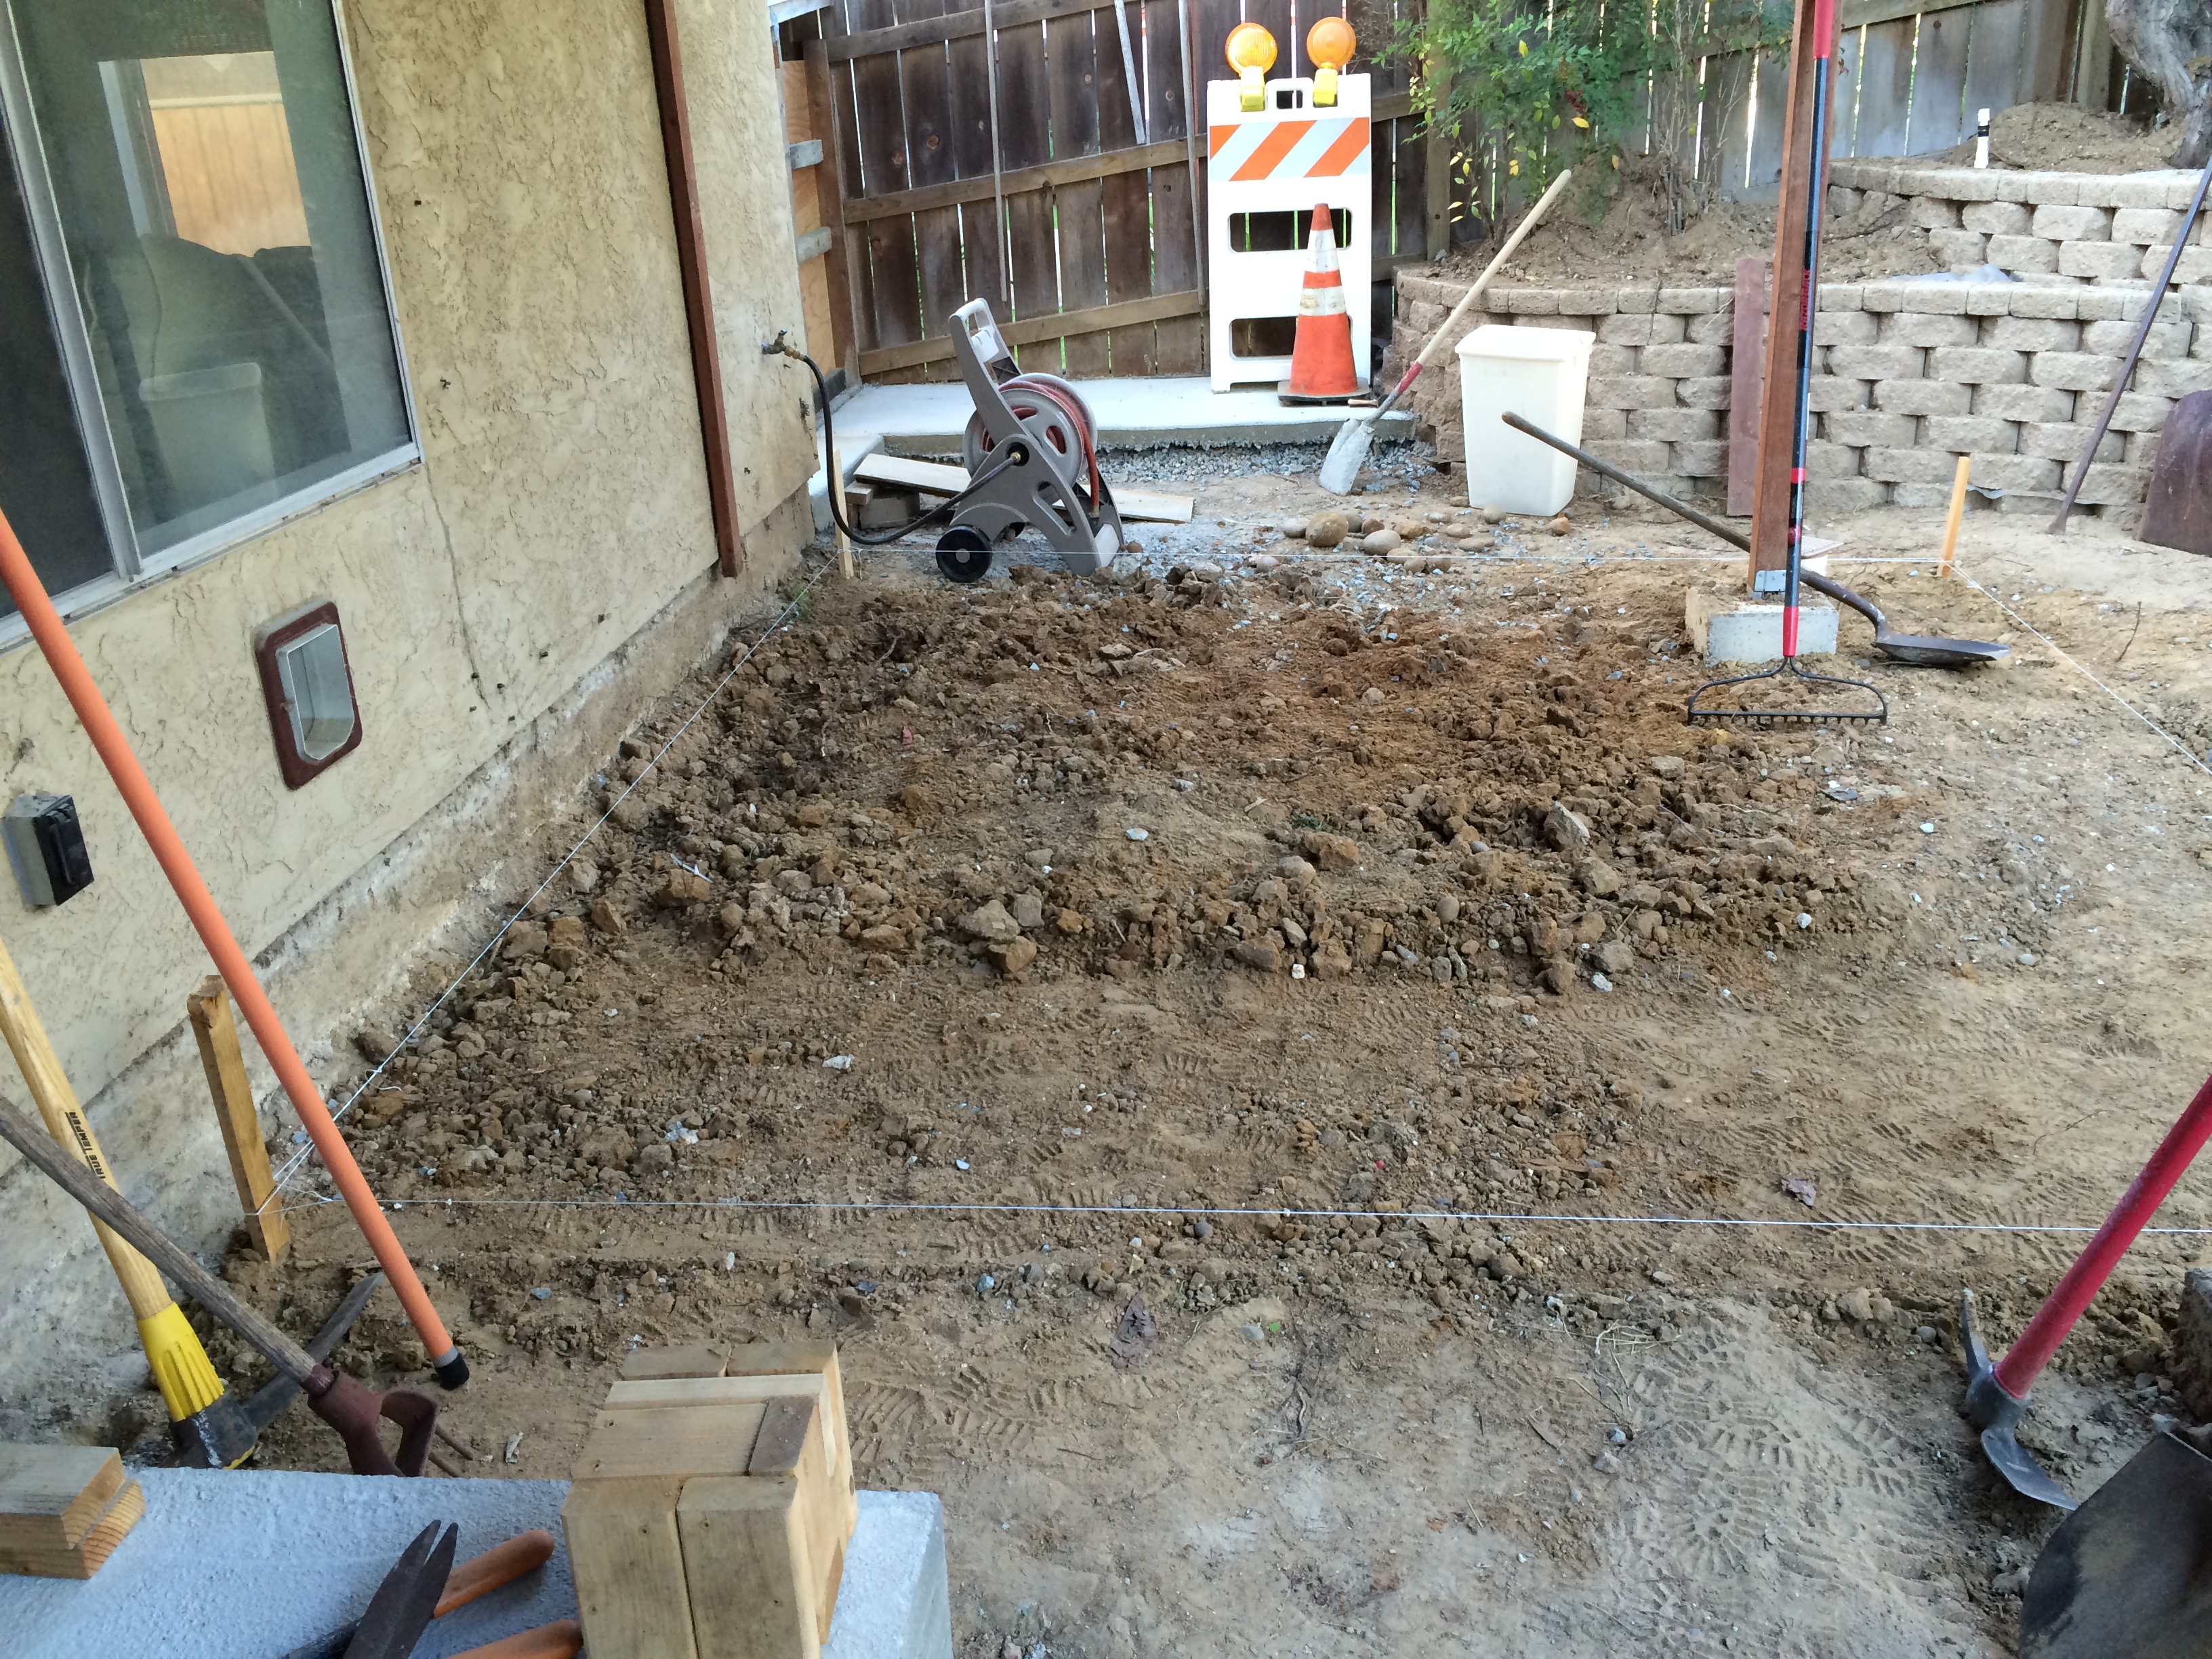
Onto the task of transferring these measurements. After a lot of thought, I came up the idea of pounding in grade stakes close to the foundation, and then doing the same where I wanted the low point of the grade to be (near the drainage grates). I would then connect them with strings, and I would have an accurate grid to which I could properly set the grade. The only problem was that if I used the calculated level of the ground, I would have to be fussing with marking and stringing at ground level. Totally a non-starter. What I came up with was to offset the level by 4″. This corresponds to the depth of the aggregate base which I plan on putting in. I would then use a wooden “block” that was 4″ in height to run along the string, which would establish the proper level of the ground with the correct slope. Here is a video and some pictures.
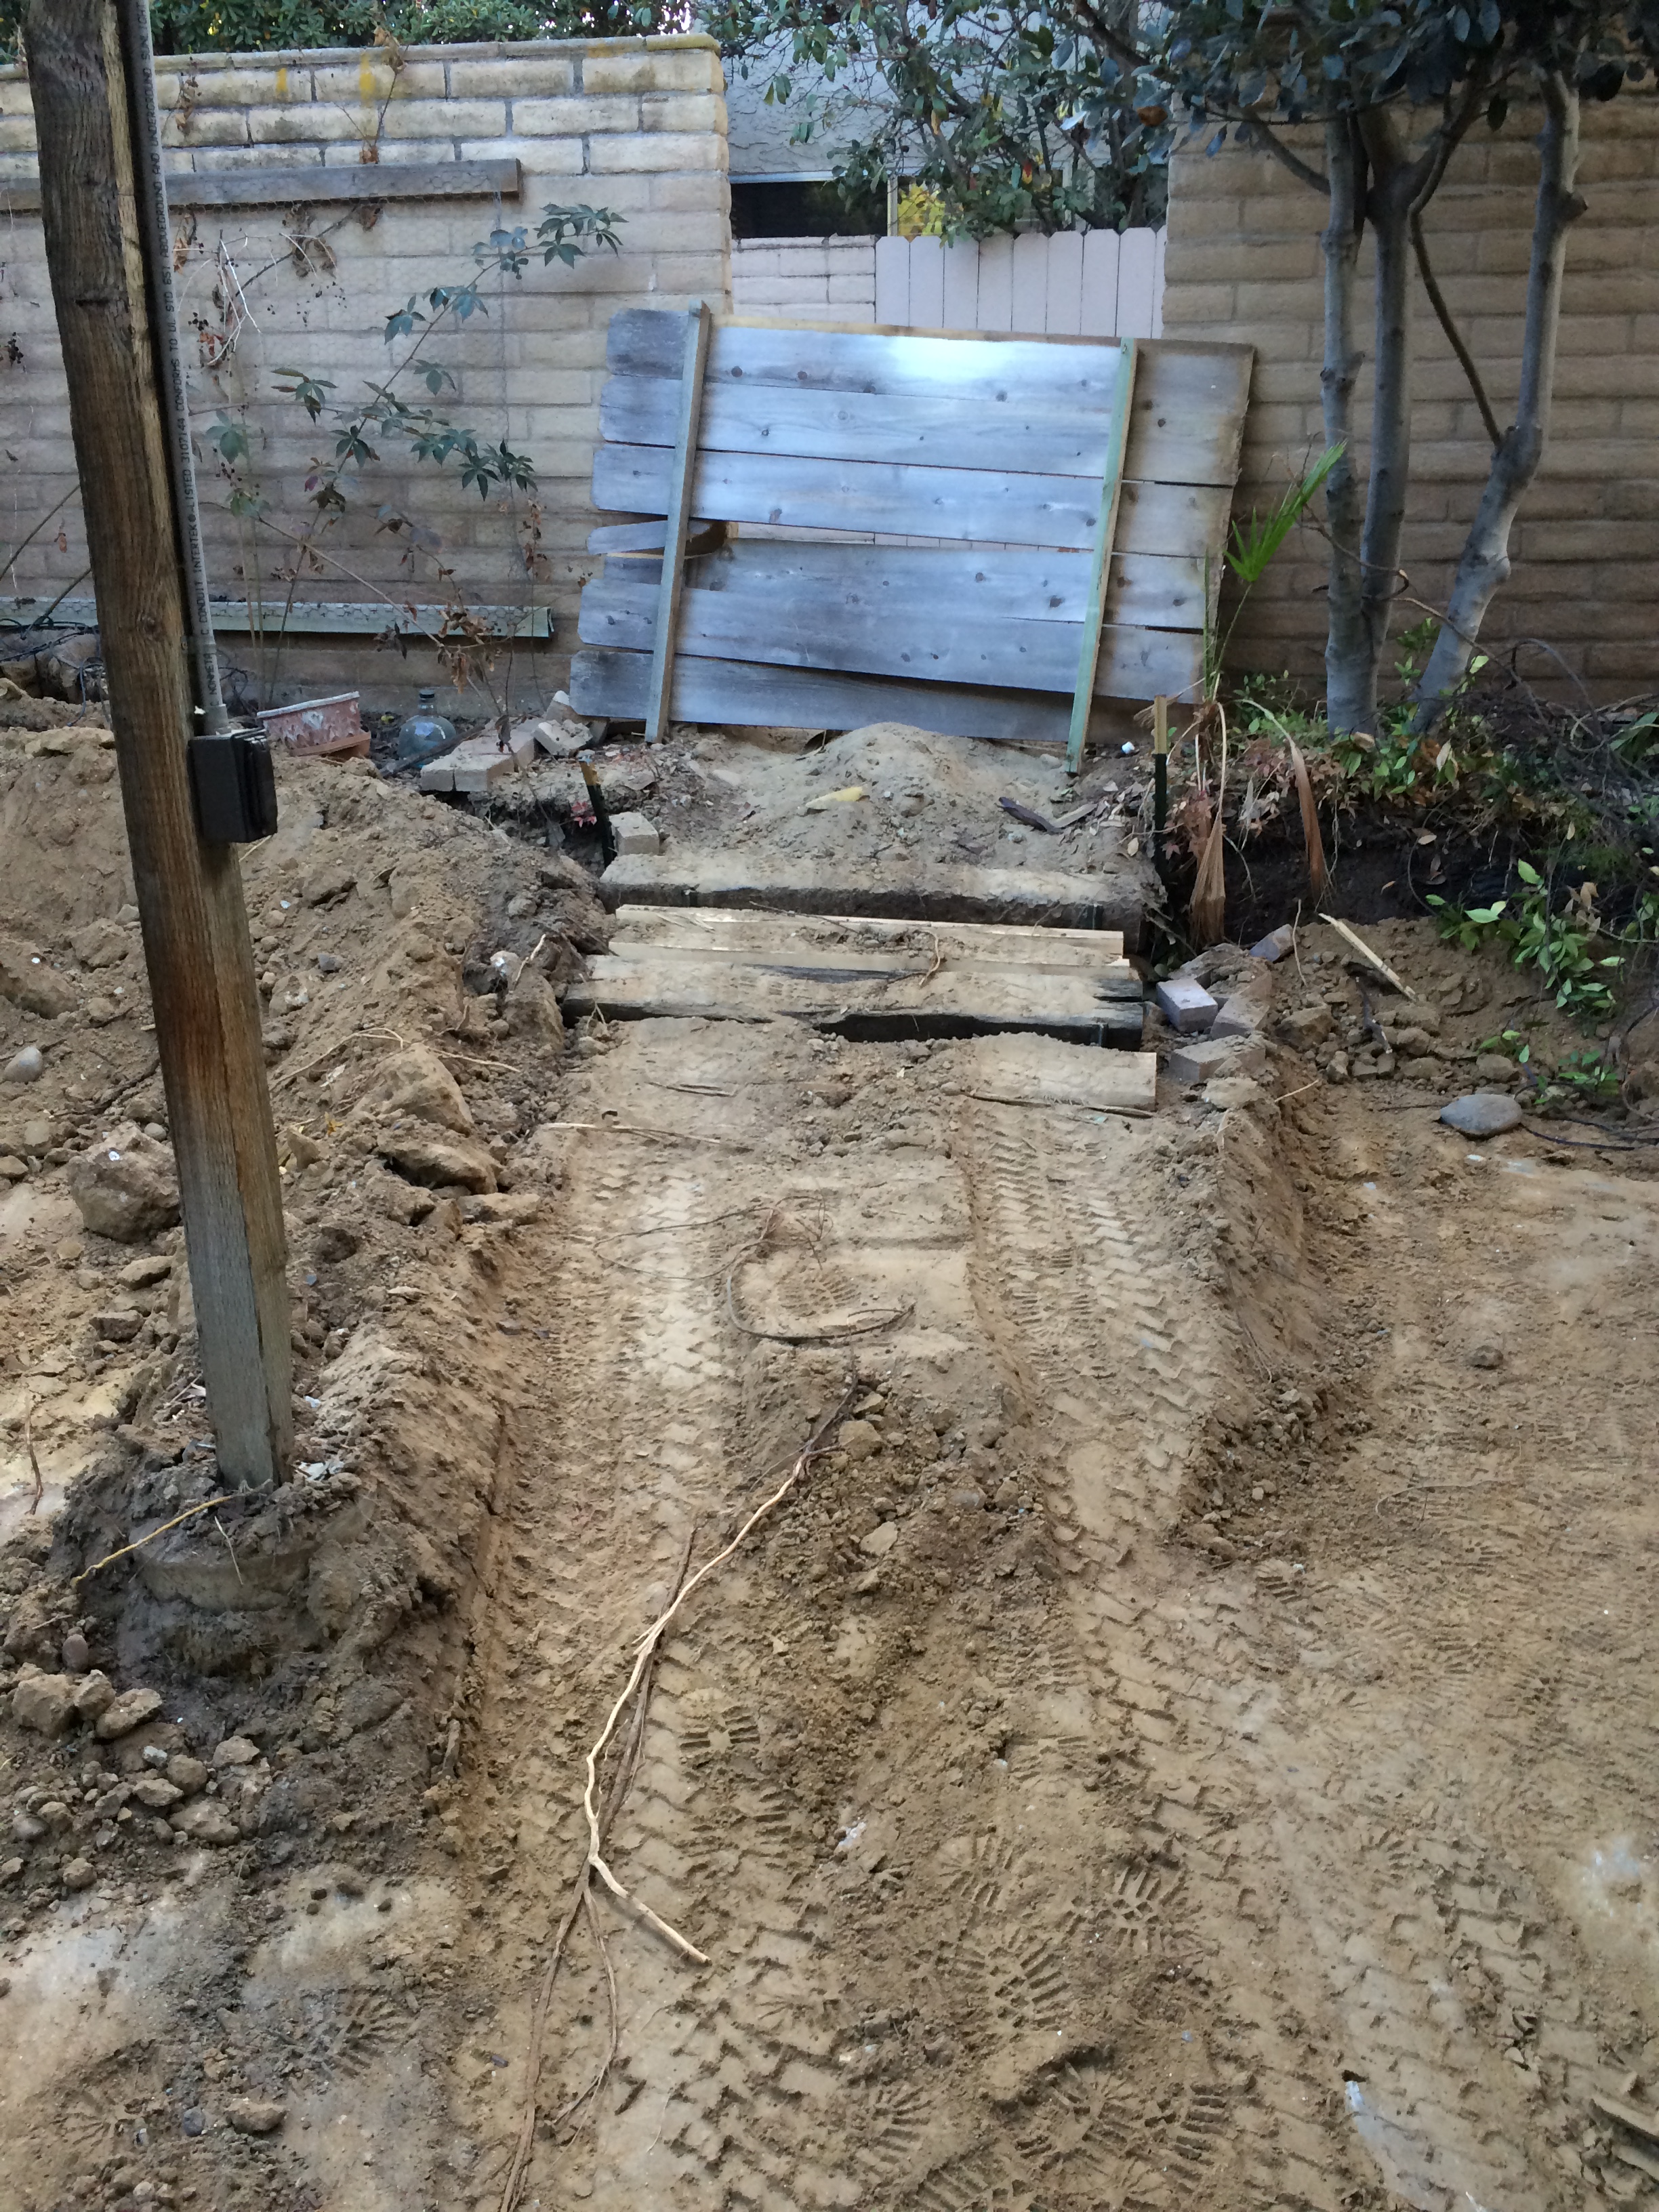
Now that the building lines are set, I have to remove additional dirt to get to the correct level.
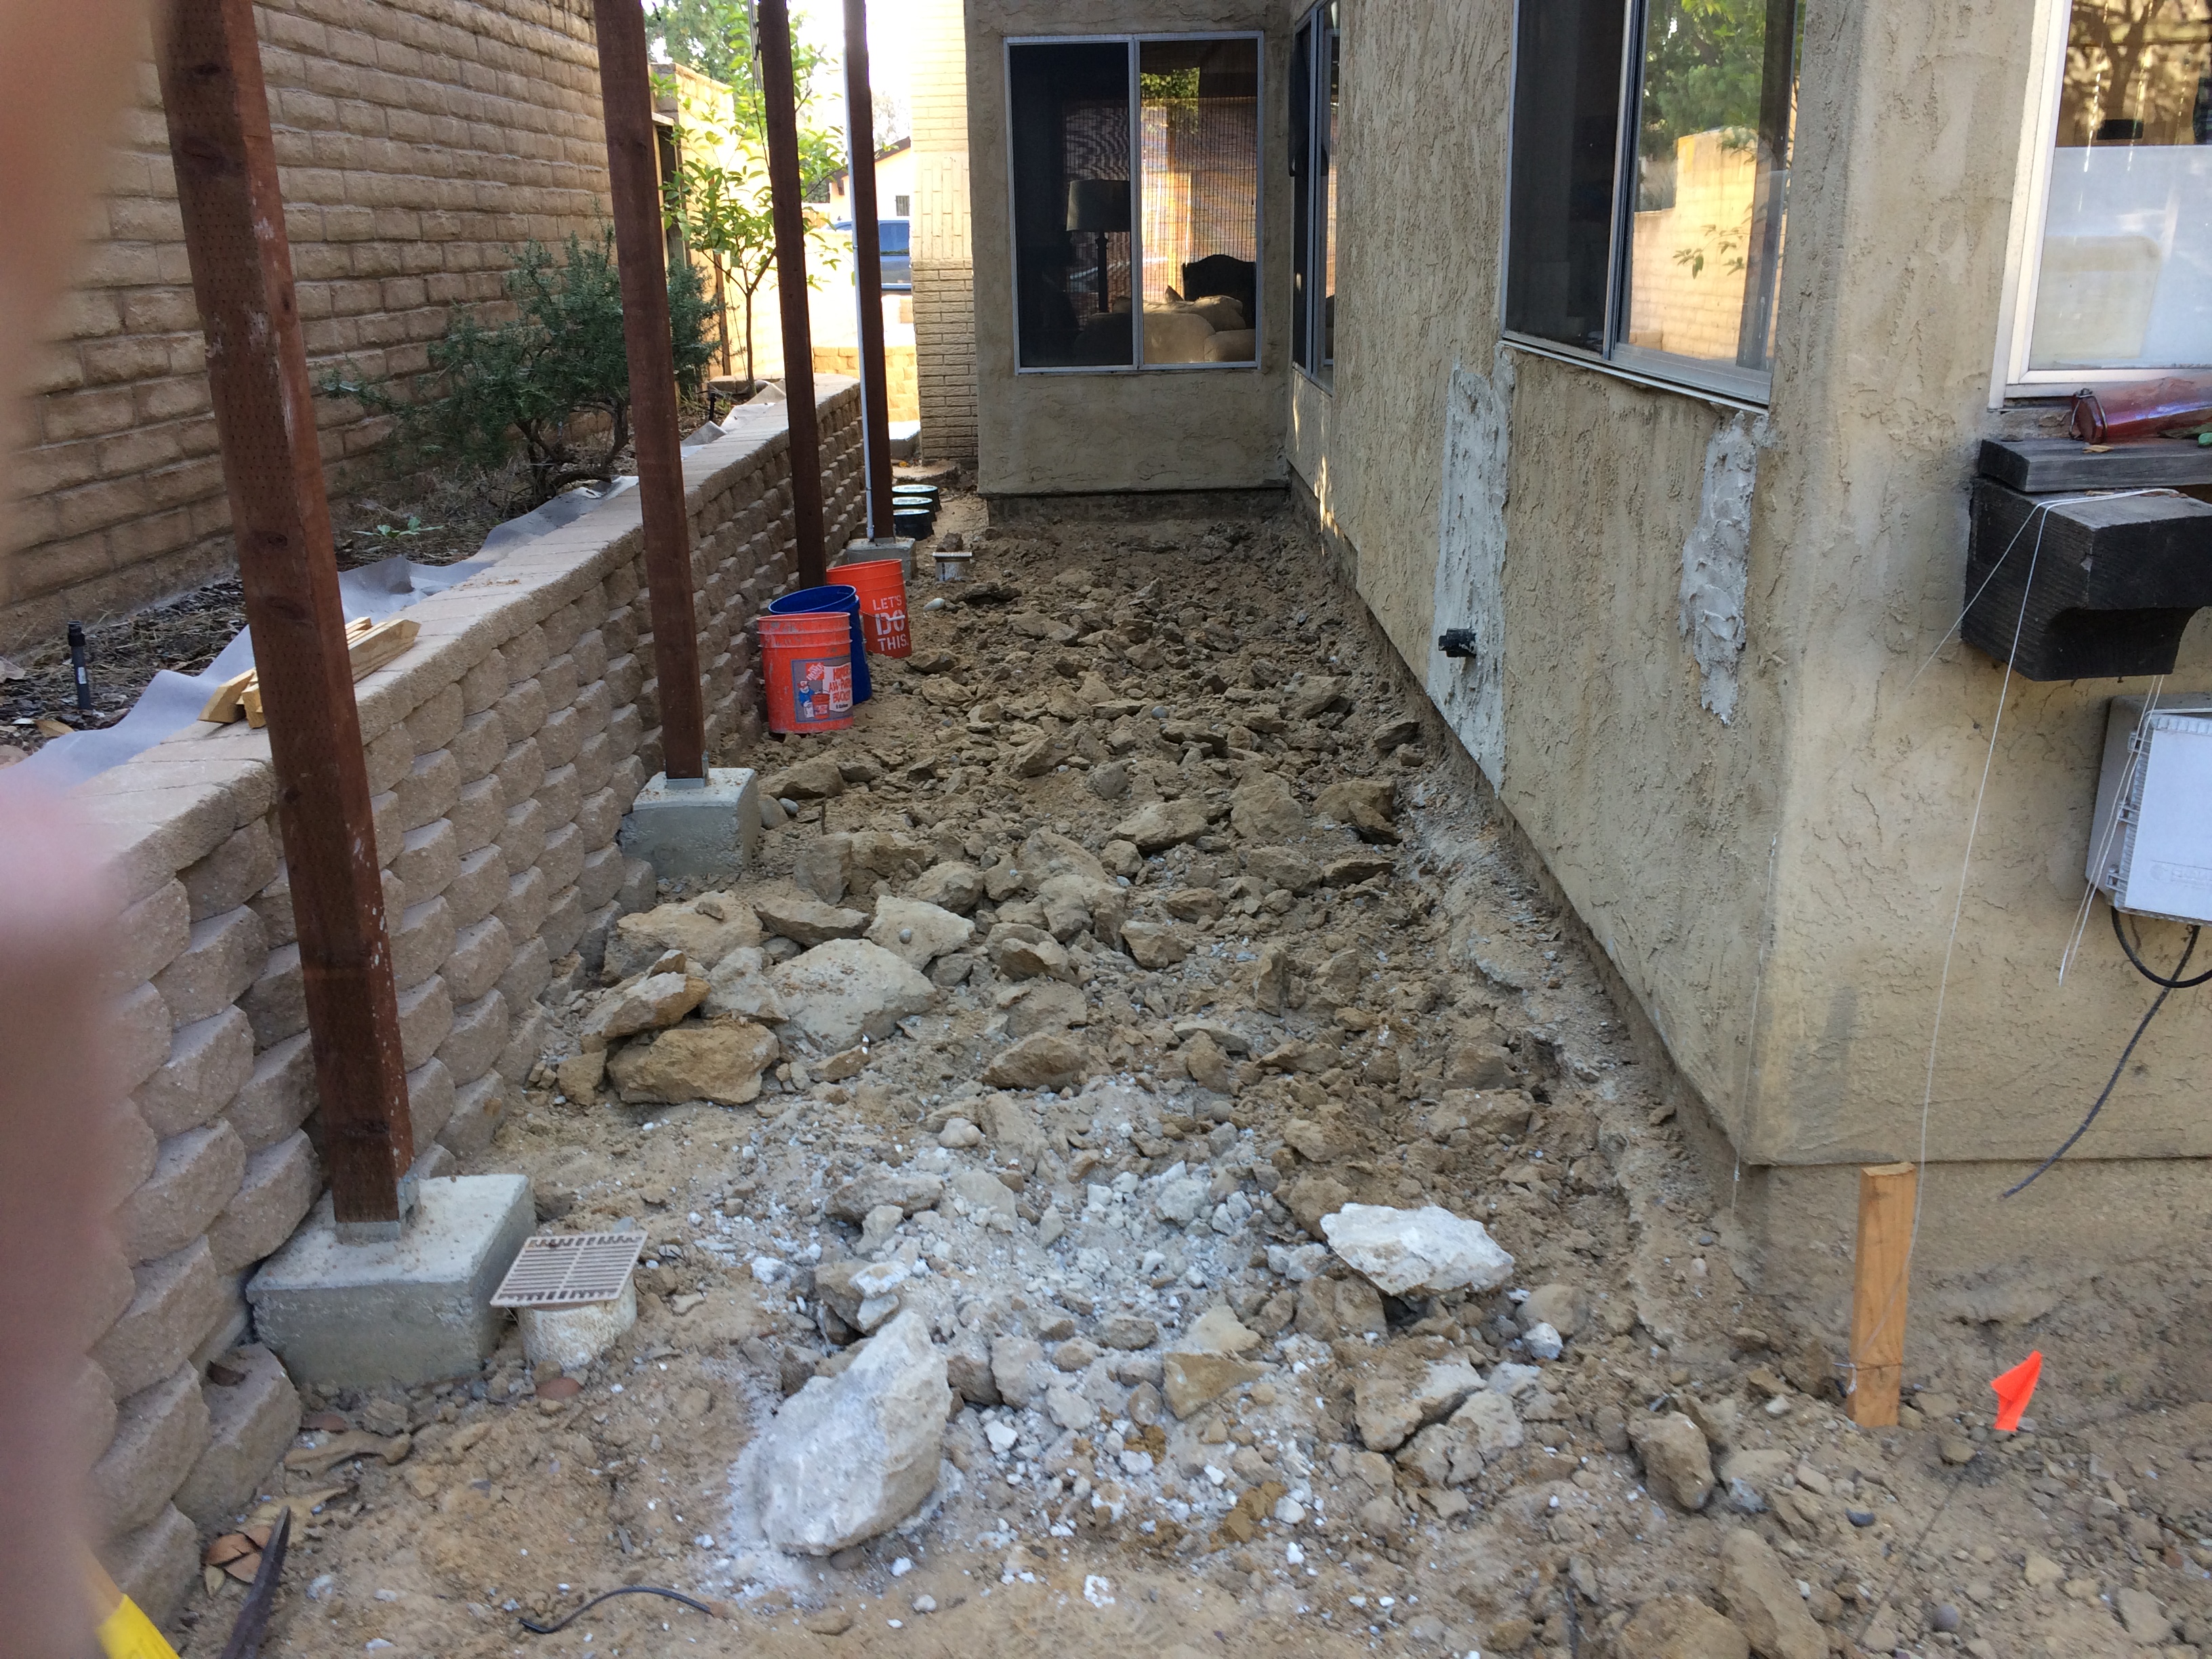
Look at these dirt clods. I needed a pick to break them apart!

More petrified potatoes. Fortunately, these are very popular as free giveaways on Craigslist. I don’t have problems getting rid of these.

This shows how I graded to the lines. I ran my 4″ block along the lines and then established the correct grade at the lines.

I then eyeballed the grade and leveled everything out. Pretty nice, eh?

Unfortunately while digging (again) I had some trouble locating previously buried services. This is a repair job of my blasting apart my pristine new greywater irrigation system. Fortunately I know how to fix this stuff.

Here is the truck used to deliver the 15 yards of aggregate base.

And here is the aggregate base in all its 15 yards of wonderfulness. This is really going to suck.
Here is a cool video on how to tighten, and easily loosen, building strings.
Now that the proper grade is established at the ground level, the next step is to add the aggregate base. The best aggregate base to use, at least in Southern California, is something called “Class 2 Road Base”. This is a mixture of aggregates from 3/4″ gravel down to dust. Plus it had recycled concrete. And it’s cheap(er). Best of all it compacts to a very stable base which is perfectly suited to a paver patio. Because I had the true genius of using a 4″ offset for my building strings, “all” I had to do was to trundle in the aggregate base and make it level with my strings. However, all of my genius could not overcome the basic fact of having to muscle the 15 yards of aggregate that was required to fill my front and back yard to the required 4″. Once the aggregate base is in place, it MUST be compacted. The best way to do this is with a plate vibratory compactor that can be rented. The aggregate base that I’m using compacts really well because of the different aggregate sizes. It really makes a stable, sturdy base on which to lay your pavers. Here are some pictures of the finished product:
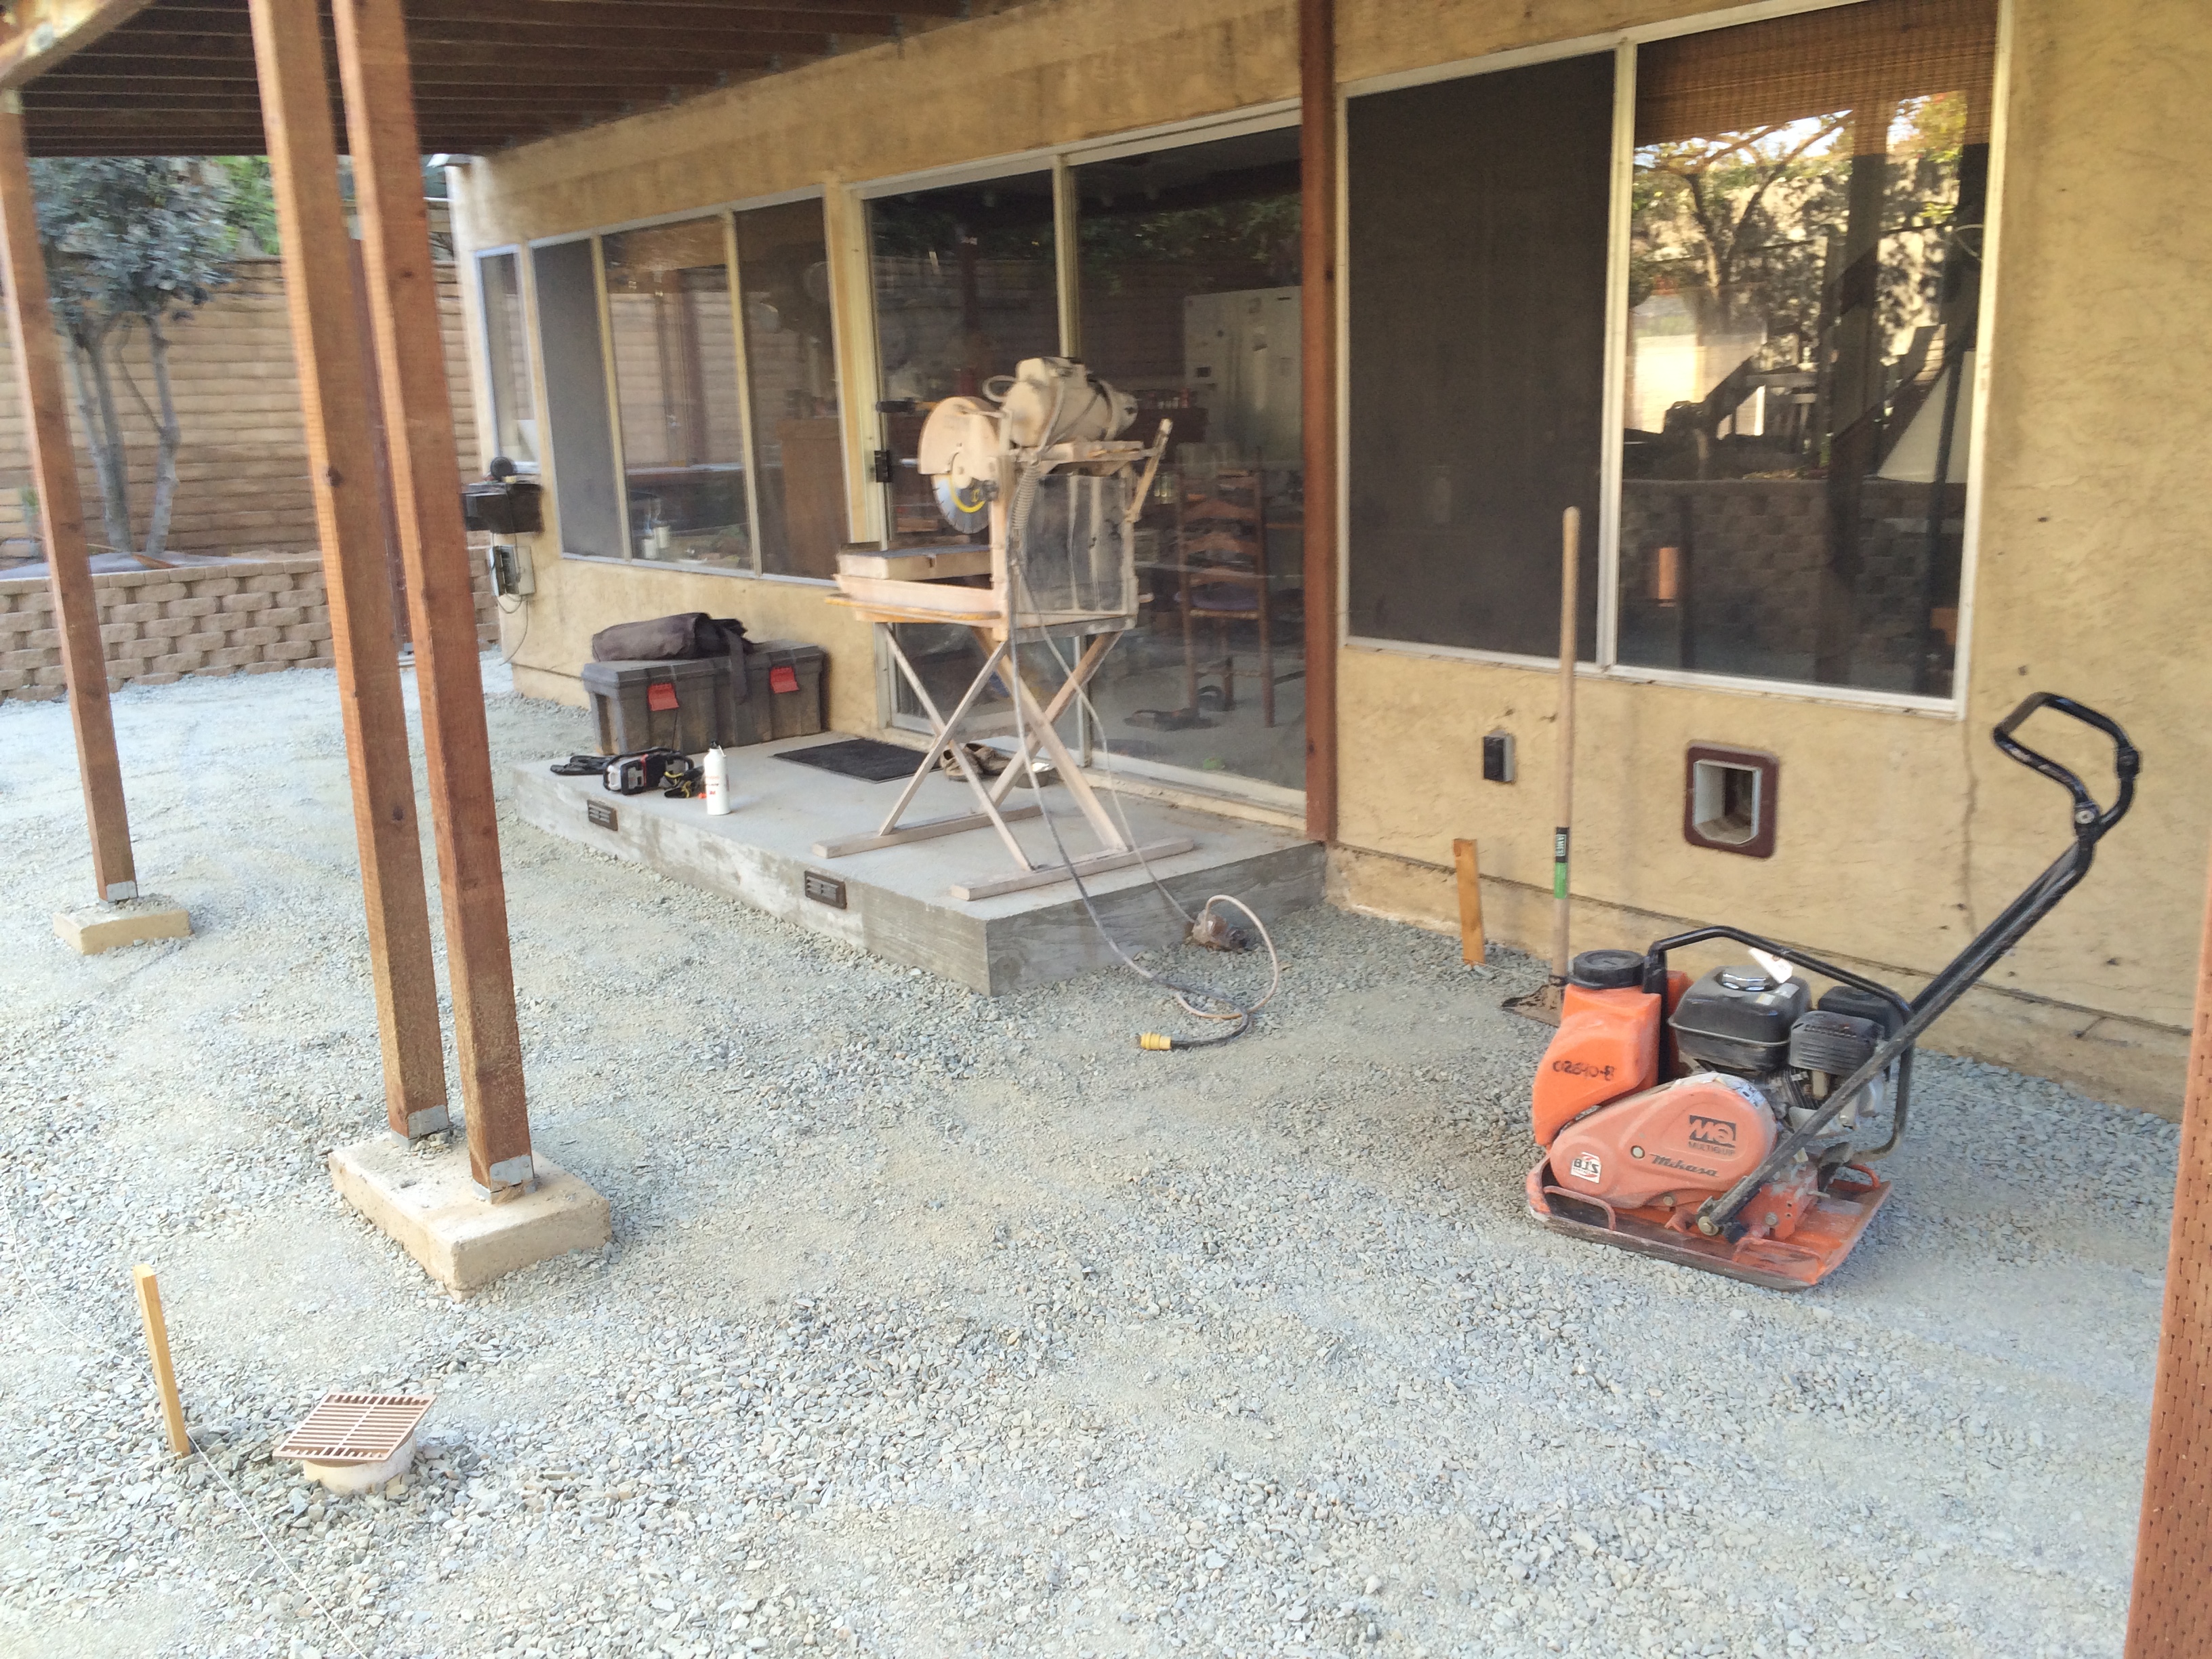
This is the fill all compacted. The orange beast in the foreground is the plate compactor. Also notice the wet say in the background. This tool is essential in making nice cuts for your pavers.

Side yard all nice and compacted.
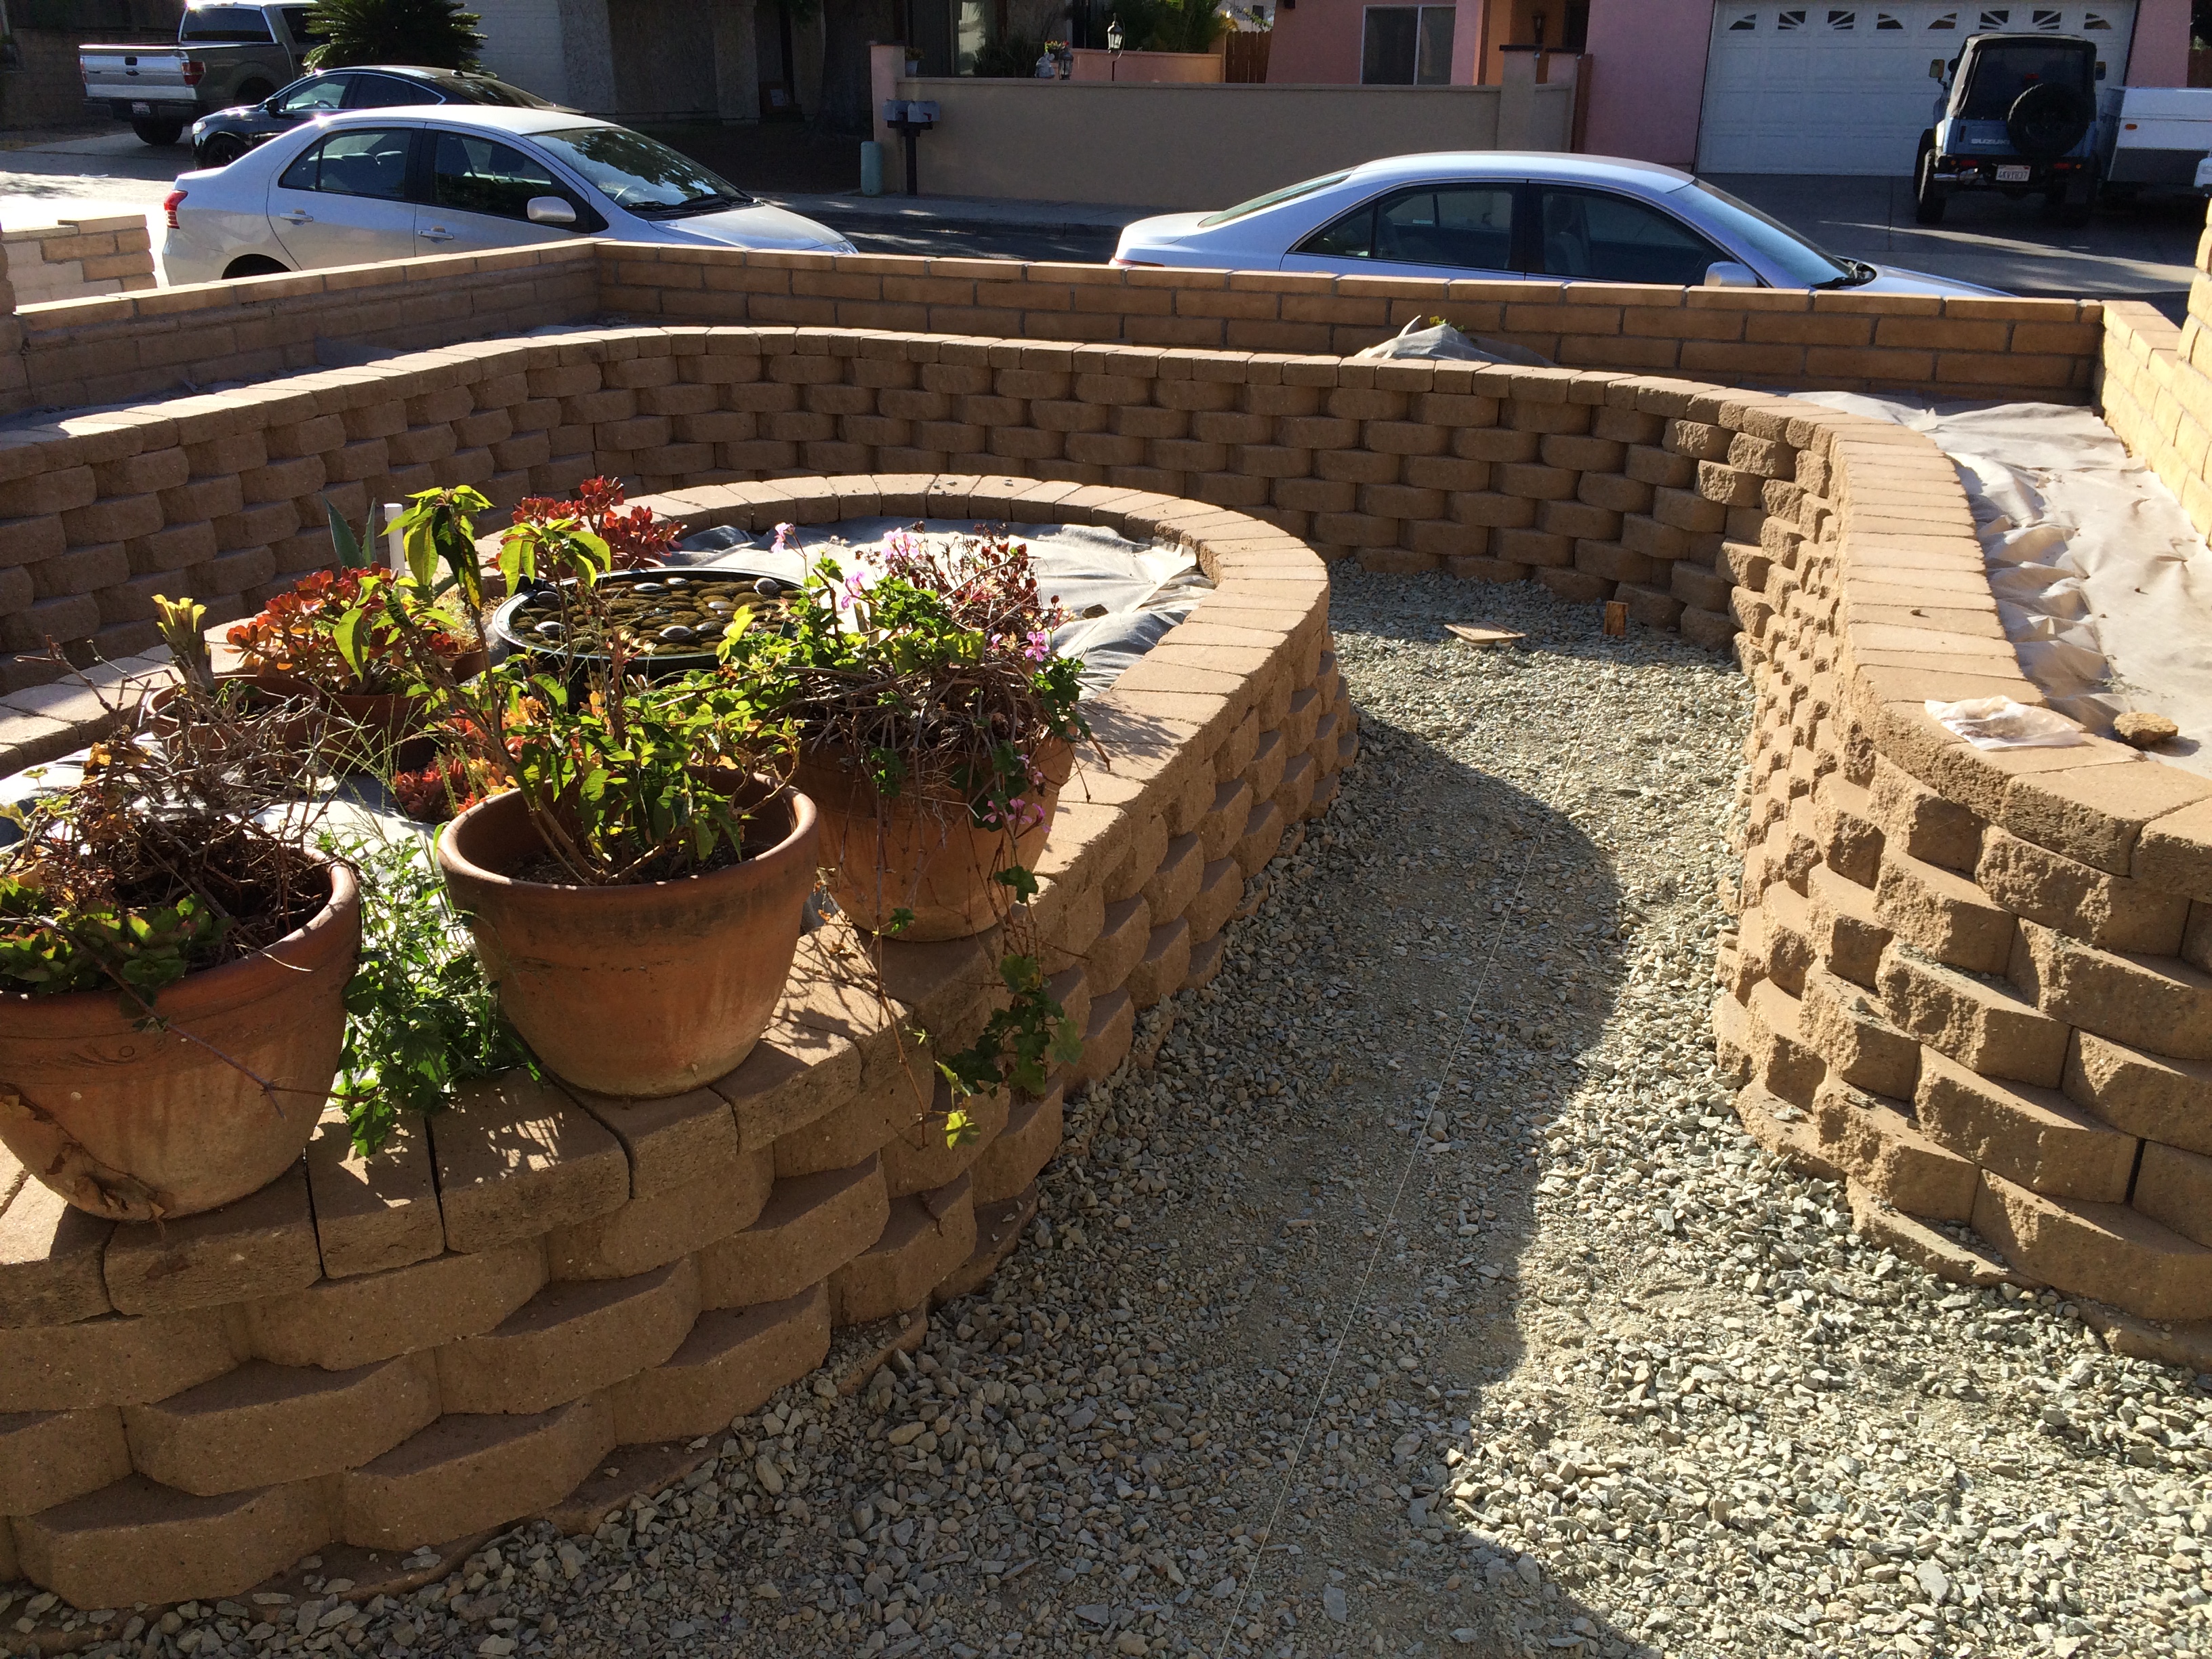
Front yard all ready for the next step. I’ll be filling this with decomposed granite (DG) and will stabilize it with a goop which promises to be resistant to erosion. We’ll see…
The next thing to do is to lay out the sand on which you’ll be placing the pavers. After doing some research on the Internet, I found a really nifty way to get it perfect. Obtain some 3/4″ PVC pipes, which have an outside diameter of 1″, and lay them down at 4′ intervals. Then dump your sand between the pipes and screed it off with a 2×4. The original video on the Internet showed an 8′ spacing, but they had 2 people working the screed. So I chose to shorten the distance to make it easier for a one-person crew. Working as one person sometimes requires a different approach than what a professional crew would do, so just “doing it like the pros” is not always possible.

One-person screed.
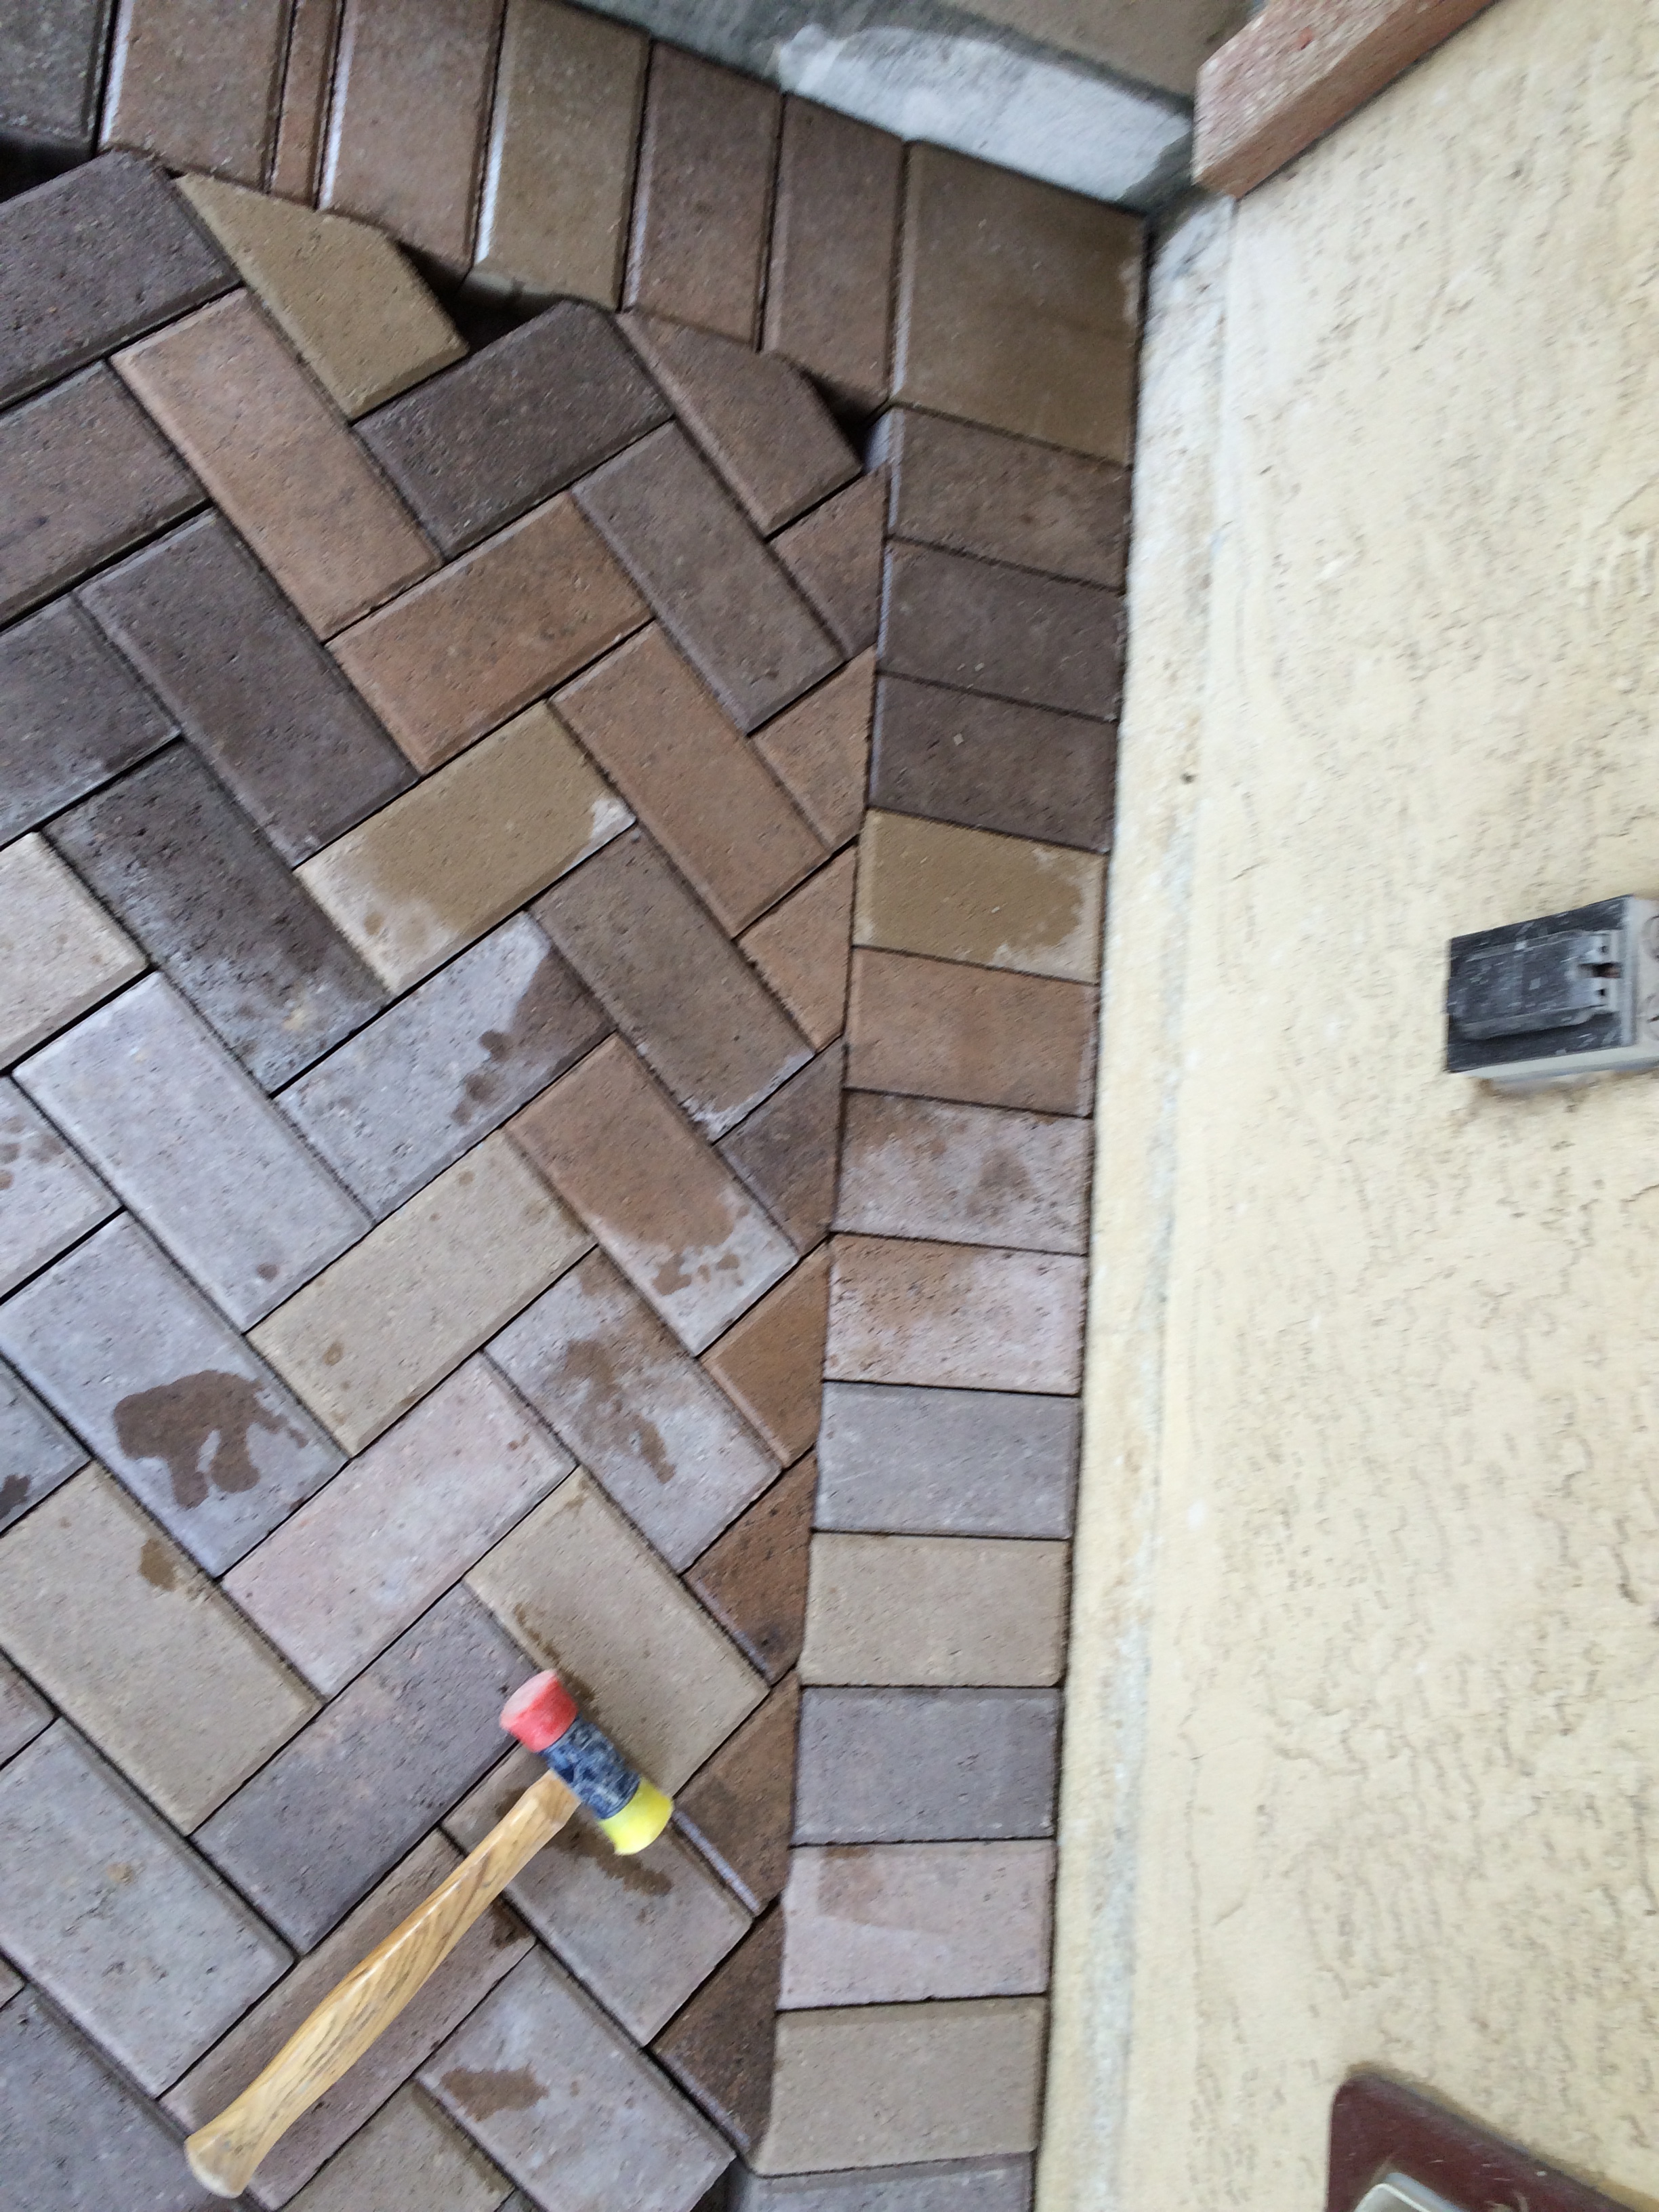
Everything is now ready for actually laying the pavers. While this can be a big payoff, because it’s so easy as compared to setting the grade and leveling the aggregate base, you have to be careful to set up that all important first course as accurately as you can. Once again, we need some reference points, and the most common one is the foundation of the house. In my case, since the patio occupies the entire back yard, I chose to use the corner of my foundation. The first bricks to lay will be the brick edging, which are bricks that are set perpendicular to the wall. For the corners, I used some 8″x8″ paver blocks, which made the corner transitions easier than cutting up 4″x8″ bricks on the diagonal. More of that to come. Now to set the pattern which you’re going to use for the “field”. Many patterns (basket-weave. running bond, 90º herringbone) should fit right along your edging, and you can merrily brick away. However, I chose to use a 45º herringbone pattern because (a) looks really cool, (b) aligns with the cardinal compass points relative to true north on the property, and (c) is a bit more challenging.
To line up a 45º pattern, the first thing to do is to set up a building line with some masonry string and blocks. This line needs to be parallel to the edge you’ll be working, and should be offset such that the filler bricks are relatively easy to cut and fit. I’ve seen some videos of how to set this up on the Internet, and while watching the process is instructive, these videos miss the obvious when it comes to determining the offset. It’s really quite simple: since the bricks will intersect the edge at a 45º angle, you’ll want to cut off the corner of a brick so you can flip the pieces around and complete the pattern. Here is a diagram:

Diagram of how to set up the first course.
A closer look at the diagram shows that the offset is the hypotenuse of a 45º right triangle, whose two legs correspond to the width of your brick. The hypotenuse is the square root of the sum of the squares of the legs (Pythagorean theorem, yes?), So since my bricks are 4″x8″, the offset is √(4² + 4²) = √(16+16) = √32 = 5.65. That works out to 5-5/8″. (If you really want to be nerdly, the closest fraction is 21/32 which is right between 5/8 and 11/16, so you could use your tape measure to get spot on, but in reality, 1/8″ is pretty good.) Why do I discuss this? Because I’m a nerd. And proud of it! That bit of mathematical nuance out of the way, it’s time to lay some brick! Take your bricks and align the corners diagonally with the mason’s line. You want to lay a fair number of bricks to establish a good course to build from, as shown in the picture. I set about 10 pairs (20 bricks).
Now we get to a point where we have to start thinking about the order of things. Specifically, you need to think about how you’re going to set the sand base, then lay the brick, without stepping in the sand base (which defeats the purpose), or disrupting the bricks that you’ve already set. You can (indeed must) walk on the placed brick, but you must step gingerly so as not to disrupt the bricks on the edges. So the brick path you step on needs to be at least 5-6 courses wide. You can start from one edge and build out until it’s wide enough, and then you’re home free.

Stepping Stones. Lay enough brick so you can step on it (carefully) and work your way out.
One of the critical observations in doing masonry work is to realize that masonry is the art of adjustment. Constantly. Bricks are not exactly the same size. Foundations are not exactly straight. So, one has to constantly compromise. In laying this particular herringbone pattern, I noticed that the bricks tended to become misaligned, probably due to the fact that the bricks came in contact with the edging at their corners. This meant that only a slight misalignment in the angle of the bricks will make a big difference. The way to notice this is to look at the gaps between the bricks. If there are excessive gaps, then it is likely that the bricks are misaligned. This is where your rubber hammer becomes your friend. Simply tap the edges of the bricks and they will tend to lock together and self-align. To a point. If you’re not vigilant, then things can get away from you and you might have to pull some of the bricks up so you can align them. Bottom line: constantly pay attention!
It turns out that laying the pavers, as whole bricks, is only half the job. The other half comes when you have to cut the bricks to fit along the edges and any other protuberances, such as post foundations and drainage grates. This is where a diamond blade wet saw comes in handy. Although one can dry cut the bricks with a grinder, the wet saw makes the cuts much more accurately, resulting in a very nice, professional look. The cost of renting this type of saw is totally worth it, especially when compared to the effort you will expend in putting all of the pavers in. The technique is to fit a brick where it would normally go, and then mark where it contacts the edge with a sharpie. Turn the brick over, draw a line between your two marks, and you now have your cut line. I also number the cuts so I can cut in batches to save time, yet keep all of the pieces organized. You’d be surprised how much they all start looking alike! Remember — mark the BOTTOM of the brick. Having a bunch of numbers on the top of your bricks will elicit some uncomfortable questions by your guests after you finish.

Step #1: Line up your bricks.

Step #2: Mark where the brick intersects the edge.
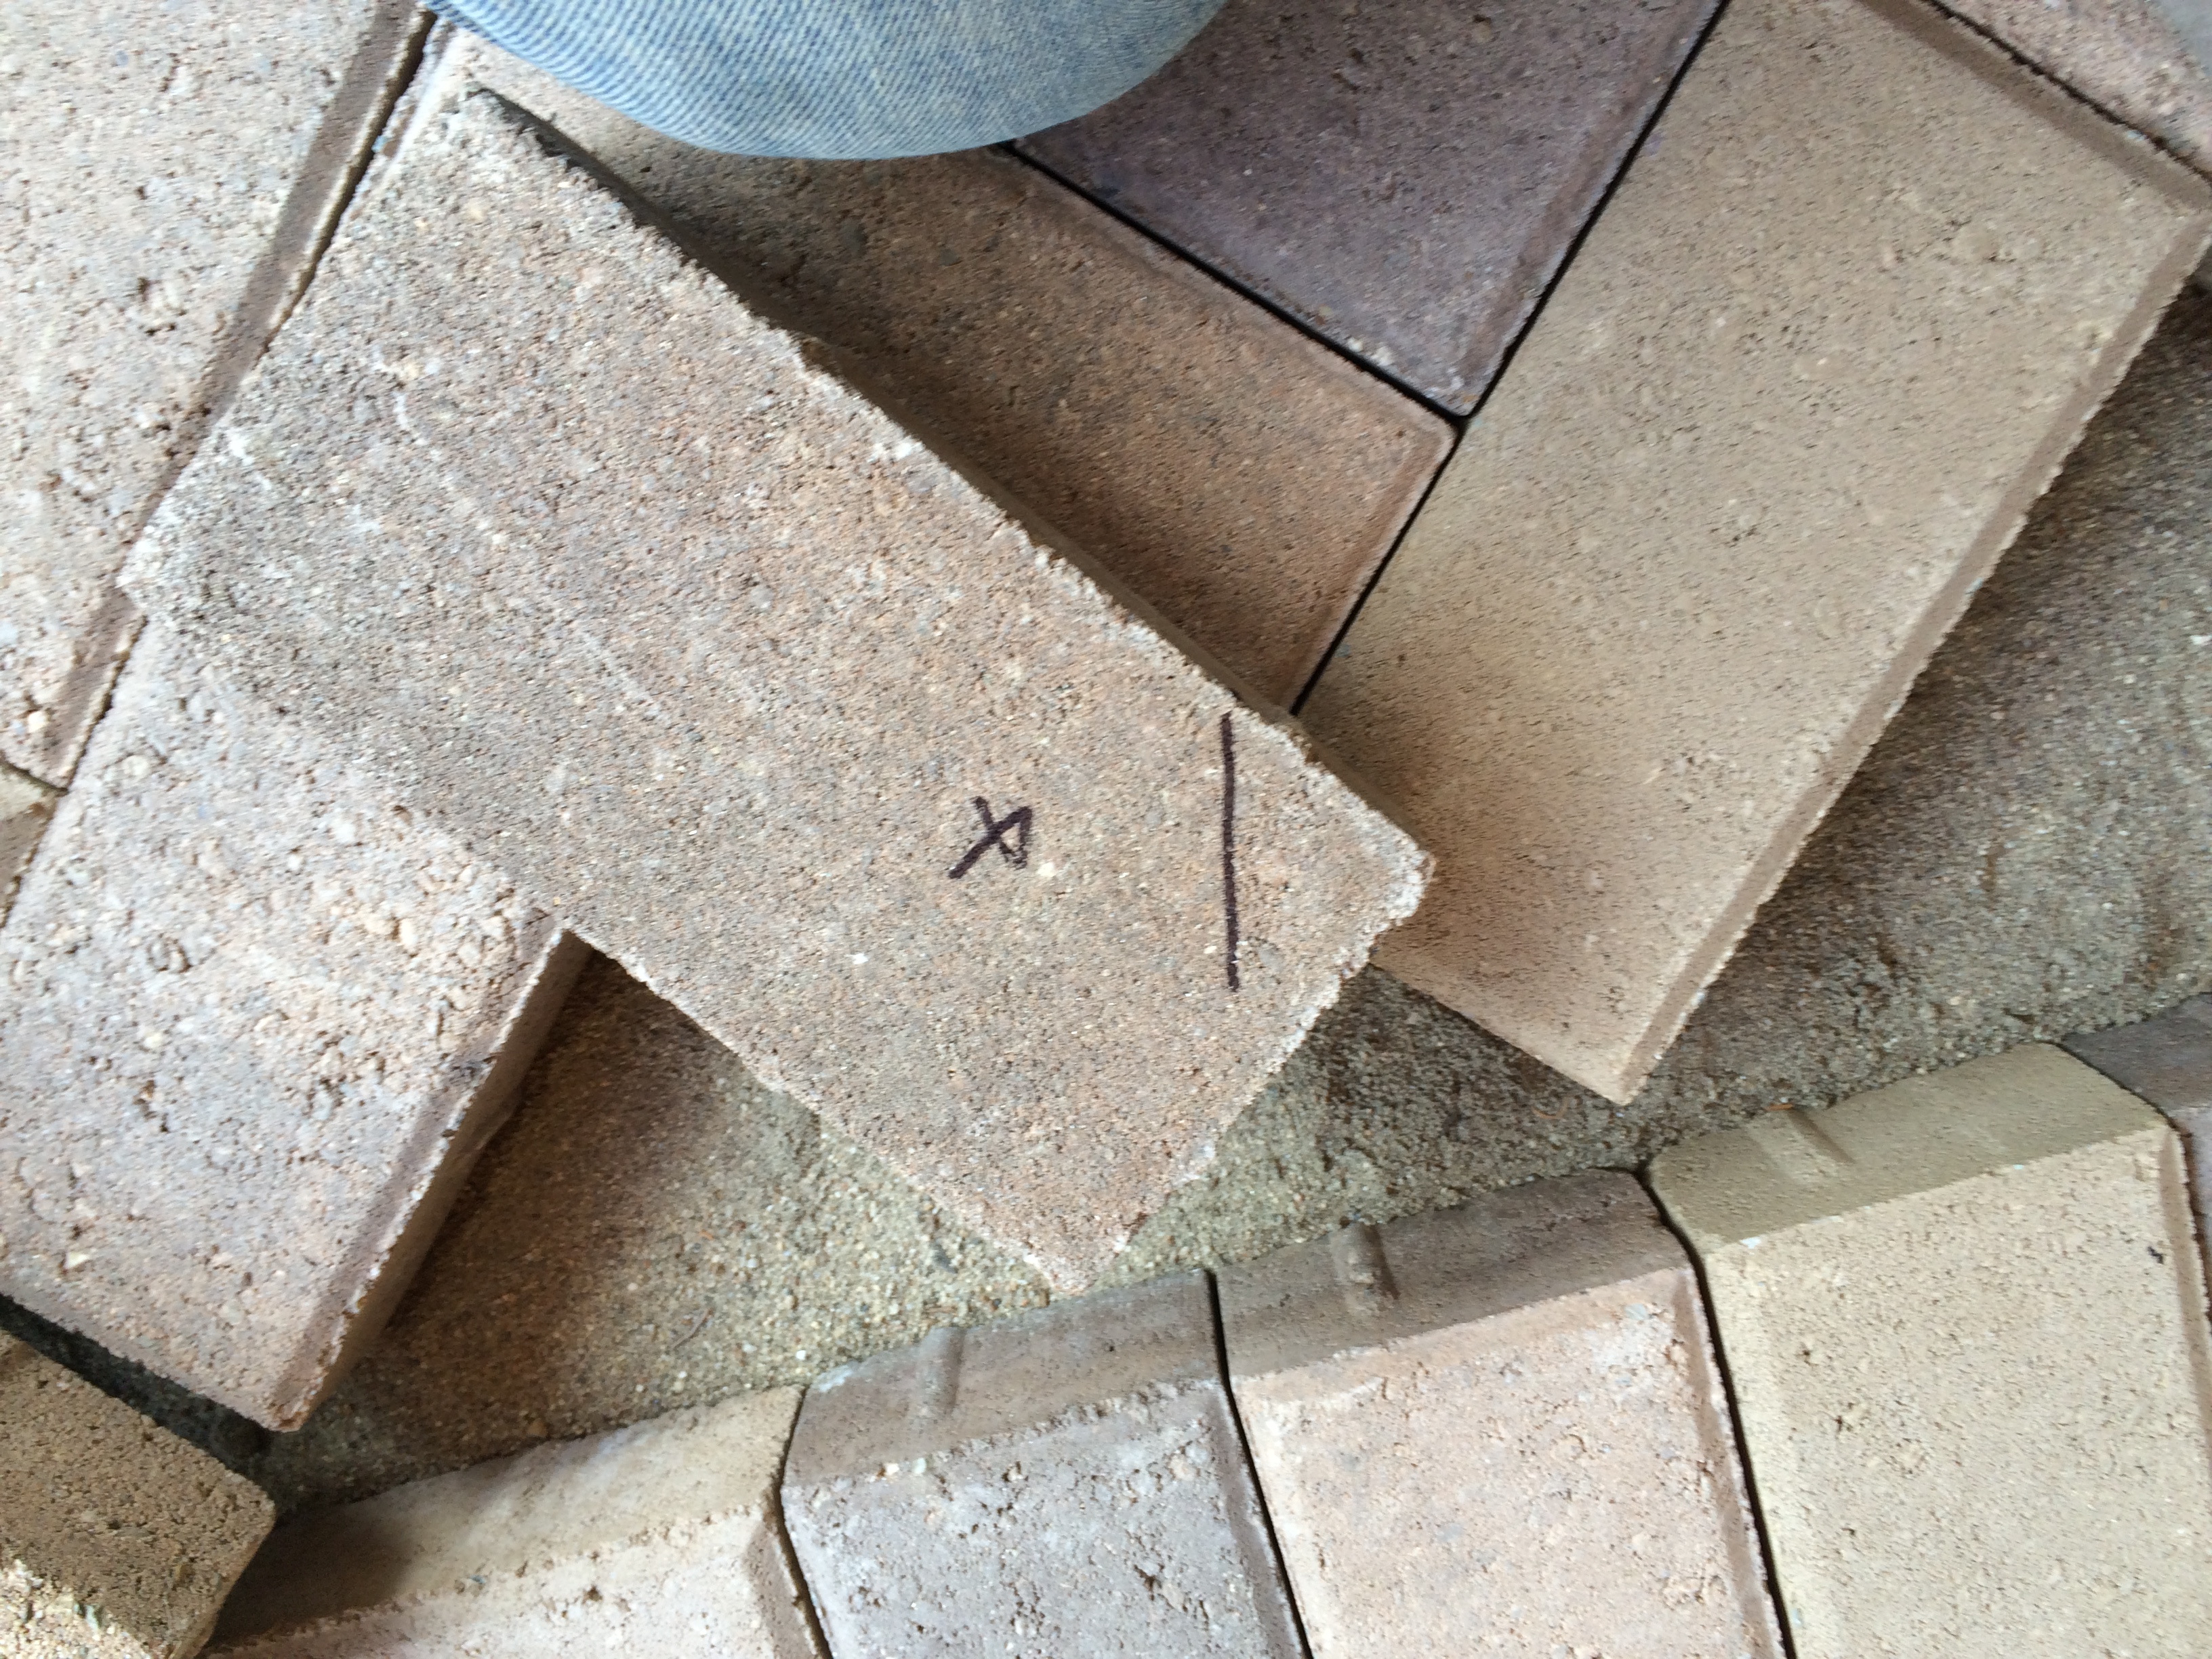
Step #3: Connect the marks to make a line.
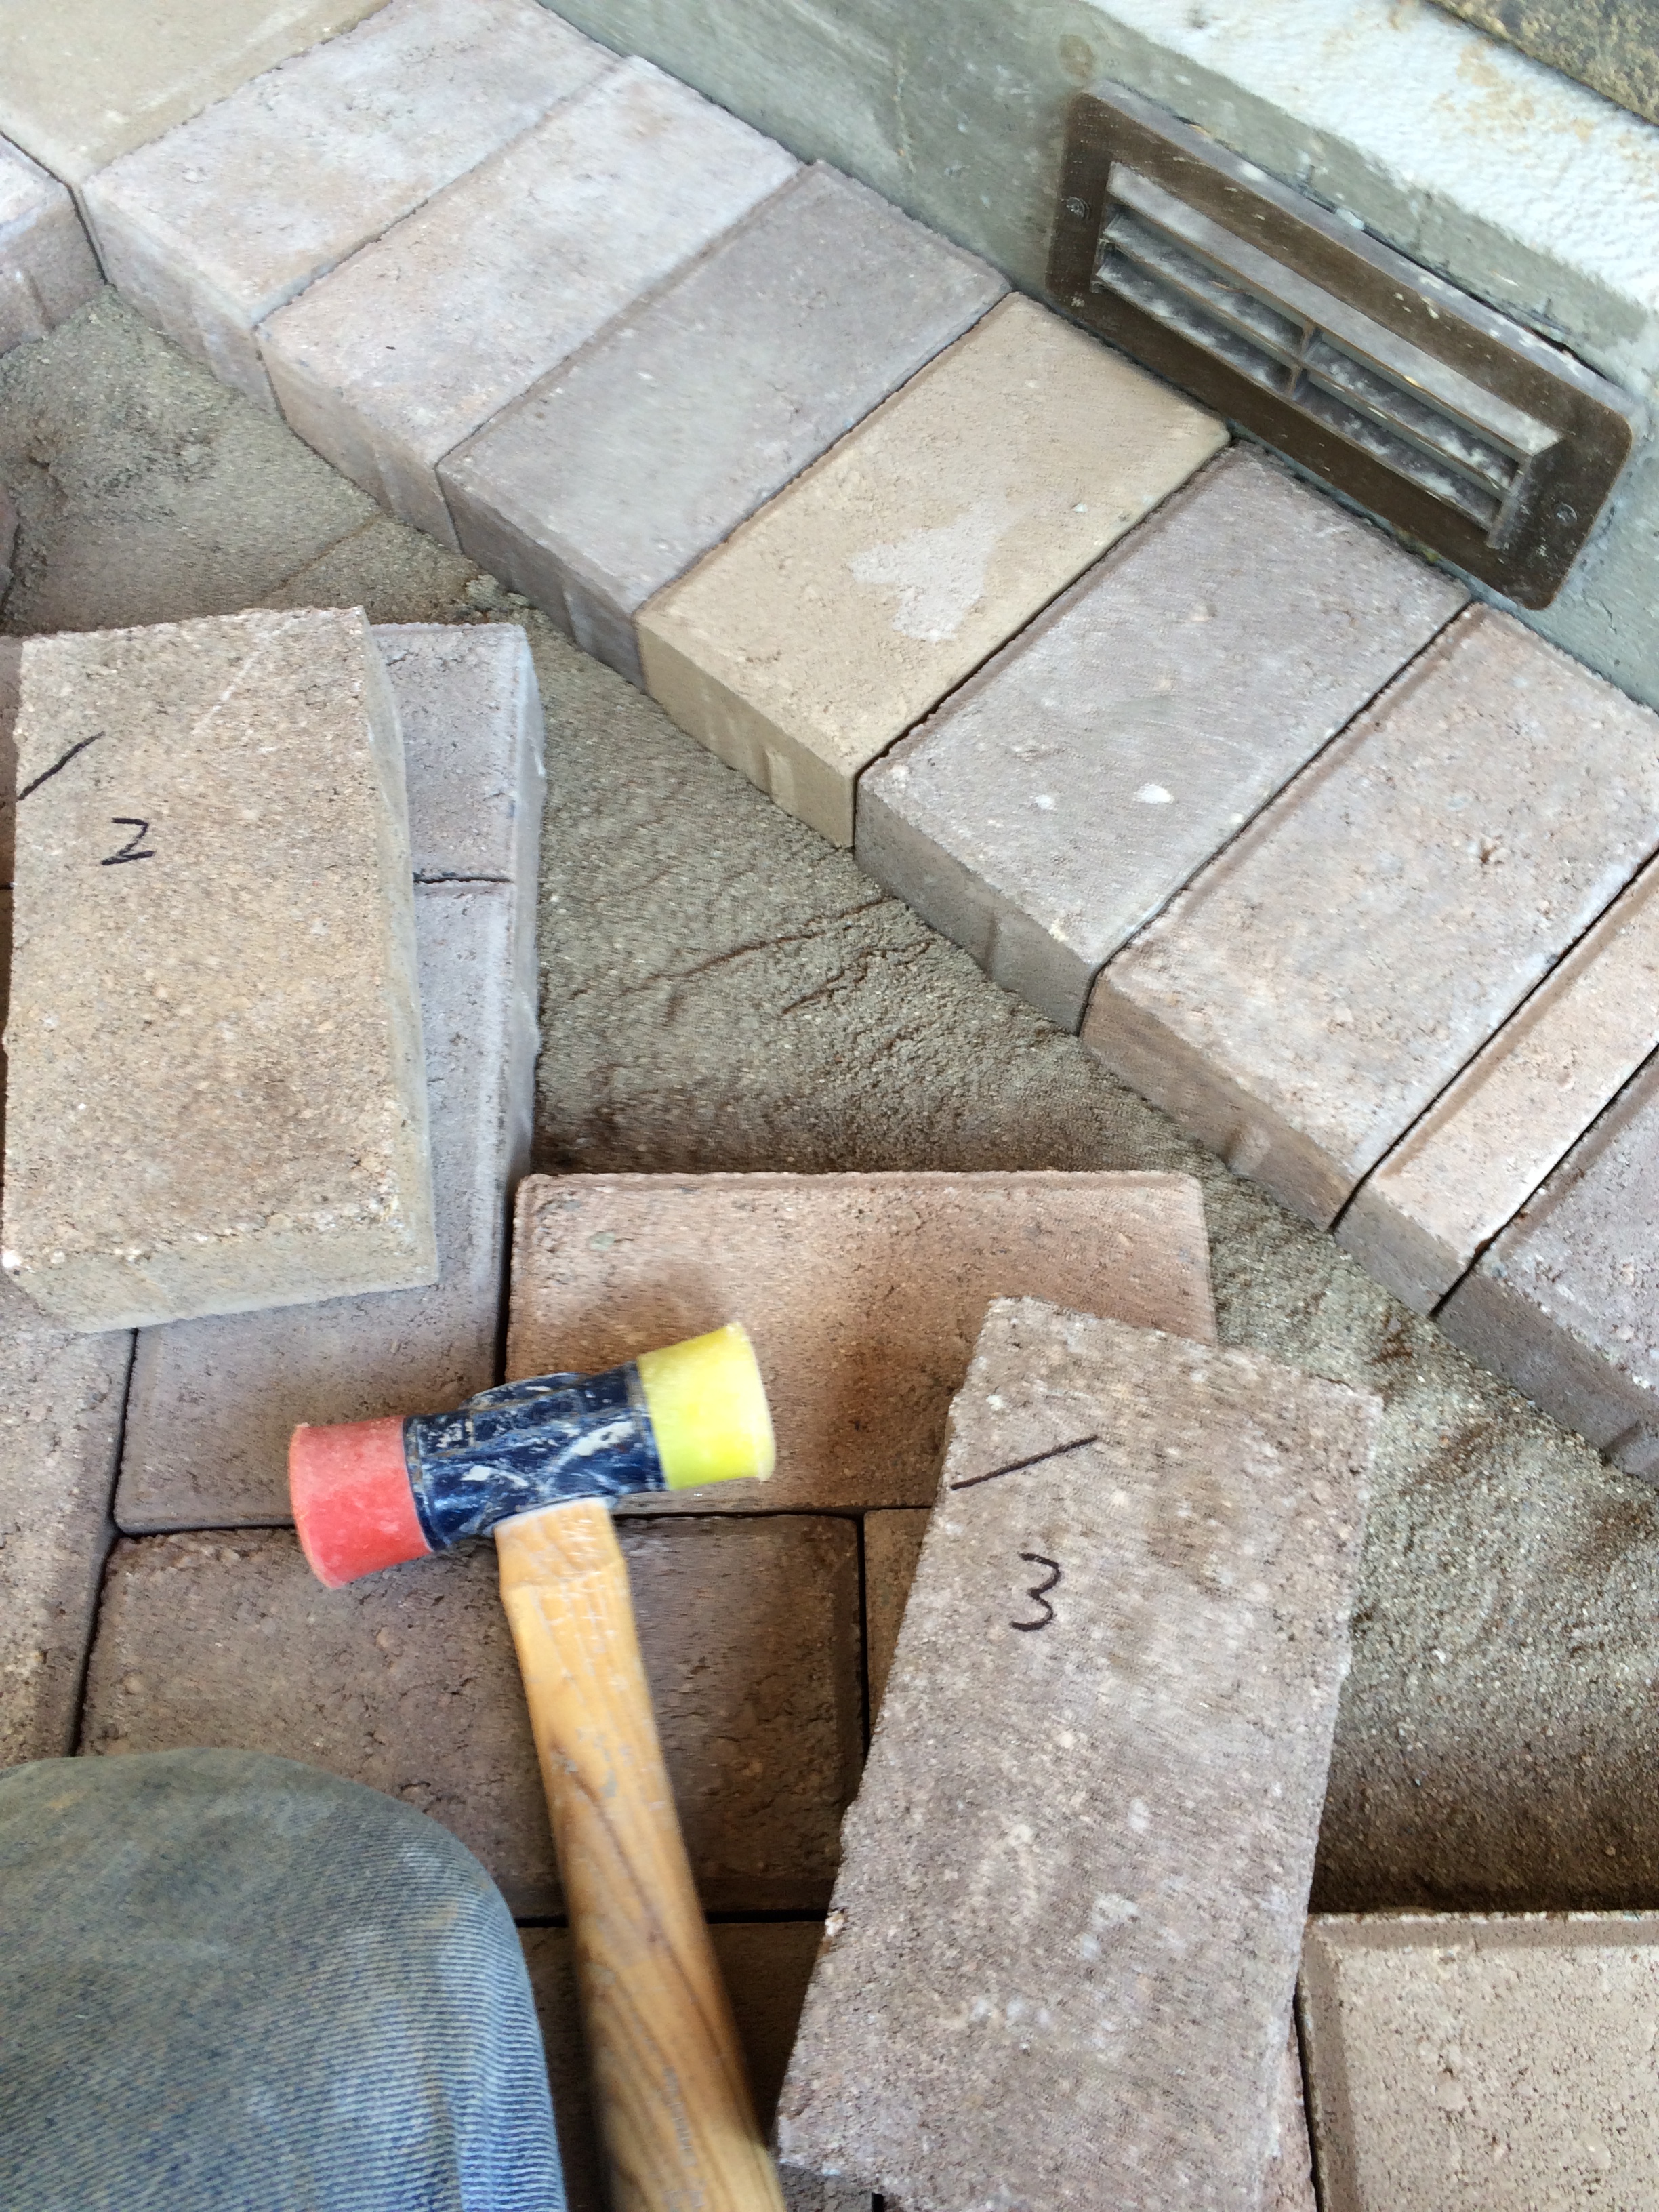
Step #4: Number your bricks so you’ll remember where they go.

Step #5 Cut the bricks. See how handy the numbers are?
Step #6. Set the bricks in place. Looks nice!
Now that the bricks are in place, they should be set into the sand base. This is best done with a plate vibratory compactor. This is a little like a lawn mower, except that it’s heavy and has some weights that rapidly spin, causing the plate on the bottom to buzz in a heavy manner. This is, perhaps, one interpretation of getting “heavily buzzed”. At any rate, the bricks will settle nicely into the sand base and start to lock up with each other, stabilizing the entire assembly. That’s all good, but in order to completely stabilize the structure, you must add sand. These pavers are specifically designed to have small (1/8″) gaps between them — in fact, there are little tabs on the sides of the brick to optimize this spacing and keep it uniform throughout. Because the gap is small, and the friction of the sand is what is used to lock the pavers in place, it is important to use “joint sand”, which has the right grain size and sharp edges. The process is to spread the sand all around, sweeping it back and forth a bit to get it to go into the gaps, and then take the plate compactor and run it over the bricks again. This will shake the bricks and the sand will rapidly and completely fill the gaps. (Heavily buzzed with “joint” sand — hmmm…. maybe that’s what makes them act like bricks.) You’ll want to sweep and vibrate one more time to make sure the gaps are filled all the way to the top. You will likely now have some excess sand on top, so it will need to be swept off. I used the extra sand to make a sandbox for our outdoor cat, Tiger.

Here is our outdoor cat, Tiger, in the supervisory mode. He is a feral cat that we tamed, and he comes in to eat and when the weather is bad, but we could never litter train him. So….

Tiger’s Toidy. A pristine sandbox in a secluded, private location. It pays to be a cat!
Finally, the last step: sealer. Sealer is important because (a) it penetrates the sand, discouraging ants and other bugs from coming up through the gaps between the bricks, and (b) penetrates the surface of the bricks to make the cleanup of spills, including such things as grease from your grill and bird poop, much easier. Putting on the sealer was not particularly difficult, but it was important to flood the bricks, and especially the gaps, to get good penetration. I used a roller attached to a pole and it worked pretty well.
This particular job took a lot of time, particularly in some unseasonable heat, but I took some vitamins and had a few extra cups of coffee, so the following video outlines the process from start to finish.
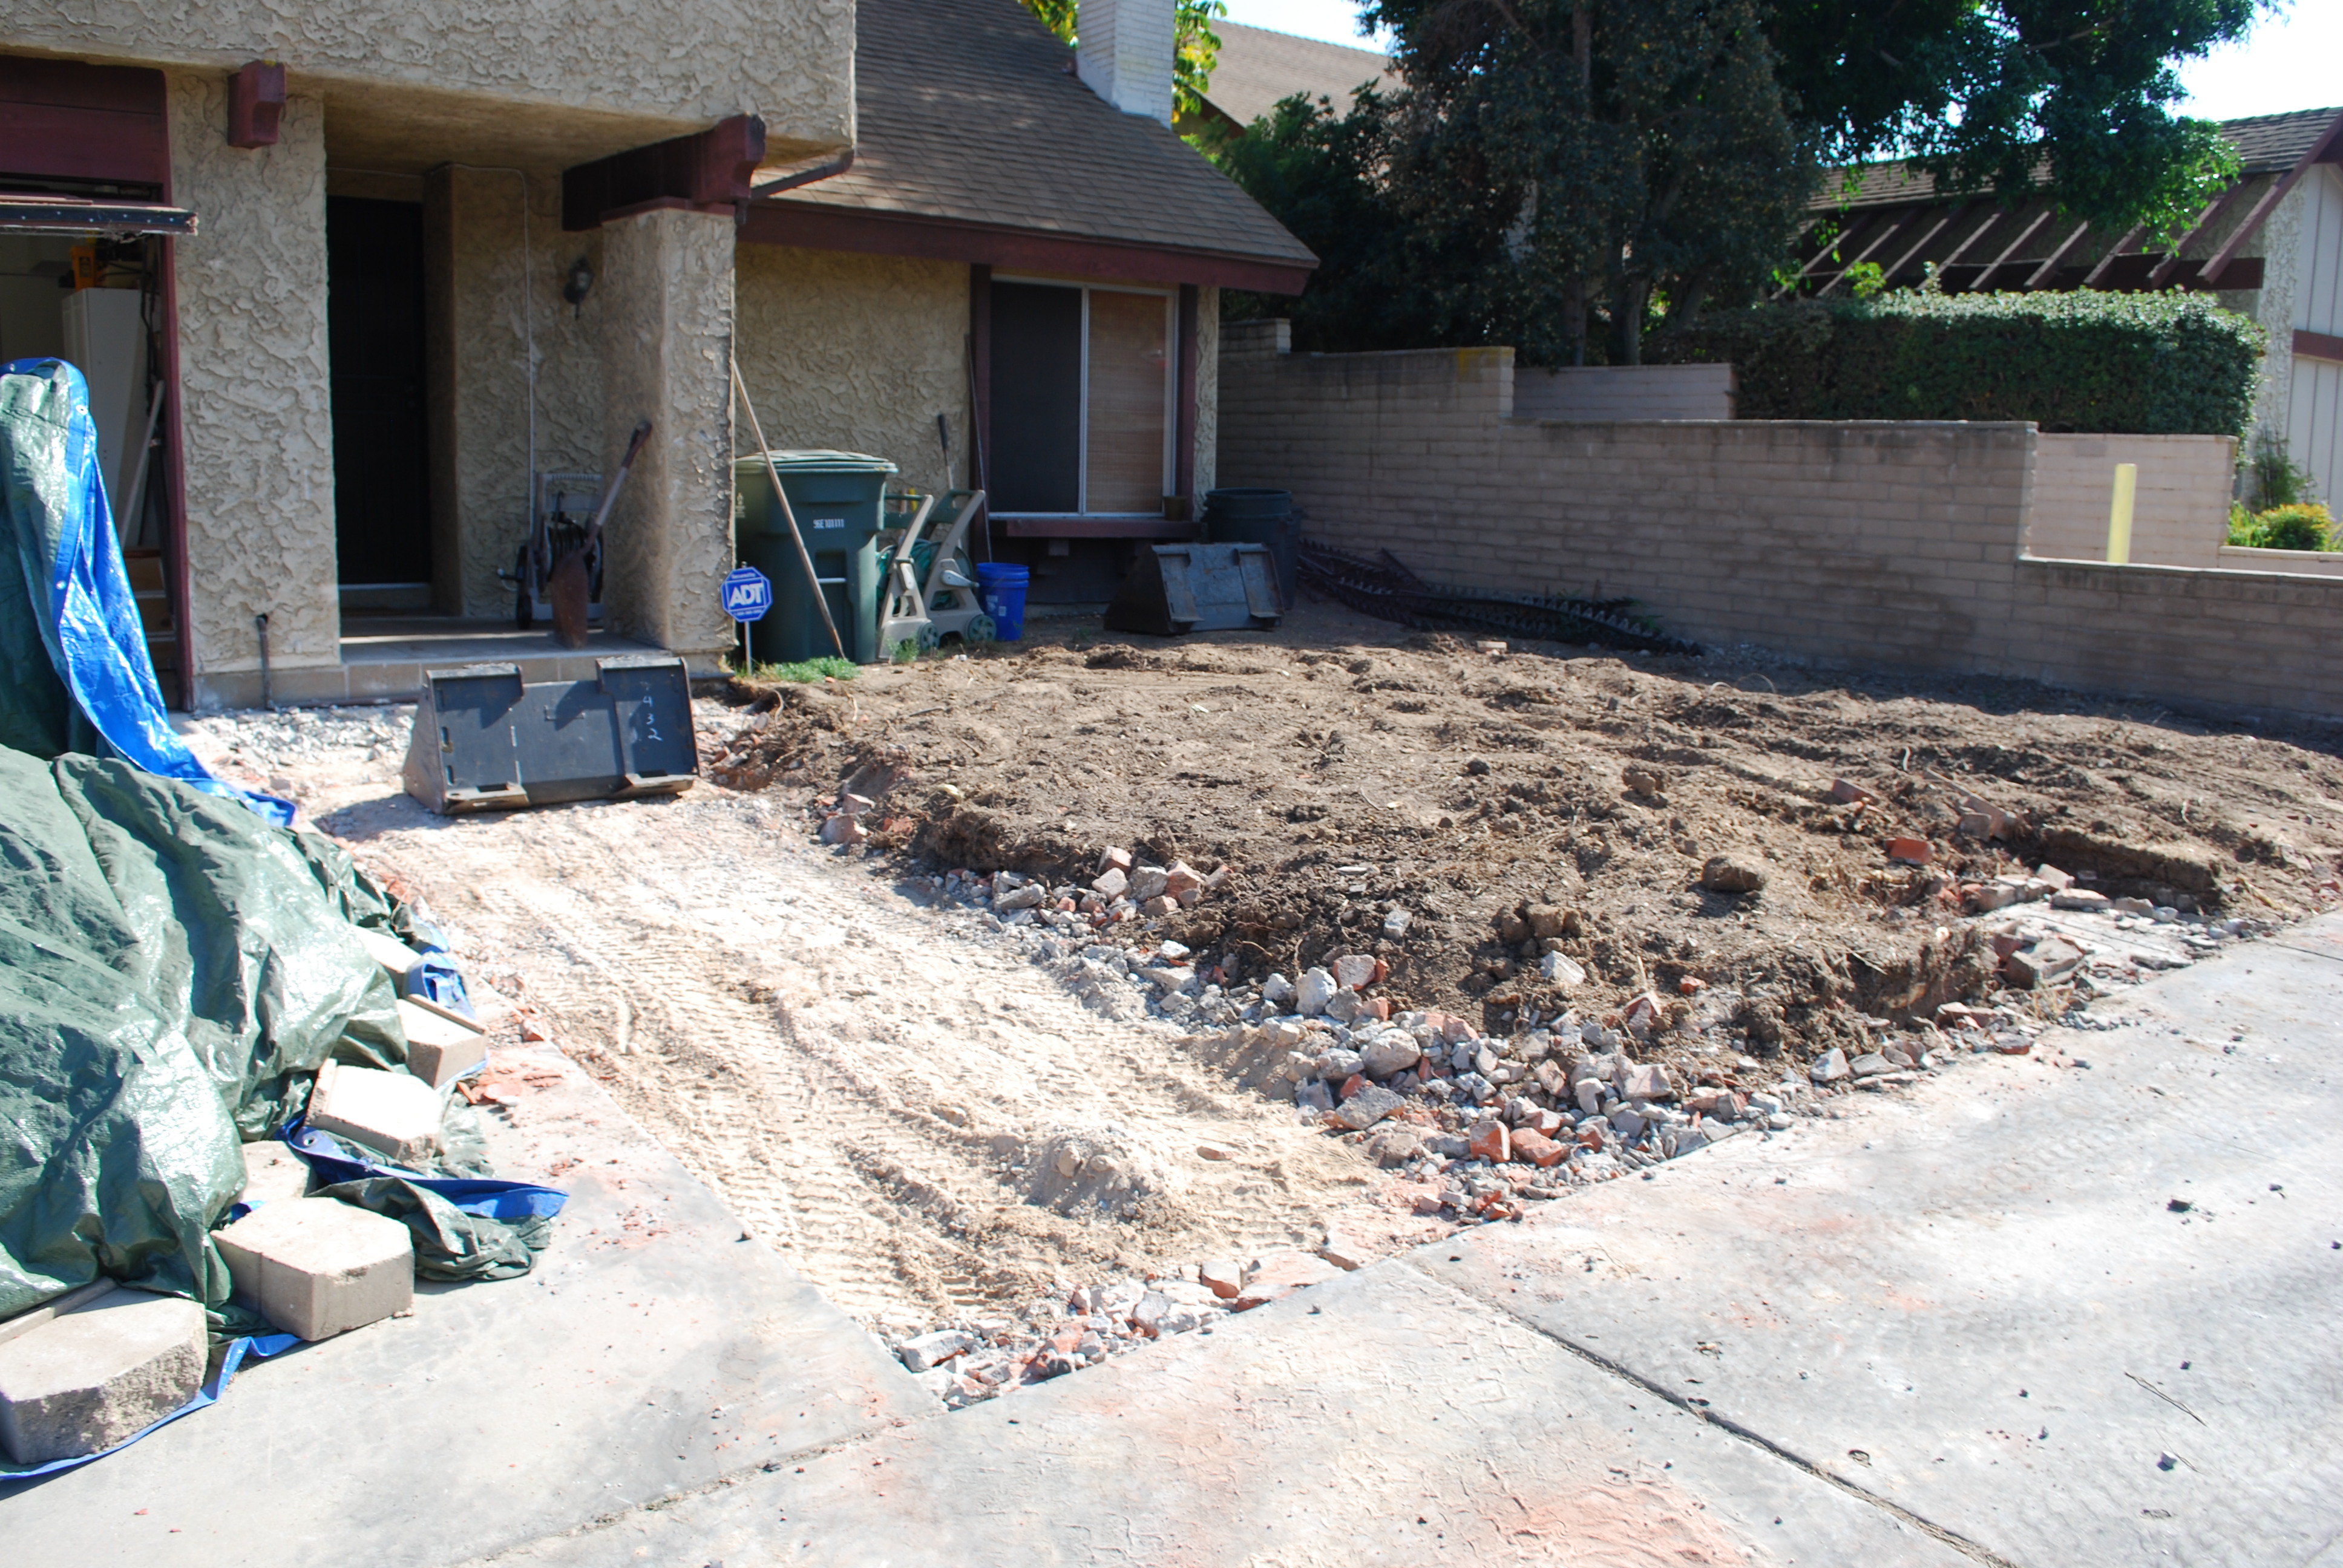
As a bonus, I now have completely cleared my driveway which, for the past 18 months, has served as a lay down area, particularly for the bricks and sand I harvested from the original patio. I finally feel as though my outside projects are near conclusion. Here are some more pictures:

Driveway with all the junk and lay-down for the patio. I removed the patio bricks 18 months before and they’ve been sitting there until now when I could reinstall them.
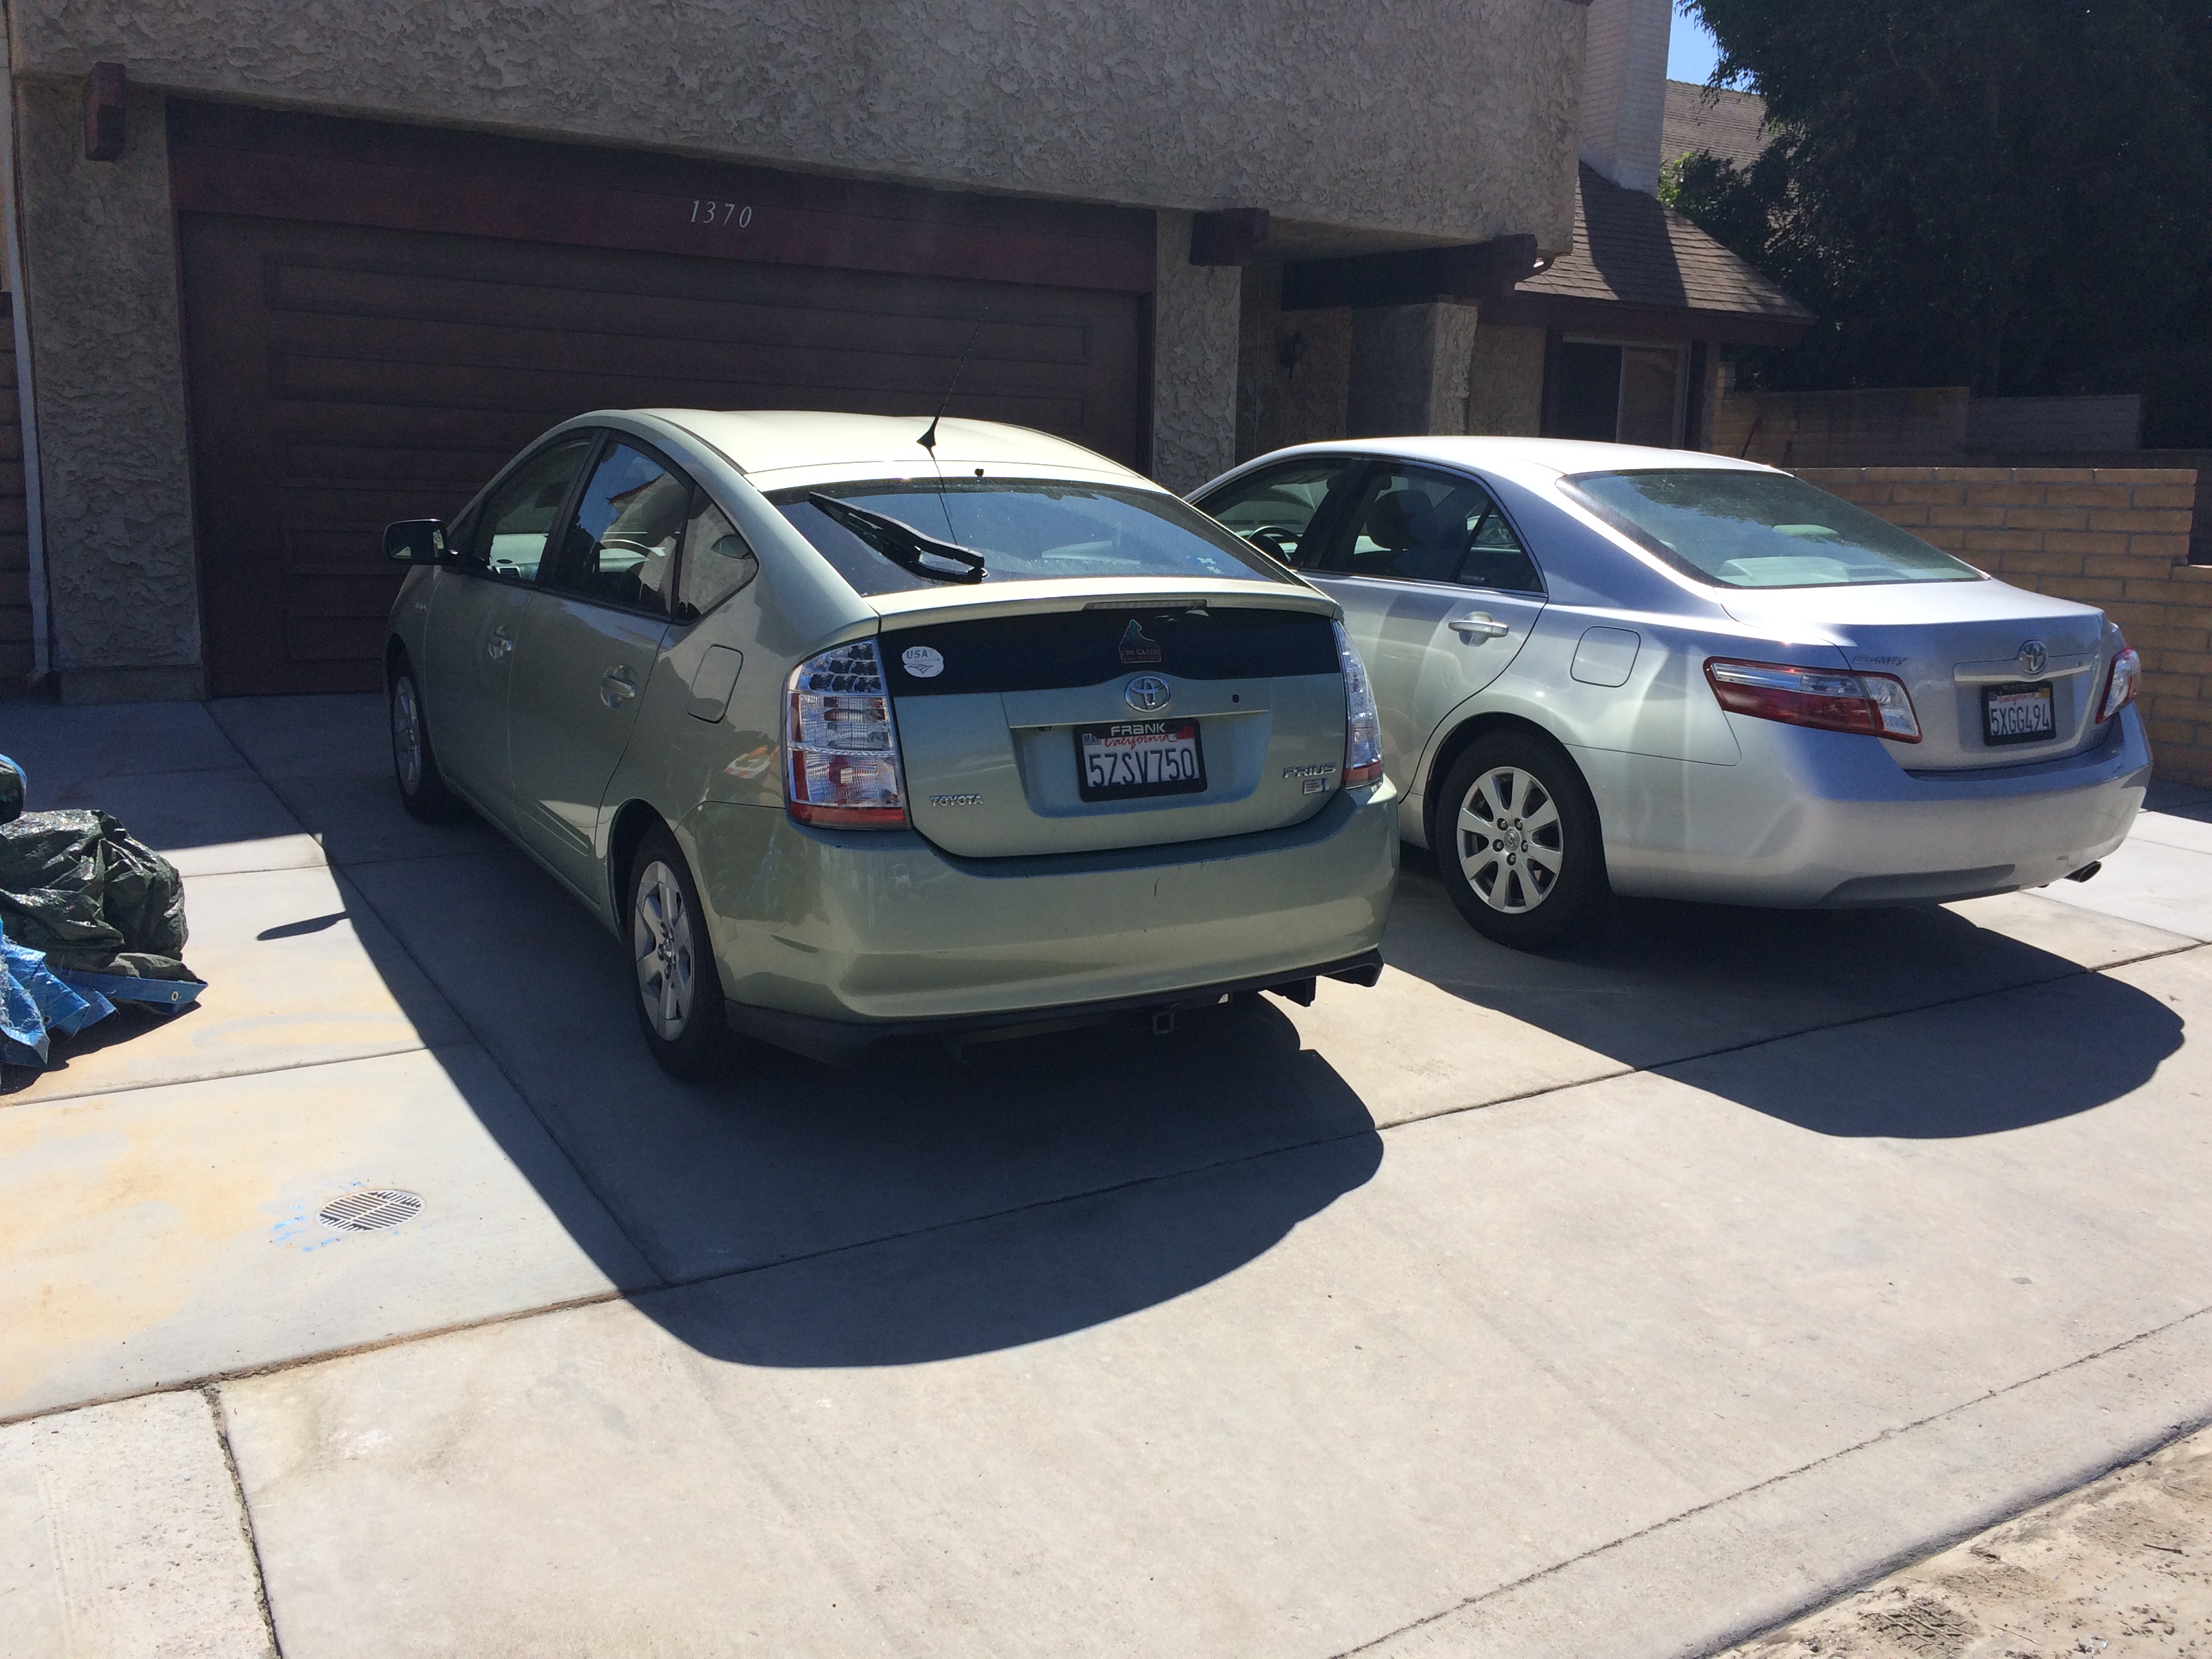
After 18 months, the driveway is clear and I can now park my cars! Unfortunately, this is a temporary situation as I will be starting on the inside of the house and will need this space for another lay-down area. 😦
So, the next few steps will be to finish off the outside, and that begins with a terrific outdoor space called a “catio”. More to follow….