Mr. Sprinkles — Installing The Fire Sprinkler System

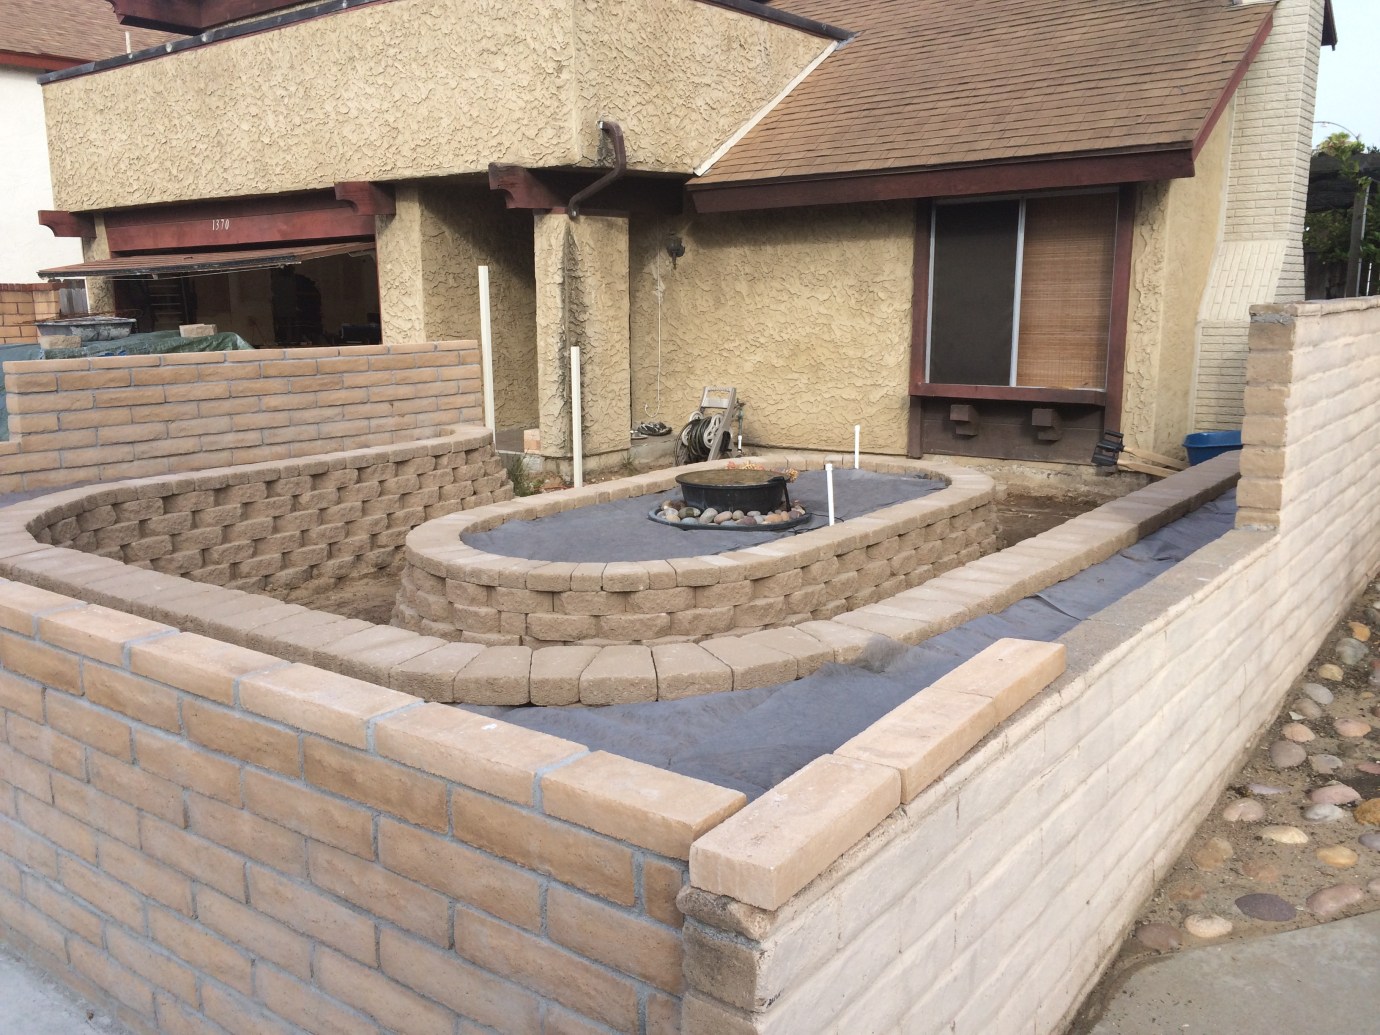
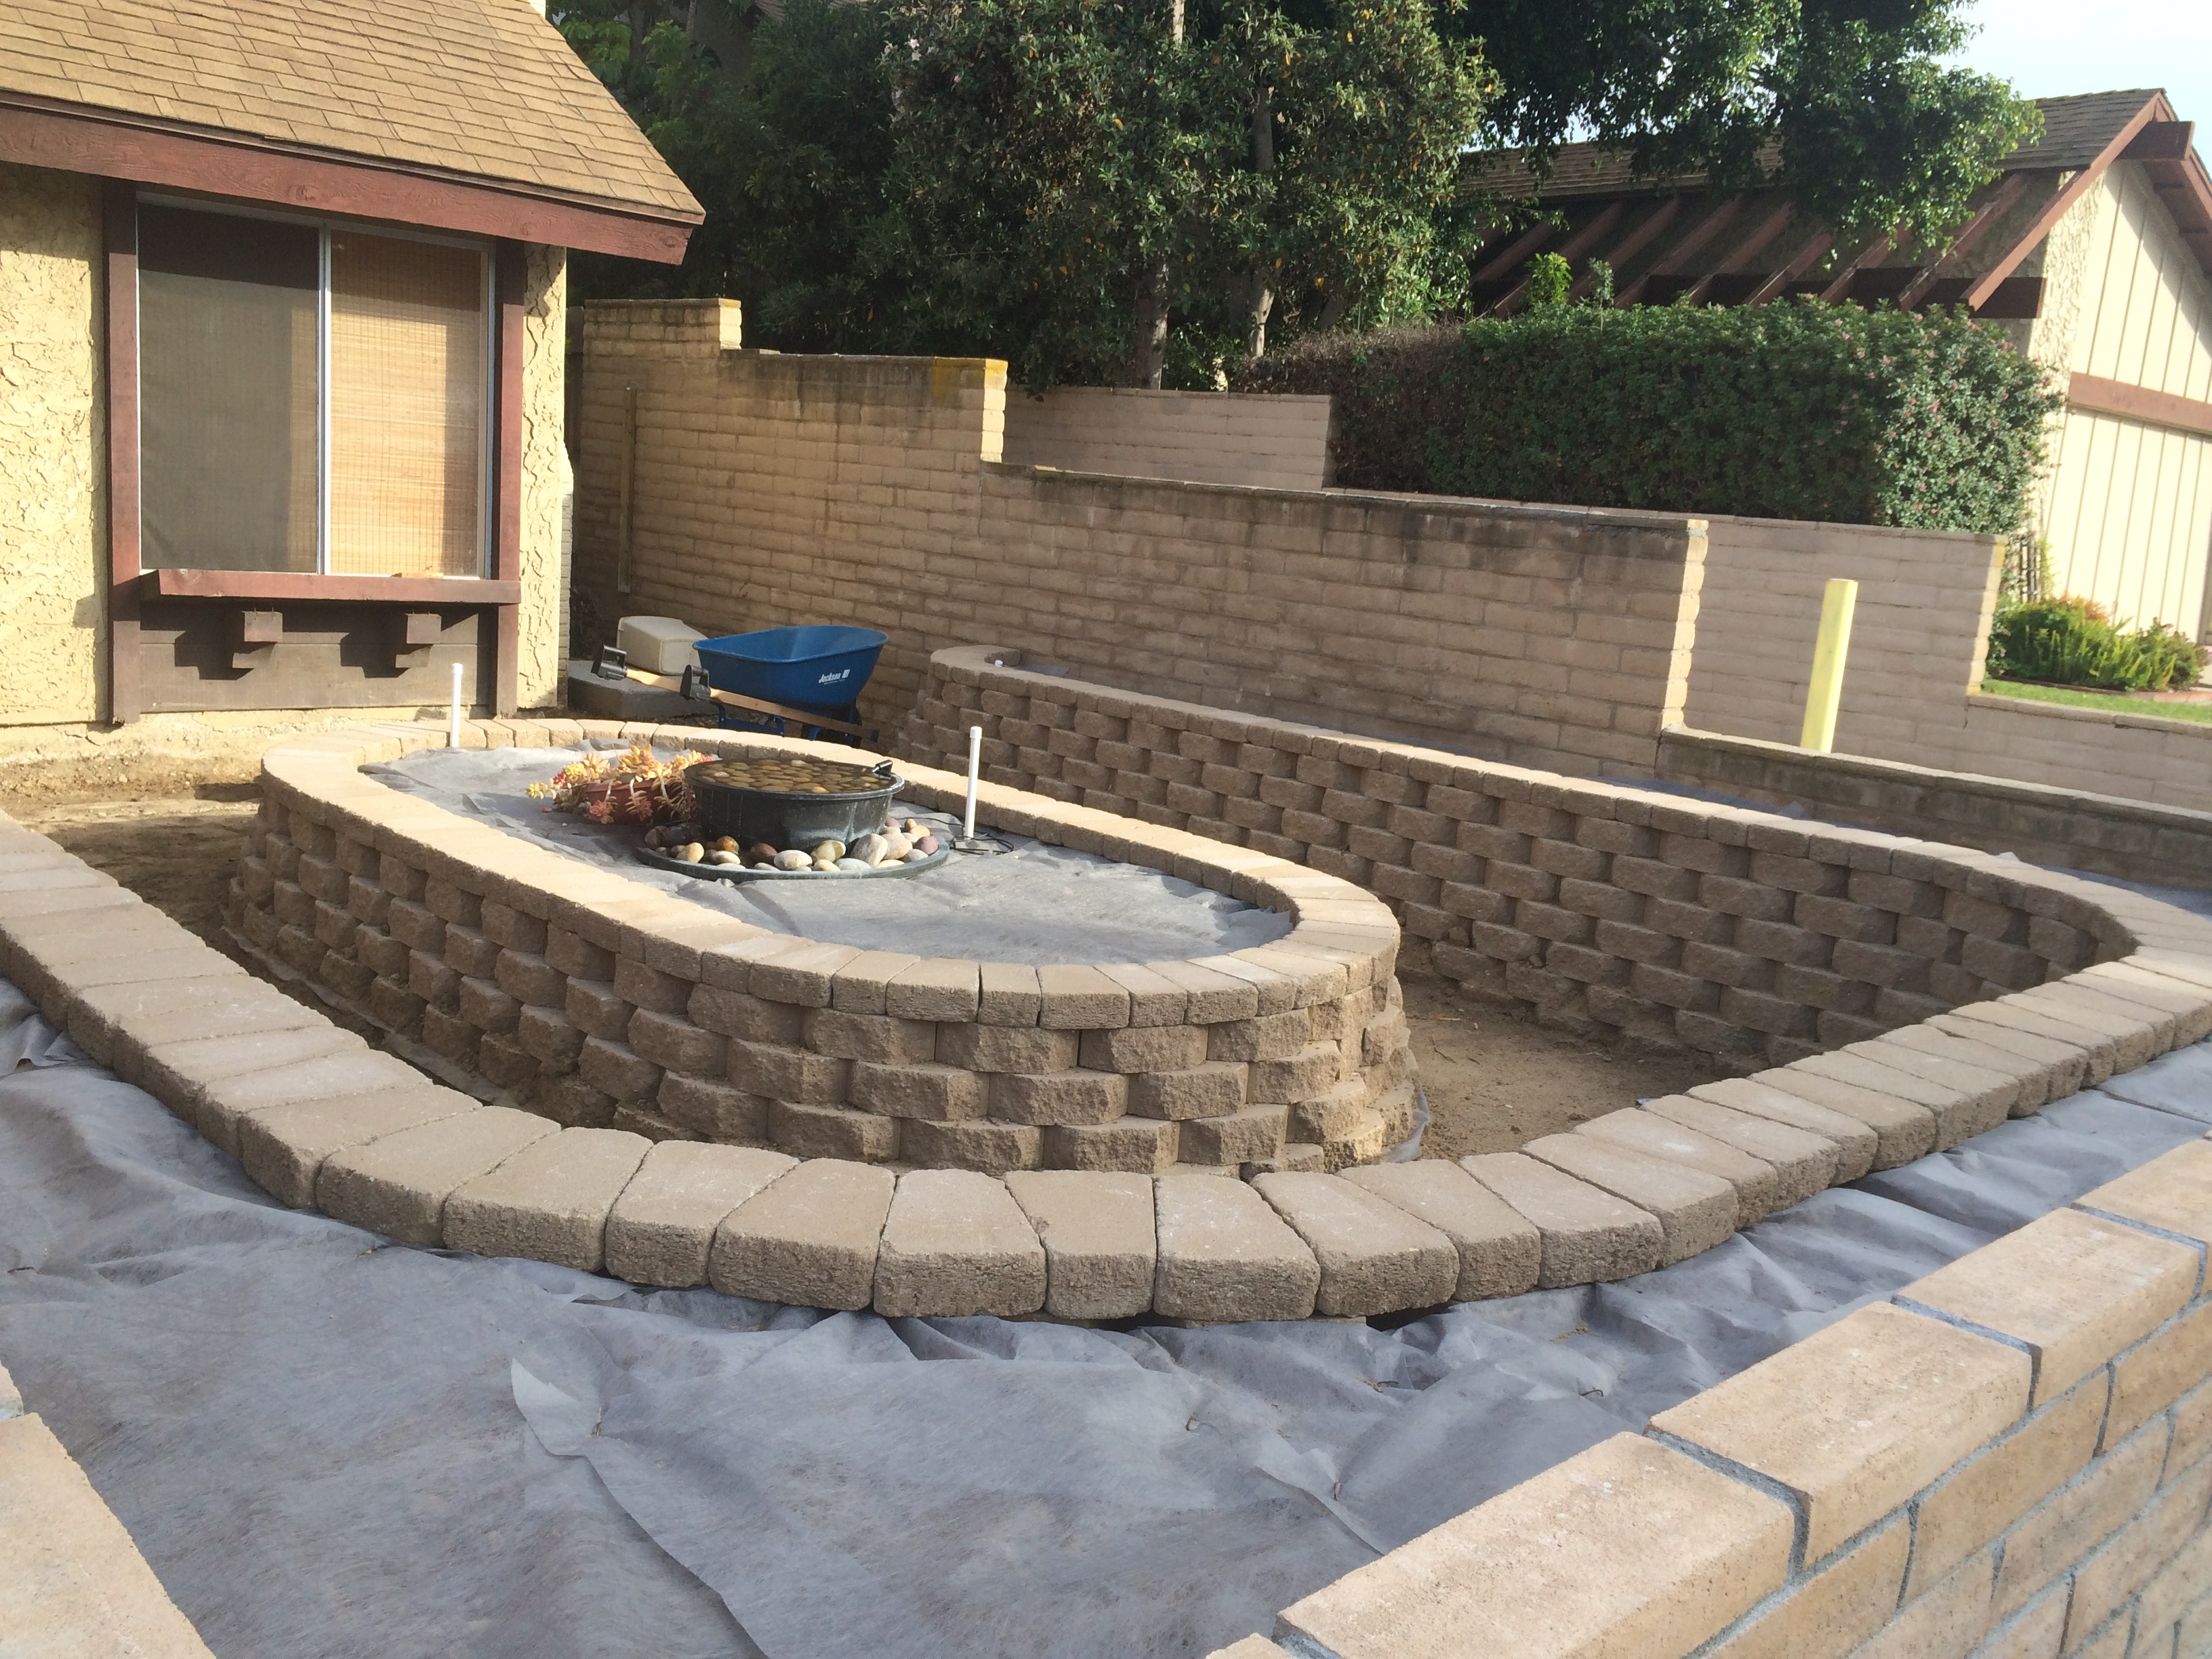
One of the major upgrades I wanted to do with this remodel was to install a residential fire sprinkler system. The reason that I did this was (a) it was required by new codes for new construction and large remodels (not strictly applicable to my situation), but more importantly it (b) increased survival rate in a fire by 90% and reduced damage by 70%.  How could I not do this?

I posted the details of the design of the system in a previous blog (link here), but now it was time to actually do the work.

Putting in a residential fire sprinkler system is within the ability of an advanced DIYer. If you can install a PVC irrigation system, and have some plumbing wherewithal, then you can do this. HOWEVER, the installation requirements are a bit complicated, so unless you develop your own plans, or really understand the requirements and codes, then maybe this is something you leave to the pros. Bottom line: if you have good plans and understand them, and you’ve done some work with PVC pipe, then you’re probably GTG.

Naturally, the start of the project means that I had to get the supplies. The plans called for some specialized material, but fortunately because California has required these systems in new construction since 2013, it was not too difficult to find suppliers, both locally and online. I found a local distributor, and I got most of the supplies from them. Unfortunately, they did not carry the brand of sprinkler heads called out in the design, and the plans are required to show the sprinkler patterns and installation requirements, which are specific to a given brand, which means I had to buy that specific brand or re-do the plans. So I had to mail order the sprinkler heads. Thank God for the Internet and online shopping!

Parts

All my sprinkler parts ready for action! This is just as much fun as opening up a brand new Heathkit. If you don’t know what that means, then nevermind…. *(See note at bottom of post)

Sprinkler Set

A sprinkler system needs to have a spare sprinkler set. I saw this in code somewhere, so I got it, but I think I may have been reading the wrong part of the code. In hindsight, I’m not totally sure if this applies to residential sprinklers (NFPA 13D), but I wanted to make sure I passed inspection.

I think that the most challenging part of this project was figuring out how to run the supply lines. Because the flowrate of the water is carefully calculated to ensure proper function of each sprinkler, you can’t just run the piping anywhere you want. Each fitting counts, and elbows in particular cause a loss of flowrate. The hydraulic calculations in the plans account for these, but you can’t go over the total number for any given branch. And the plans don’t show all of the lumber you have to maneuver around, so it’s a bit of a puzzle. But, like any puzzle, I just broke it down into steps and figured it out one section at a time, and eventually got to the end.

Getting the lines through the lumber takes some doing. The first thing you need is a drill and drill bits that can handle the job.

Drill

Heavy duty drill and drill bits. Although a lot of pros use the spade bits, I found that when drilling 1-1/2″ holes resulted in a lot of broken bits. I had a ship auger, which is (a) really expensive and (b) best suited for keeping a hole straight when boring through very thick wood. But I found a better option…..

Drill 2

The drill bit on top is a self feed bit from Milwaukee. It is much cheaper and easier to handle than the ship’s auger, and it makes cutting through studs and joist a breeze.

Here is a link for a good package of wood boring drill bits.

The next thing is to plan where the lines will go. You want to drill through as little wood as possible while still keeping the lines straight with the minimum amount of bends (i.e., elbows).

Garage 1

View of the main 1st floor header with branch lines for the garage sprinklers.

Ideally you want to run the lines behind the ceiling, but I had to run one line through the studs in a wall. Because the supply line is 1″, the holes in the studs were greater than allowed for strength purposes. Fortunately, Simpson Strong-Tie makes a reinforcement called a “stud shoe” which restores the strength of the studs.

Holes 1

First hole drilled for the master bedroom sprinkler branch. I have marked the locations of the rest of the holes on the studs so the pipe is nice and straight.

Holes 2

Holes for the sprinkler pipe branch all drilled and lined up nicely. Drilling makes a lot of mess, so I was cleaning up a lot.

Bend To Fit

In order to get the pipe to fit through the line of holes, I had to flex the pipe to get it into the first hole.

Stud Shoes

Stud shoes reinforce oversize holes cut for the 1″ pipe.

Getting the sprinklers at the right height can be a little tricky. You have about 1/2″ of variance, but that can be used up quickly if you’re not careful about measuring and cutting the pipe.

Cutting the pipes is not a big deal because they’re plastic, but making sure that they fit properly into the fittings and are glued properly is pretty important. First, you have to de-burr both the inside and outside circumferences of the pipe cut so it fits easily into the bottom of the fitting. The glue is also important. Not too much, or it will run into the fitting and clog it; not to little or it won’t bond properly and you’ll have a leak. You need to use a specified glue with this pipe, and it’s a different color so the inspector can check whether or not you’re doing a good job of joining the pipes.

Securing the pipes is also very important. The installation instructions will specify the spacing of the hangers, and that’s based on the flexibility of the pipe you’re using. The reason these are critical is because when the sprinkler goes off, the outrush of water will act like a jet, subjecting the sprinkler to an upward motion. If there’s too much motion, then the sprinkler head disappears into the ceiling and doesn’t do a good job of putting out the fire.

Mounting

The mounting strap has to be within 9 ” of the head to prevent vertical backlash when the sprinkler head activates.

One thing that I had to do was install some copper lines. the reason was that the plastic lines cannot be painted, and they cannot be installed outside. Since I had an instance of each, I constructed these portions of the headers as shown:

Living Room 2

If you look up from my living room, you’ll see the sprinkler heads mounted on the beam. I could not use PVC pipe because (a) it is not rated for exposed installation under sloped ceilings and (b) cannot be painted. My planned decor did not include the “industrial” look of exposed orange piping.

Finally, it was time to test. Since the code prohibits a shutoff valve between the street supply and the fire sprinkler header, I wanted to do a pressure test before I made the final connection. I hooked up a garden hose to the test fitting in the riser and, lo and behold, I had leaks! Hey, I knew I probably would have at least one problem, so that’s why I provided for an easy way to back out of the testing without causing a long and inconvenient pause in the water supply to the house that was occupied at the time. Turns out that I had “forgot” to glue a couple of joints. Missing that is easier than you’d otherwise think because the procedure to fit pipes together is to dry fit first so you don’t have to cut out and replace when you have to (inevitably) adjust something down the line. Still, I could have done a more thorough job with my pre-test inspection.

Test Setup

Connection to hose bibb for first testing.

I did not glue the ends of this tee before I tested for the first time. It’s pretty easy to check for glue lines, but I happened to miss these because I was going too fast.

I also had a leak on some of the sweated copper piping. The cause of that was trying to re-use a small length of pipe that I had to forcibly remove, which deformed it slightly, and then trying to tighten down on the sprinkler head too much, which ended up cracking the already weak joint. Two wrongs do not make a right!

So, I pressure tested again, and let it set for a day. I then found a couple of small weeps at sprinkler heads, which I fixed by tightening them a bit. Finally, it was time to hook up the main water supply and test the alarm. I tried to do the connection first with unions, but that did not work very well, so I tried something called “Shark Bite”, which is a short length of pipe with compression fittings on each end, and teeth to “bite” into the underlying pipe to secure it in place. The reviews were very positive, and sure enough, it worked great.

SharkBite fitting. This is a moveable fitting that can go over a pipe to join two ends without solder. It has a very good performance history and is easy to install, but is expensive, so maybe not a substitute for more “traditional” methods when joining pipe.

Now for the test of the fire alarm. This video is of the final acceptance test.

With all of the rough work done upstairs, it was time to start drywalling!

*Note: When I was an adolescent, my dad introduced me to ham radio and bought me a radio transceiver (transmitter/receiver) in a kit for Christmas. The manufacturer was “Heathkit” and they made a bunch of inexpensive electronic kits that performed pretty well and satisfied the urge of the DIY’er to build something. I built the radio (model number HW-16) and got my Novice ham radio operator’s license. Since I was only a novice, I was restricted to CW (continuous wave) communications only, meaning that I had to use morse code. But, hey, the requirement to get your license was to know morse code (you had to pass a test), so it was all good. Plus, I got my “own” radio station callsign (WN8OFD). That was all well and good, but the most exciting thing about the whole deal was opening up the box of the kit to start assembly! Here is a link that shows what my setup looked like.

And here is what I “said” when I wanted to strike up a conversation with a fellow radio operator:

dah-dit-dah-dit; dah-dah-dit-dah (CQ)

dah-dit; dit (DE)

dit-dah-dah; dah-dit; dah-dah-dah-dit-dit; dah-dah-dah; dit-dit-dah-dit; dah-dit-dit (WN8OFD)

dah-dit-dah (K)


Progress Inspection

Things are moving along well. In fact, I had a very productive day today and I’m going to do a first: two (2) blog posts in a single day! My inspiration was something called a “progress inspection”.

One of the requirements for maintaining a building permit is that you actually do some building. In the City of Chula Vista, you must have an inspection performed at least every 6 months to make sure that you just didn’t get a building permit, do some work, and abandon the project. At first, this had me worried because I could foresee occasions in my “planned” schedule where the time between formal inspections could easily exceed 6 months. This became especially concerning to me as the project advanced because I was coming to the realization the my projected timelines were hopelessly optimistic. I am optimistic to a fault. Just ask my wife. Fortunately, she thinks it’s an endearing fault. We all have our foibles. Equally fortunately, is the fact that the City of Chula Vista allows the “builder” to satisfy this requirement through what is called a “progress inspection”.

Basically, a progress inspection is an opportunity for the “building official” (i.e., the designated representative) to verify that your project is progressing. Therefore, there (theoretically) will be no abandoned projects without a resubmittal of the building permit. So I was going to be OK, provided that I showed some sort of proof that the project was advancing. Fortunately again, the City of Chula Vista is a relatively small municipality, and this allows the DIY’er to establish a somewhat personal relationship with the staff. What I found out was that the entire staff was very helpful and accommodating, providing that you had a clue. In addition, they have AWESOME inspectors who are more than willing to help a DIY kind of guy such as myself navigate the sometimes arcane and nuanced building codes. For example, the inspector who signed off on my electrical grounding system (see my previous post for details) had mentioned that I needed to make sure that the connections to the grounding rod were accessible after the concrete pour. This little bit of advice was extremely helpful because I had planned on just pouring the concrete over the whole shebang. Turns out that the inspector was the same guy who gave me the OK backfilling my water supply and site drainage. He was favorably impressed with my self-designed fire suppression system at the previous inspection,  and he remembered me. Hence that personal connection, and the personal advice to me about my electrical grounding installation as an informed DIY’er. He has my best interests at heart and wants me to succeed. How great is that?

Back to the progress “inspection”. I have done a lot of finish work and I’m getting ready for the big “concrete pour” which  I will subcontract out. I’ve put caps on my front yard retaining walls to give it a finished look, and I’ve cleared and excavated the front so it’s ready for putting in the gravel and setting up the forms for the concrete pour. Here are some pictures:

Right driveway apron ready for gravel backfill

Right driveway apron ready for gravel backfill

Left driveway apron ready for gravel backfill

Left driveway apron ready for gravel backfill


Front yard in the sunset

Front yard in the sunset

Front yard

Front yard


Front yard. Almost finished!

Front yard. Almost finished!

Will I EVER get rid of this dirt?

Will I EVER get rid of this dirt?


Happy New Year! Reflecting on 2014 and Looking Forward to 2015

The turn of the year is always a good time to reflect on the past year and look forward to the next. It’s a common demarcation point, and it occurs when we’re collectively given the time to reflect and plan, according to our nature. I know what you’re saying” “If you’re in retail, or emergency services, or in the military on deployment, the maybe I’m not given the time.” However, I think because of the time of year, everybody is doing it, and you can’t help yourself. Actually, serving your customers, community, or country can have special meaning at this time of year.

OK, well maybe not so much in retail.  As they say, anybody who says there are “No stupid questions!” has NEVER worked in customer service. You know, retail is a dang hard job, and I truly appreciate everybody who helps me when I’m shopping.With a smile and a kind word, you will always get superior customer service! All you have to do is to distinguish yourself from the a**hole who decided to take out their frustrations on some poor, underpaid retail associate who is constantly bombarded by yet another a**hole! But you have to remember to take the time to take the survey and say nice things. If you REALLY want to reward good customer service, then have the presence of mind to remember the name of the person who helped you, and then take the time to make a positive comment  on the survey, or the website. These people get promotions and monetary rewards for this kind of stuff. So, the lesson is: Be nice, and when you get good service, make sure you tell the boss!

Where was I?

Reflections on 2014: I had been planning my remodel since 2012, when my lovely wife and I started discussing concepts and the things that we really wanted out of  life, and how our home would reflect that. At the beginning of 2014, I had finished detailed planning and had drawings that I thought were good enough to submit to the city building department for approval. 8 months later, after 3 revisions, I finally got the building permit! Actually, I didn’t wait to get the building permit do start work. I knew that I needed to take out my patio in back, and I wanted to save the bricks and sand. That was a major undertaking which filled the dead time in between the review of the latest plan revision, and answering the comments for the next plan revision. Once I got the building permit, I started in earnest, with site demolition, excavation, and installation of underground services.

What I learned:

  1. If you don’t follow the prescribed approach in the codes, then you will have to have a licensed engineer sign off on your plans. For a small job, it’s not worth it (and they were kind enough to tell me that). Learn the codes and follow the prescriptive approach.
  2. Take each “rejection” as an opportunity to improve your design. I can say that my plans have been significantly improved by having reworked them for the building department.
  3. Detailed planning helps you build faster. My plans have speeded up my work (thus far) in ways that I could not have imagined before.
  4. Detailed planning does not account for everything. Inevitably, you run into unexpected obstacles. The fittings don’t fit like you expected. You need to change the routing of the conduit to account for other buried services. Remain flexible and adapt. “No battle plan survives first contact with the enemy.” (Field Marshal Helmuth von Moltke.)
  5. Know when to quit for the day. Something my dad taught me.  This is a big project and you have to know your limits. If you push too hard, then quality suffers. It’s OK to have goals, but sometimes (OK , frequently), the goals are too optimistic. There are only so many hours in the day, and you need to take care of yourself. So know when to quit for the day, and make sure that you leave enough time for clean up!

Goals for 2105:

  1. Don’t get injured. Building can be dangerous if you’re not careful!
  2. Keep my job. Don’t get too involved in the remodeling at the expense of the day job. Yes, I still have to pay for all of this somehow.
  3. Go to Smithfield, VA for my  wife’s 50th high school reunion.
  4. Finish the site work. I’m optimistic this will be done by March. But who knows?
  5. Move out of the master bedroom, and do the demo.
  6. Build the addition and close in. I’m hoping by July-August. Before the rains come in any case.
  7. Install A/C. That will be contracted out.
  8. Install a new roof. Also contracted out.
  9. Re-stucco the front. Yet more contract work.
  10. Paint the house. Did I mention contract work?
  11. Install new electrical service. This will be all me. Wish me luck!
  12. Don’t take the remodeling too seriously. Yes, it’s important to have goals and to work hard to achieve them, but in the end, this is supposed to be rewarding and it’s important to take pride in one’s accomplishments. Otherwise, I’d be hiring somebody to do all of this!

I wish all of you a very happy New Year, and I hope that you continue to follow my blog. I’m working on an epic post for digging ditches!  Stay tuned……

Today Was A Banner Day!

Today, I picked up my building permit! I had to sign a bunch of stuff acknowledging the responsibilities and liabilities of an owner-builder, but I had done some research, so I have a pretty good idea of what I was signing up for.

California law allows for an exemption for homeowners who want to build on their own property. Basically, they are exempt from the requirements of the California Business and Professions Code, meaning that you DON’T have to have a license to build on your own property. That being said, there are a number of restrictions, most of which have to do with who has liability. All good stuff to know because understanding these details will help you avoid unpleasant legal actions should something go wrong. While there is a lot of legal gobbledygook involved, it boils down to some simple stuff.

(1) If you do you your own work, then you are responsible for the quality of that work, and if you sell the property, the buyers could conceivably come back after you if your work was shoddy. Unlikely in my case because I will be working under approved plans which will be inspected by the building department. Plus, I don’t do shoddy work as I will have to live with it. AND I don’t plan on selling the house. It will likely be inherited by my children (and THEY will have to deal with it).

(2) If I hire work to be done, then the work must be done by a licensed contractor OR I assume the responsibility of acting as a business and therefore have to pay for all of the liability insurance and taxes. Simple solution: Only hire licensed contractors. (And check them out ahead of time.) Yes, it may cost a little more up front, but it’s pennies on the dollar compared with an undocumented immigrant falling off your roof and permanently injuring his back. The immigrant may not do anything, but you can bet that the health care system will track you down and make you pay! This happened to an acquaintance of mine, and I felt very bad for him. But that was a big lapse in judgment on his part.

(3) There are some restrictions on selling the property or working on many properties at once. This is to discourage flippers. You have to own the property for a period of time and you can’t do it to many properties at once. Again, pretty much N/A in my case as this is really my home and not some quick-turn investment get-rich-quick scheme.

The other thing that happened to me today was that my car turned over  100K on the odometer. So I got the extra digit on the screen. It happened moments after I drove out of the civic center parking lot after getting my building permit. Coincidence? Yes,but a happy one. At least it put me in a good mood!

Detailed Design — How To Design A Structure

After the architectural design was complete, the next step was to actually figure out how to construct it. My plans needed to be detailed enough for the city building department to approve them. At first blush, one might think that pushing out a bedroom by seven feet is no big deal. Throw together a few trusses, use the existing flooring, build some walls with holes in them for windows, and you’re done.

Well, not really. The short story is that building codes have advanced, and when you build an addition, you are actually going to build a carefully engineered structure. If you’re really not a die hard DIY and/or don’t have any background or training in structural engineering or construction, then your best bet is to hire a designer to do the work. They aren’t cheap (I got a quote for $7,500 minimum), but it may be worth it, depending on the complexity of your project. Having said that, you don NOT have to be a structural engineer to design an addition , or any other structure for that matter. All you have to do is follow the prescriptive  methods contained in the applicable codes. This is essentially a “cookbook” method of designing a structure that includes a number of safety factors such that a design using these methods will withstand loads and stresses (people, wind, earthquake, etc.) that are expected for a residential home in a specific location. Here is where you can benefit from my experience. DO NOT try to get all fancy and design something that is not clearly specified in the codes and deviates from the “cookbook recipe”, then you will have to get a sign-off by a licensed Professional Engineer (P.E.). Again, this is expensive, and probably not worth it for a smaller project. So if you’re willing to spend some study time (and maybe even learn something!), a DIY solution awaits!

The best place to start is the building code that is applicable to your jurisdiction. The California Residential Code is actually reasonably easy to follow, but I found the American Wood Council Wood Frame Construction Manual (WFCM) a better resource for my purposes. Since the California Residential Code allows it, that is what I used. What really made a difference and put it all together for me was the WFCM Workbook, which has an example home design that steps you through the process. You will also have to determine the environmental conditions that your structure will need to withstand. This includes maximum wind conditions, seismic design category, whether or not you’re in a flood zone, maximum and minimum temperatures, termite infestation likelihood, and other factors. These are usually spelled out in the code and it makes sense to put together a little table for yourself so that you can refer to it when bouncing back and forth between the various parts of the code to get your numbers.

The approach that I used, which was taken directly from the WFCM workbook, was to start at the top and work my way down from the roof to the foundation. At each step you not only have to specify the materials (trusses, roof underlayment, studs, joists, etc.), but you ALSO need to show how these elements are connected. The code gives a table of fasteners (mainly nails) for fastening framing and sheathing, but when it comes to connecting major assemblies to each other, you typically have to use engineered specialty connectors (for example, roof truss to wall top plate). You have to be able to show, step by step, that the loads from each element are transferred through successive elements all the way to the foundation. So, roof to wall, wall to floor, floor to wall, wall to foundation.

A quick word about fasteners. The common nail is a very nuanced component. There are many types of many materials, and it is IMPORTANT that you use the right nail for the right purpose. The tables in the code tell you what to do, but therein are requirements for not only nail type, but spacing, and orientation, e.g., toe nail vs. face nail. Bigger and more is not necessarily better because you risk splitting the underlying wood member. So follow the instructions! In general, nails are better than screws, especially for framing. This is because they have significantly higher shear strength, and have some ductility which means that they will “give” a bit in a storm or an earthquake whereas screws tend to be brittle. Not that screws are bad. Just don’t use them for framing or shear walls. An exception to this are structural wood screws (SWS). These are larger screws made of heat treated steels that have higher quality control than your run-of-the-mill screw. The manufacturers of these screws have data sheets which detail their application. I used them in some places, a ledger board for example, but in general, I stuck with nails when I could.

One thing that was scary for me at the last was trying to figure out how to retrofit concrete anchors to bring the addition into compliance with seismic requirements. Fortunately, the folks who make these connectors also provide a method of anchoring these connectors with special epoxy into existing concrete. The only “downside” is that I have to have a certified inspector sign off on the installation. Well, maybe not a downside as it really has to be right. Just additional expense.

Although I spent many months getting to this point, and went down a few “rabbit holes”, I can definitely say that the effort was worth it, especially as a DIY’er. The process of designing showed me how to build it with all of the right materials, methods, and references. It’s going to be really pro!

Here is a link to my detailed construction plans.

1370 BFD Detail Views