Today, I finished the majority of the hardscape of my front yard (if you don’t count the concrete for the walkways and driveway aprons). This is, in a sense, a milestone because, from now on, I will no longer be moving around dirt, but actually putting it in its final resting place. Plus, it’s pretty cool to see the design manifest in physical reality. A lot of the hardscape is done with Keystone blocks for the retaining walls, and because I ran into some challenges during the installation and came up with some solutions, I wanted to share those with you; hence the subject for today’s blog entry.
First, a disclaimer: The instructions that I’m providing are the way that I came up with. They are by no means the ONLY right way to accomplish this task and, indeed, deviate from some of the recommendations on the manufacturer’s and distributor’s websites. I will provide my reasoning for these deviations as I go. Having said that (whew!), let’s get started!
Keystone retaining walls are a wonderful example of smart design and engineering. The company has figured out how to put together walls with specialty engineered Concrete Masonry Units (CMU’s) that do not require mortar. Just like Lego. Fit them together, and voila! A sturdy, attractive, easy to build wall. Perfect for the DIY’er. In fact, the videos that the company puts out makes it seem like putting up a retaining wall is a breeze. And at some points during the construction, it is. But don’t let the sales videos fool you. Putting up a retaining wall, as with any other permanent structure, requires attention to detail, and a lot of scut work, as I will detail later in this blog entry. Still, for a DIY’er, it’s a great solution.
Keystone has many different wall systems to choose from. I had previously installed a Keystone “Garden Wall” during a previous remodel where I replaced old rotten wood with a “real” retaining wall. Wood is not a good material to use as a retaining wall because it, eventually, will decompose. Masonry doesn’t decompose, so that’s the long-term solution. So, a “Garden Wall” was the system I decided to use going forward, mainly because I wanted to make use of what I already had. I ordered the materials (more Keystone Garden Wall blocks) from a local manufacturer (RCP Block and Brick) whom, I assume, has a franchise agreement to produce these CMU’s locally to Keystone’s standards. Now the tricky part.
The Keystone website has an installation page that shows an idealized portrayal of an attractive couple putting up a retaining wall. And the website has some very essential information on how to properly complete the installation. But nevermind the hype, or how “easy” they make it seem. Did you ever watch a cooking show where the chef makes it look easy and throws everything together in a matter of minutes, and you have a perfectly cooked, delectable meal? Well, forget it. They didn’t show the toil and tribulation of the underpaid and underappreciated proletariat doing all of the prep work. THAT agonizing, laborious PREP WORK is what you, as a DIY, will have to do. Forget the good looks and focus on the hard work ahead, but with a vision that your creation will be as remarkably beautiful, as it is pleasurable to work on.
To begin with, you need a design from which to do the layout work, and from which to estimate materials. I discuss the design process in some of my other blog posts, so I won’t go into detail here, except to refer you to the design that I’m working from.

LANDSCAPE PLOT PLAN
The first task is the layout, where you transfer the dimensions in your plan to the dirt. The most important aspect of the layout is to choose the reference points from which you will measure. For this example, I’m laying out the center planter, so I wanted to make sure that the planter was centered between the two sides, and at a specified distance from the outside retaining wall to allow for a comfortable pathway. If you’re doing the layout on a relatively flat surface with no obstructions, then a measuring tape will usually do. For this layout, I couldn’t lay a measuring tape flat, so I strung a mason’s line and used a plumb bob to measure down vertically. This turns out to have a second advantage, which is that you need to measure vertically to establish the height of the base course. I used little flags and marking paint to mark the layout on the dirt.

Layout of the center planter. Notice the string that I used to set the height.
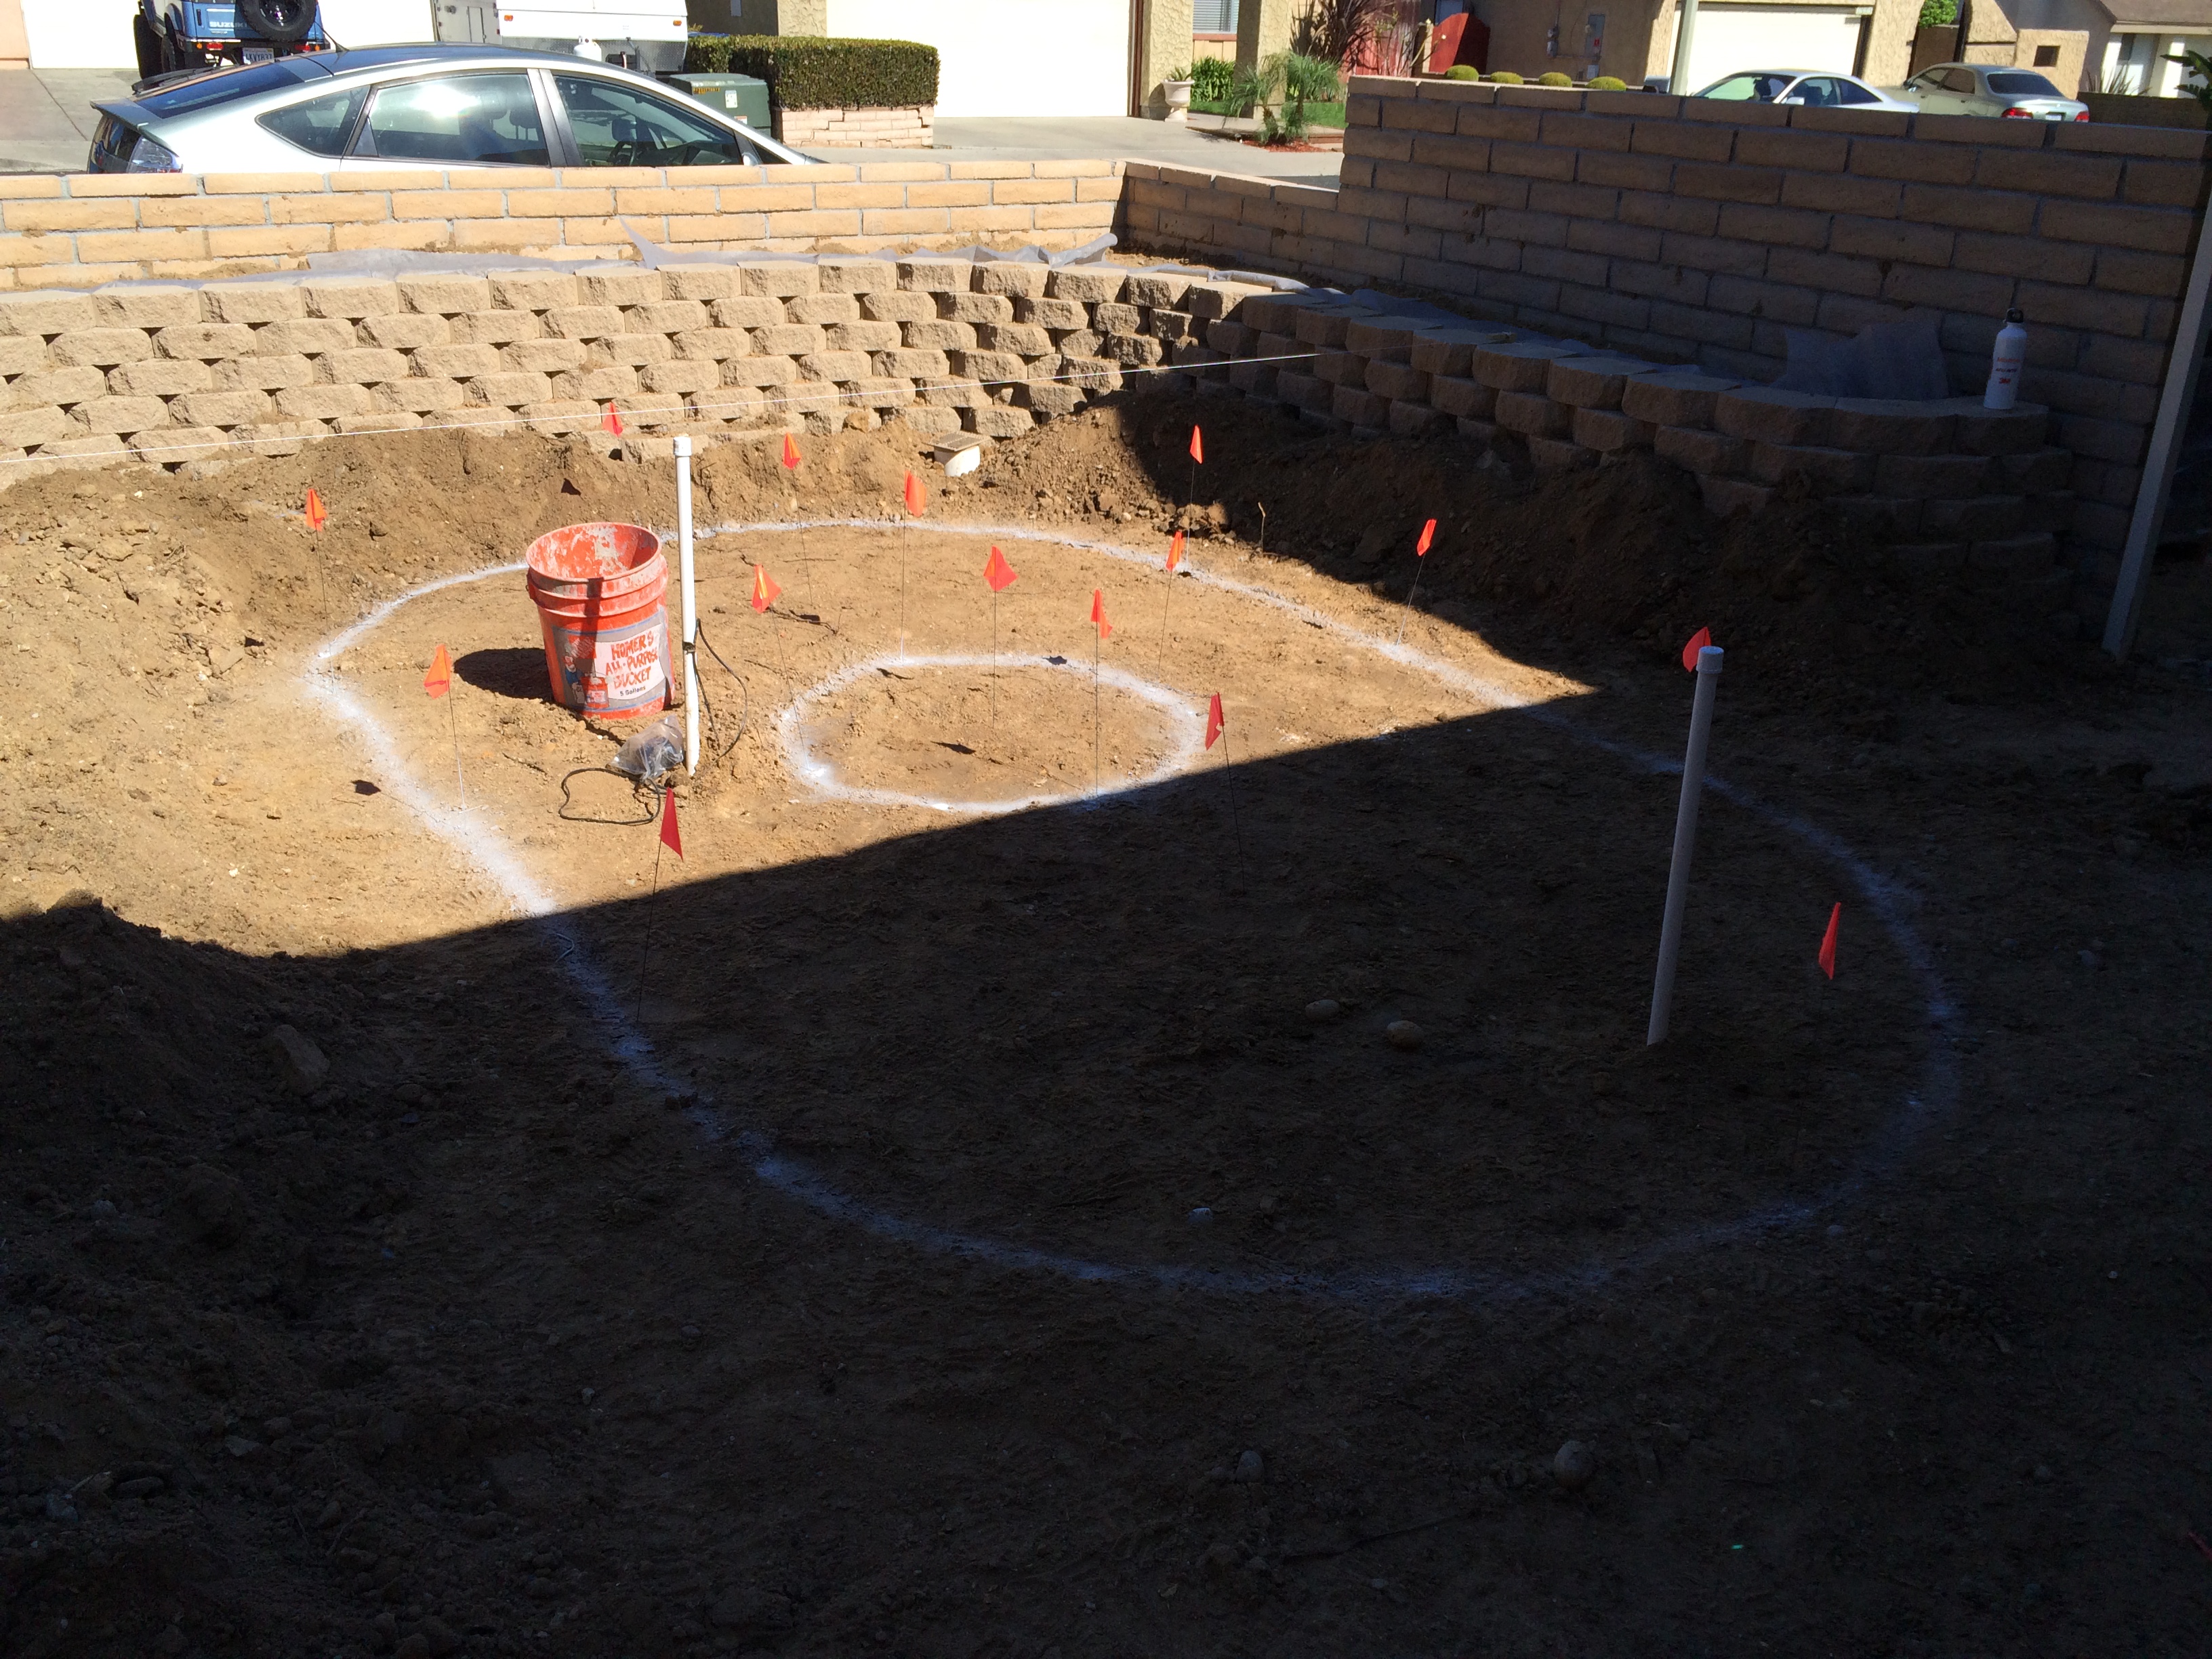
Another view of the layout.

Just for fun, I decided to check the level of the string, which would tell me if the outer retaining walls that I just built were good. Look at that! Dead on, which validated my process for laying out the base course.
It is vitally IMPORTANT to make SURE you have a level base and that your first course is aligned properly. The nice-looking couple portrayed on the Keystone installation page make you think this is relatively easy. From my personal experience, I will tell you that this process is difficult, time-consuming, and frustrating. And you must be able to stomach these facts if you really want a nice, professional, retaining wall. The way I established the height of the base course was to use my vertical reference (the outside retaining wall) and drop a plumb line to where I wanted the first course to start. At least one course needs to be fully buried, so that was taken into account in the measurement. I then located the first block as precisely as I could, measuring from the reference “flags” that I previously planted, and then did a lot of fussing around to get that first block level, square, plumb, and in the position that I wanted it. Once I had the first block in position, I went around the circumference of the layout to place other “reference” blocks so that I could work to those as I continued to set the base course.
I had to do a lot of trial-and-error to come up with a technique to reliably and quickly place the subsequent blocks in alignment. Professionals will dig a shallow trench, fill it with gravel, and then use a mechanical compactor to level the gravel. This is a great idea if you’re building a large retaining wall, or in an area that gets a substantial amount of rain, because waterlogged soil puts a lot of pressure on the wall and it’s important to have good drainage. I will probably do that on my back retaining wall due to the height, but for a small wall (12″) in an arid climate, I decided this was overkill. As a DIY’er, I’m always looking for a reasonable shortcut. At any rate, the method I came up with was this:
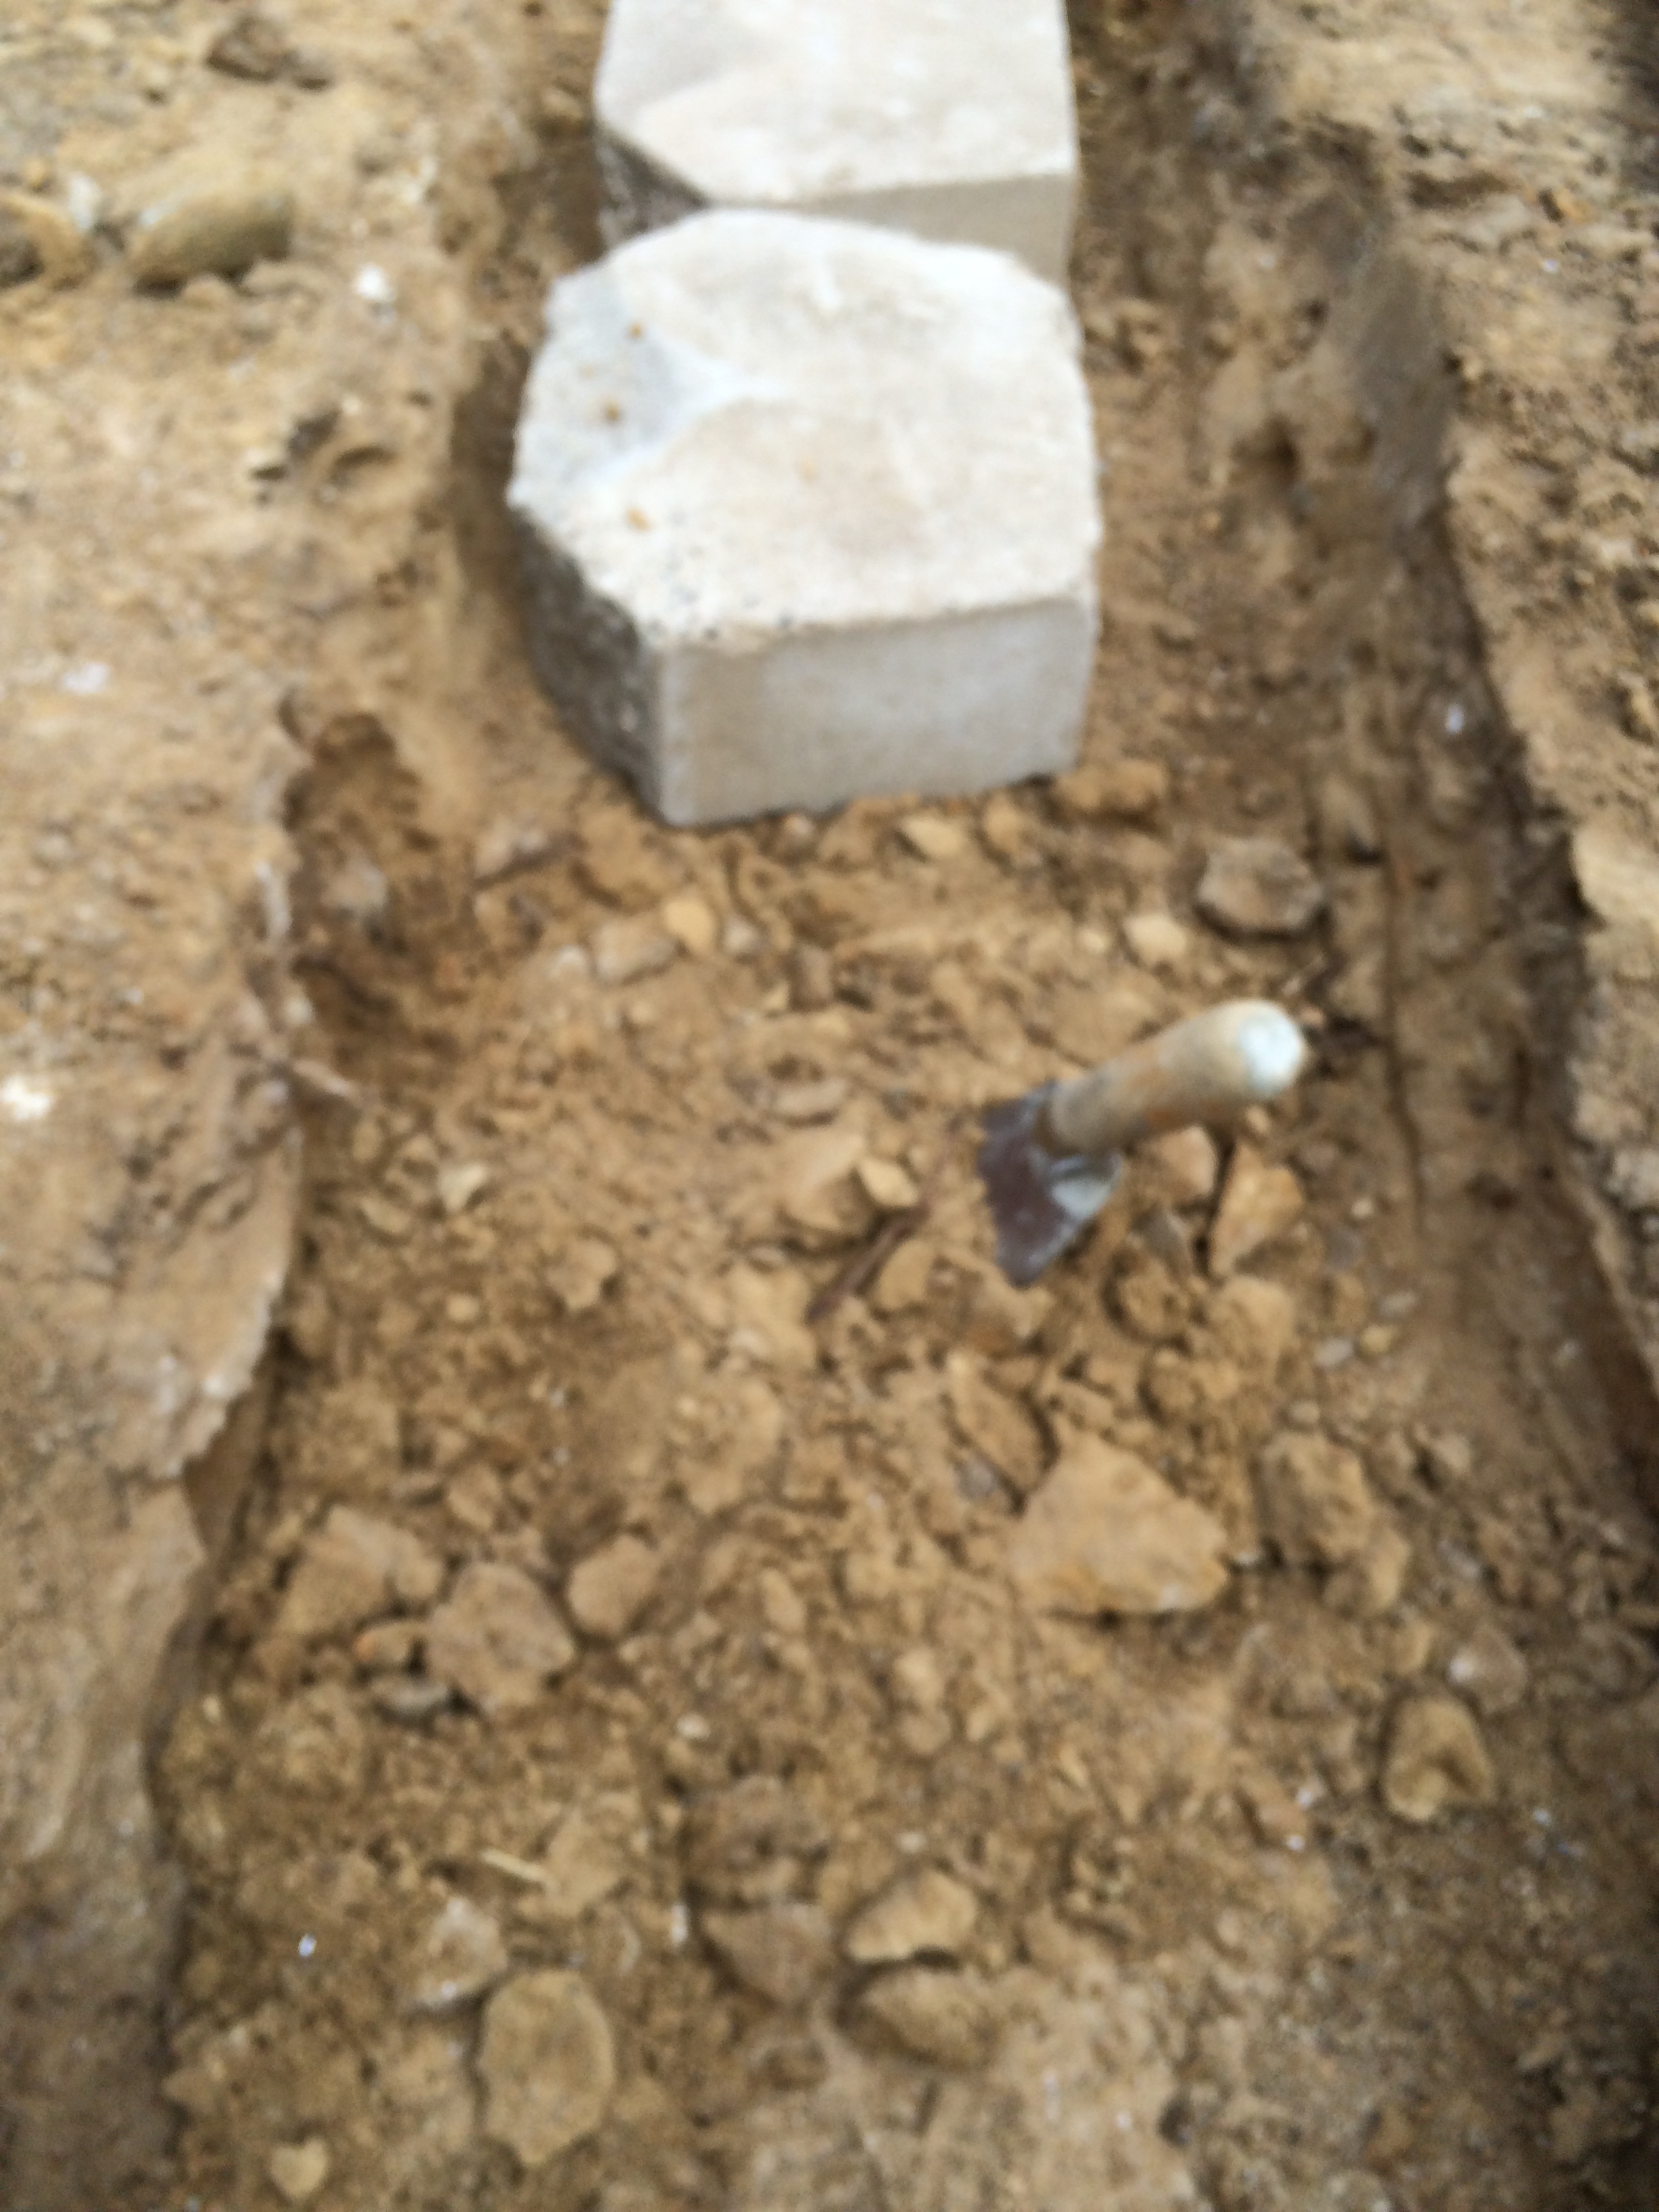
Loosen the dirt with a trowel.

Level the dirt. Try to level a little bit above the bottom of the previous brick.

Plop the brick down to compact the dirt and align it with the previous brick. Check the cross-level. Looks good! (I was lucky.)

Check the back-and-forth level. This is very important because you will use this as a reference for your next brick. This one is not so good.
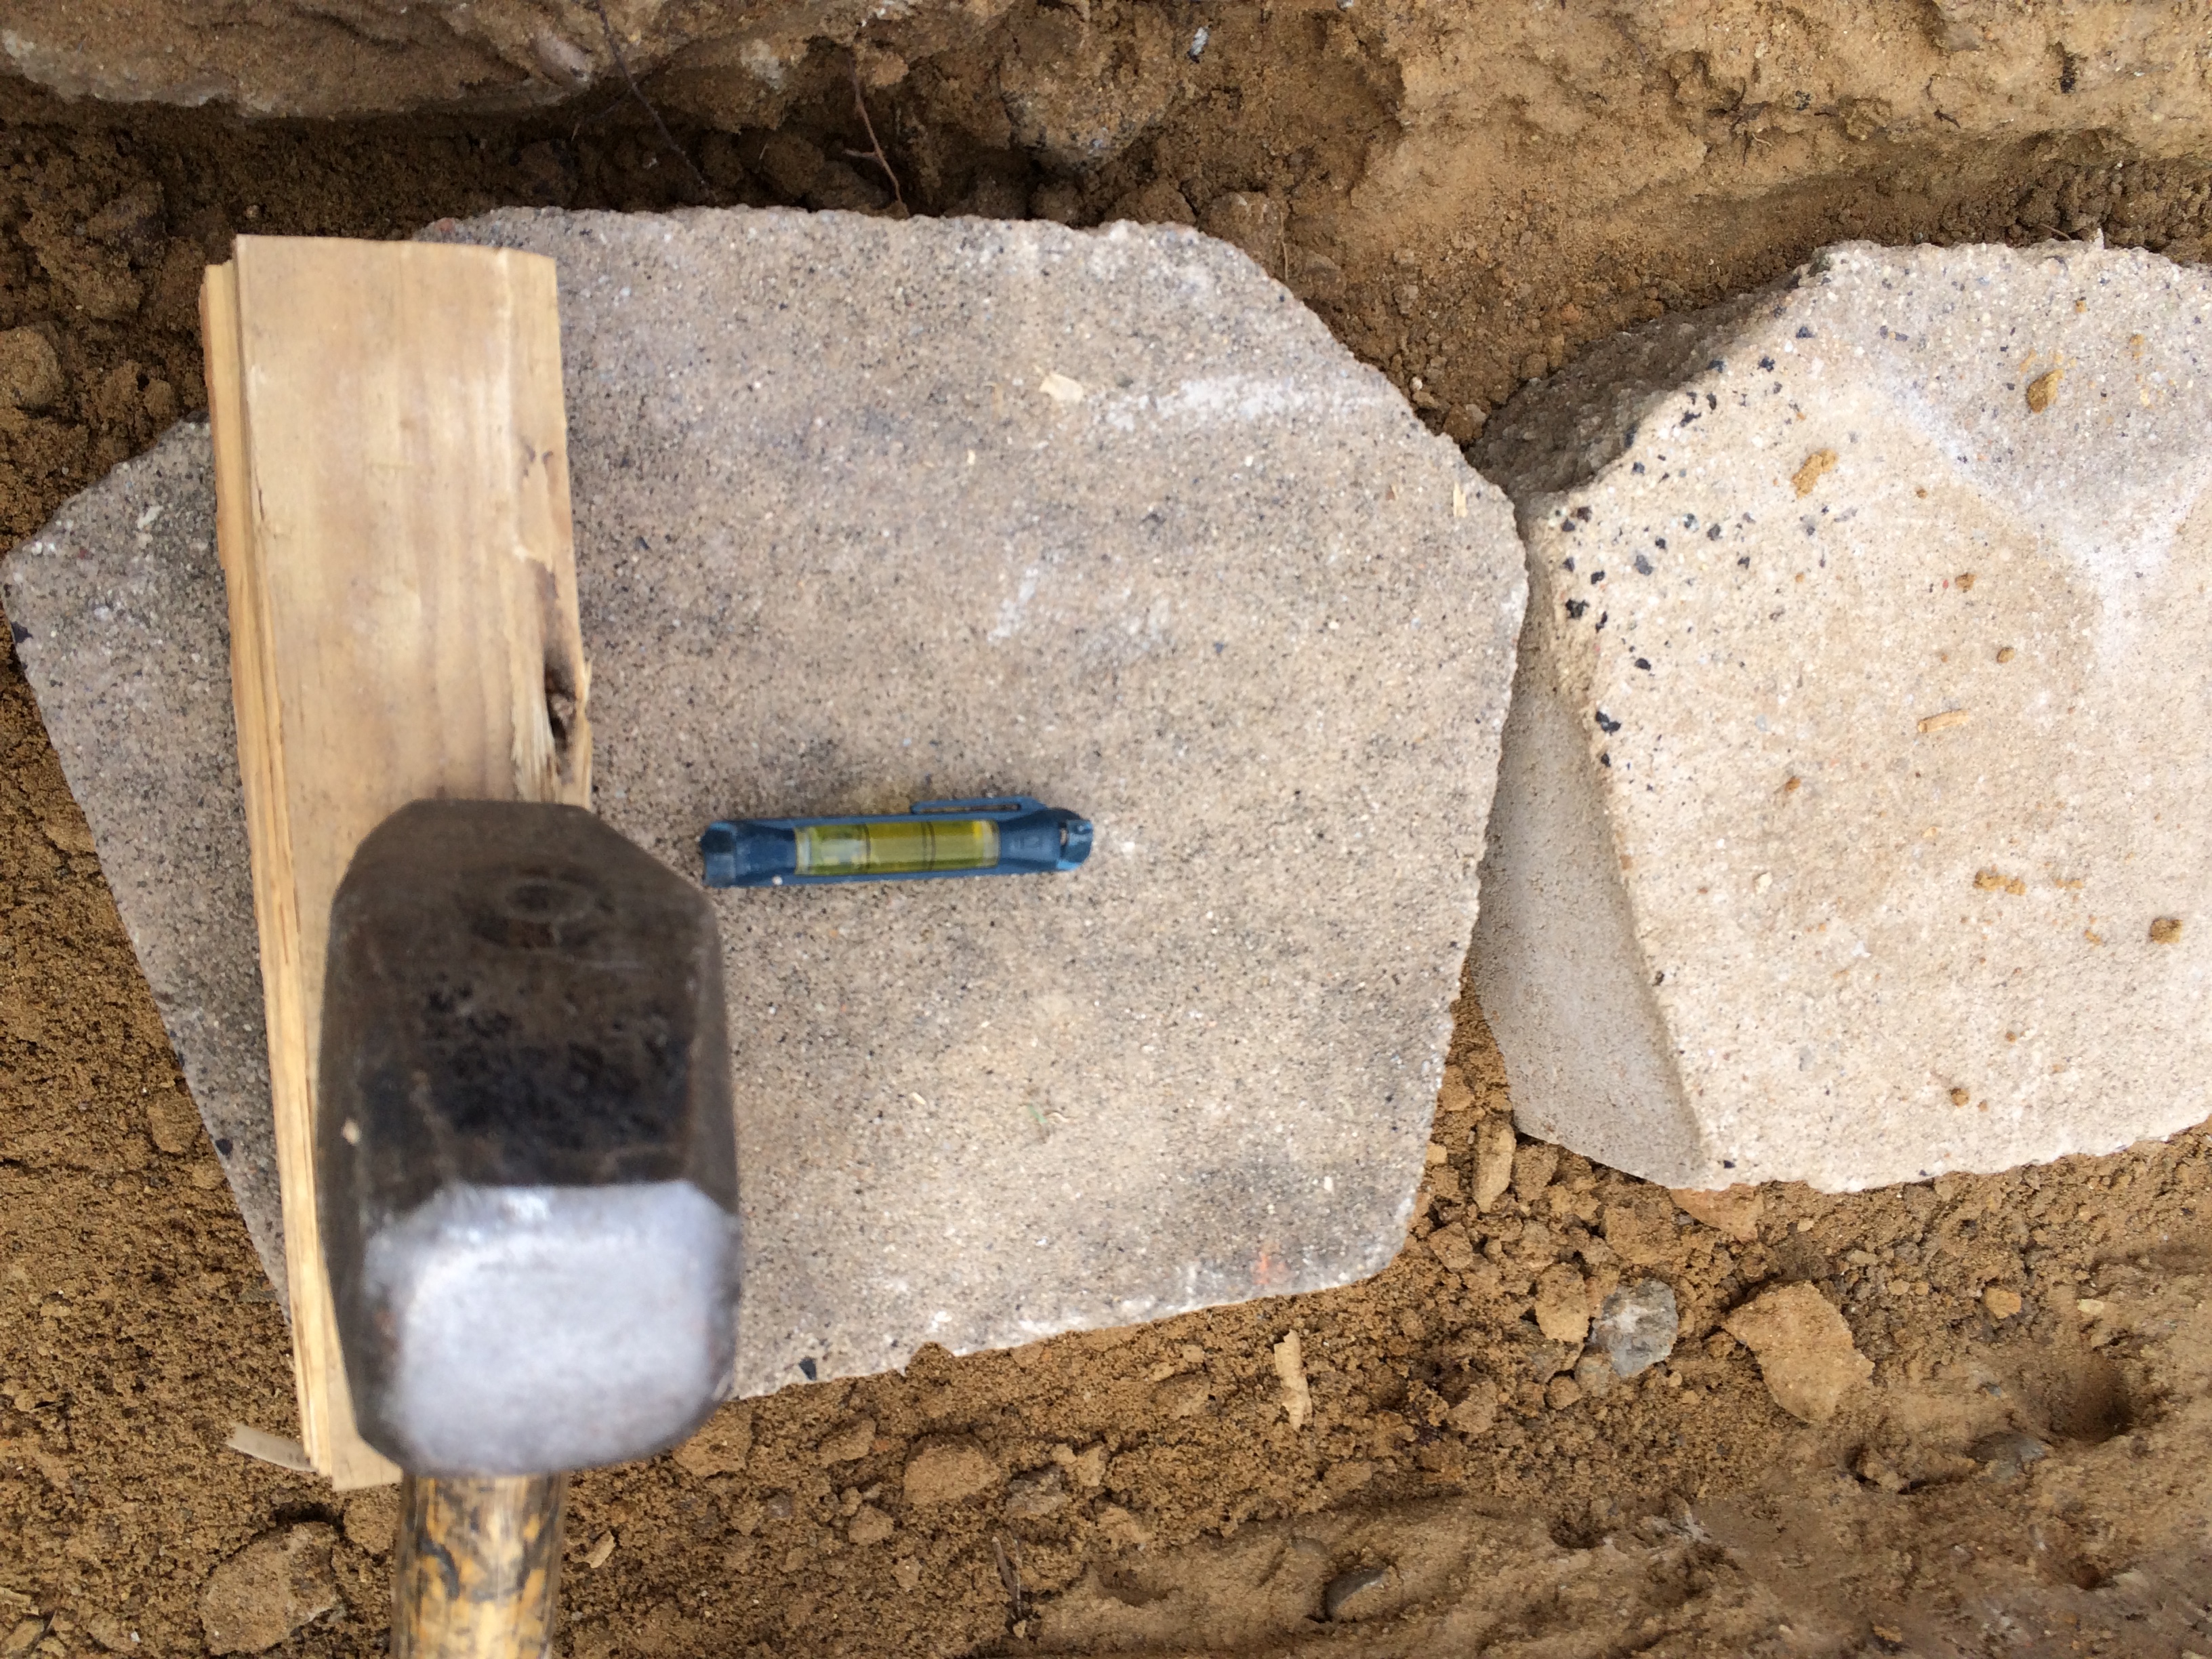
Beat on the high side with a hammer using a wooden block to protect the brick. This hammer is called an “Engineer’s” hammer. In the Navy, we referred to this as a “persuader”. Draw your own conclusions.
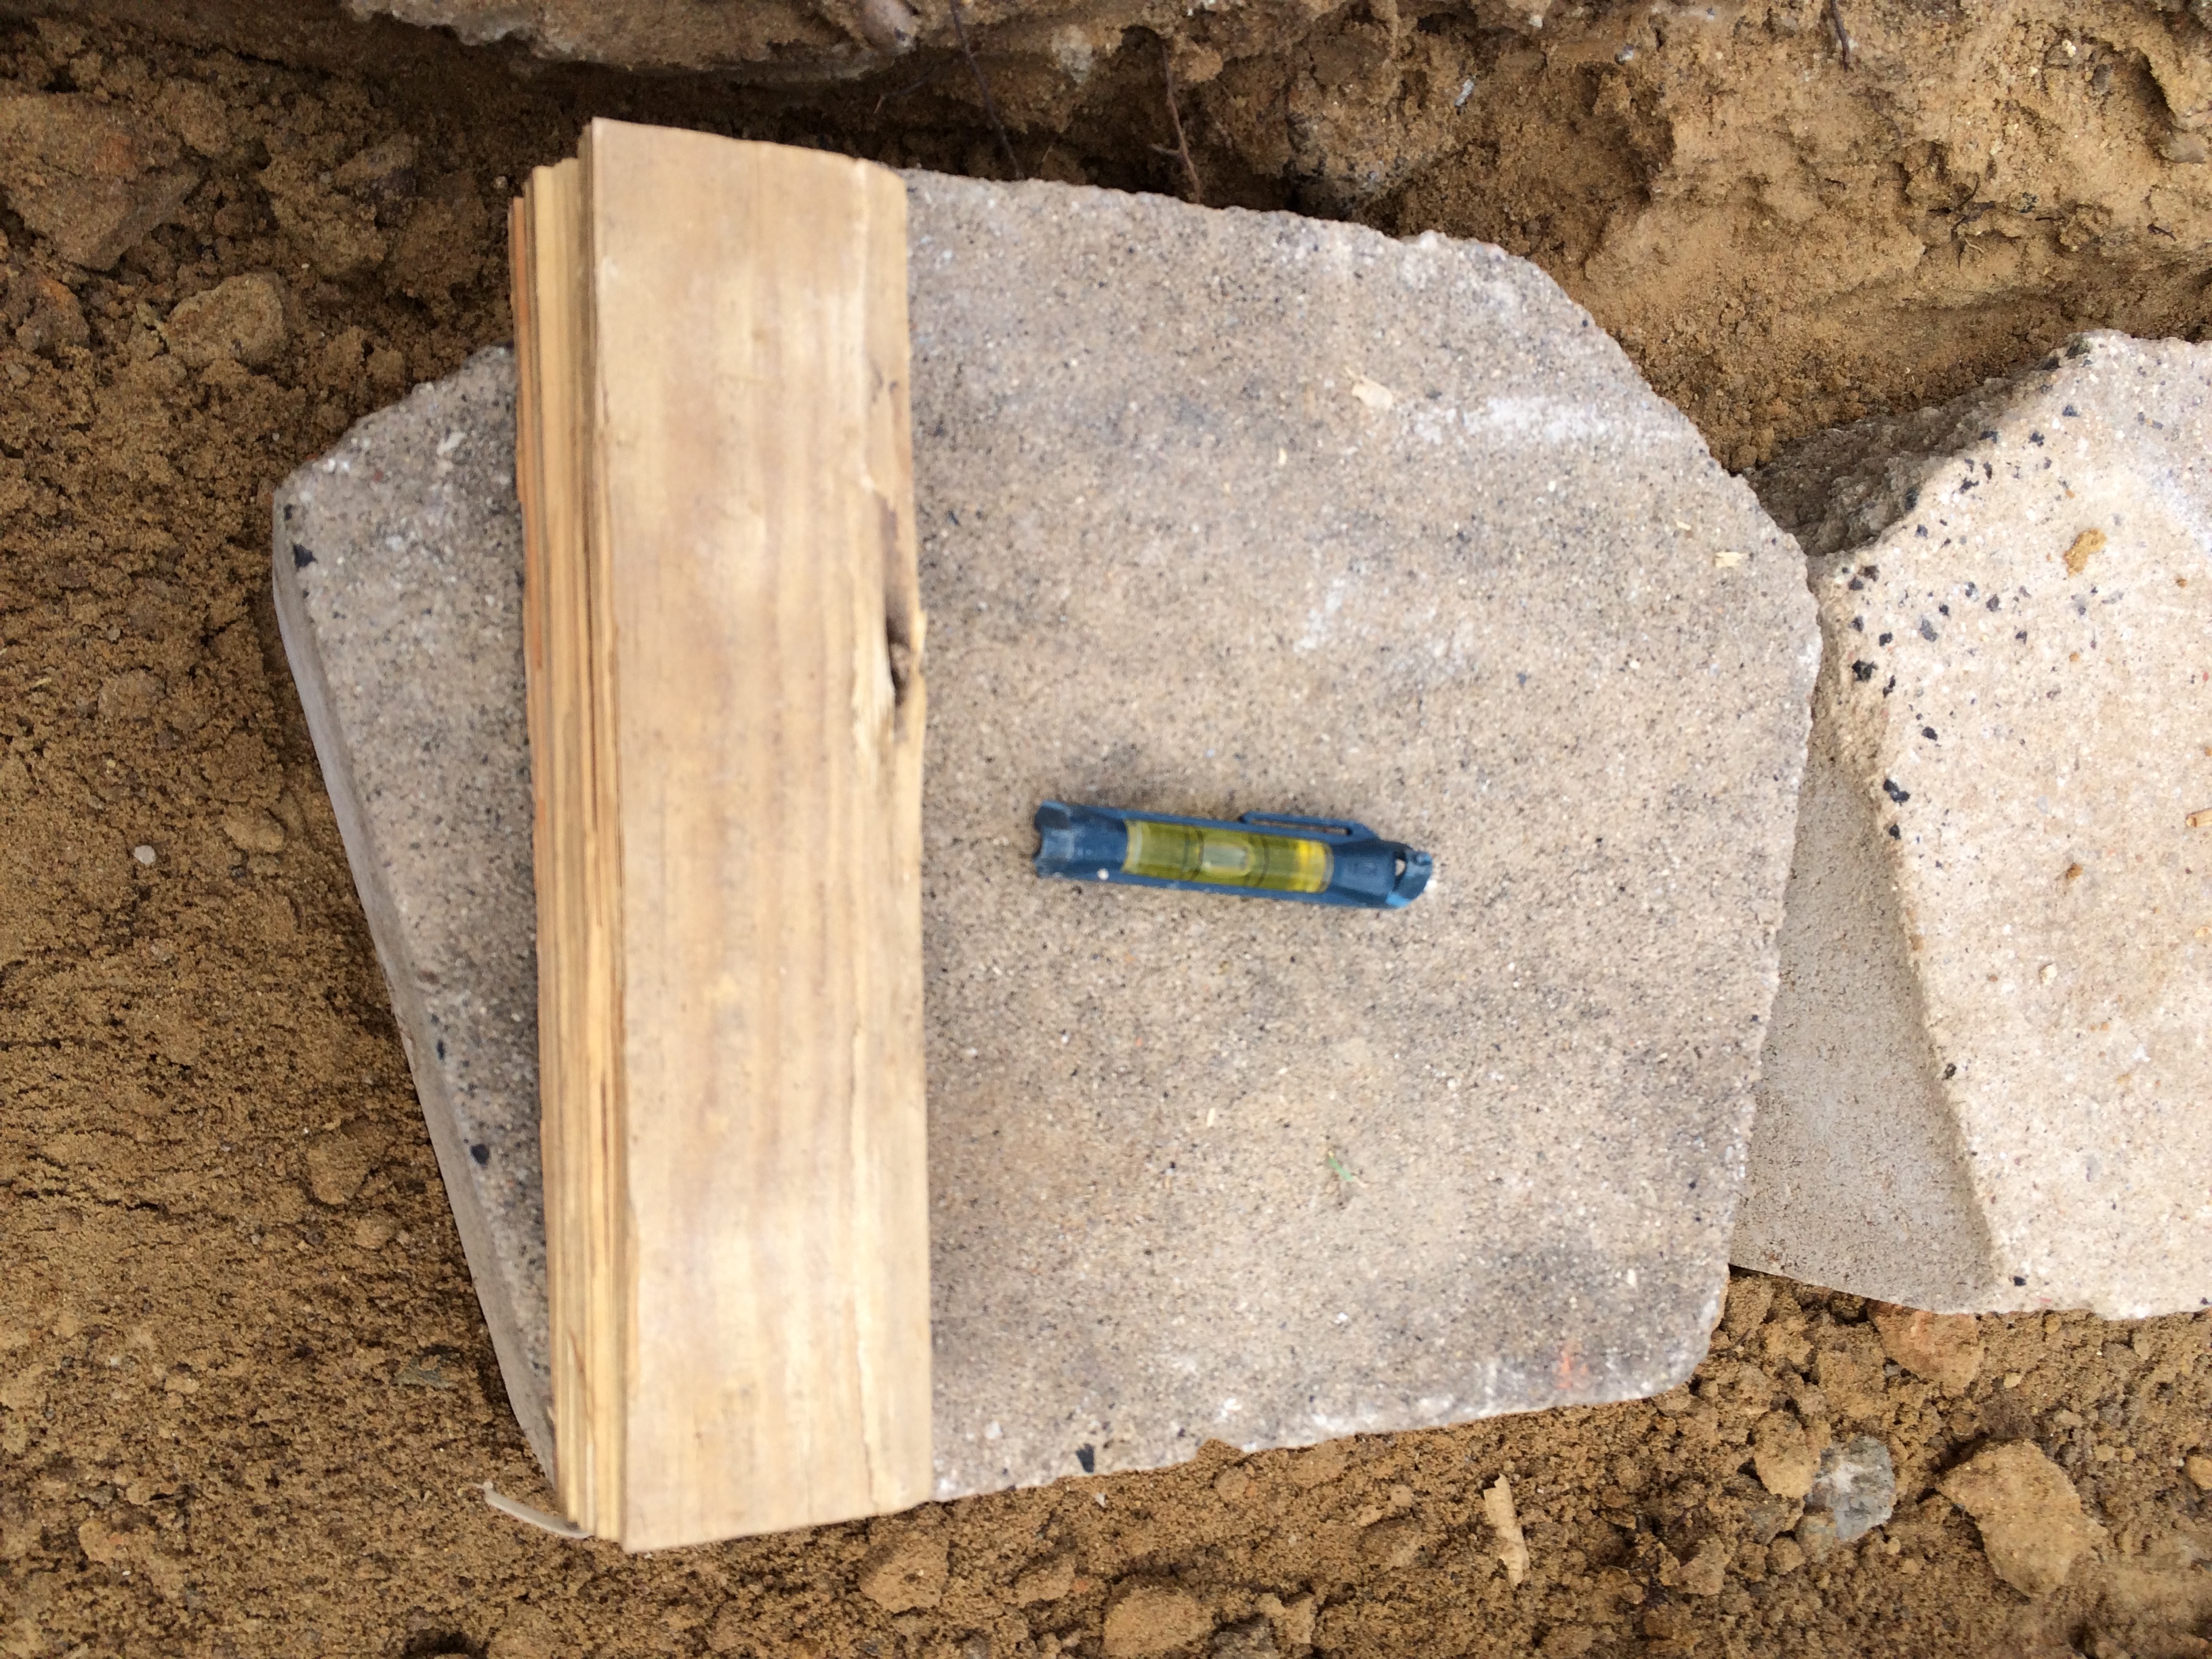
Level after “persuasion”. Looks good!

Check the level from the previous brick to make sure that you’re at the same height.

Check the alignment with your previous bricks. You don’t want your wall to unintentionally start to meander. NOTE: if you’re placing the blocks along a curve, then you need to measure the curve radius from a reference point.

Check your level using a long level to make sure that you’re keeping a good level all the way around.
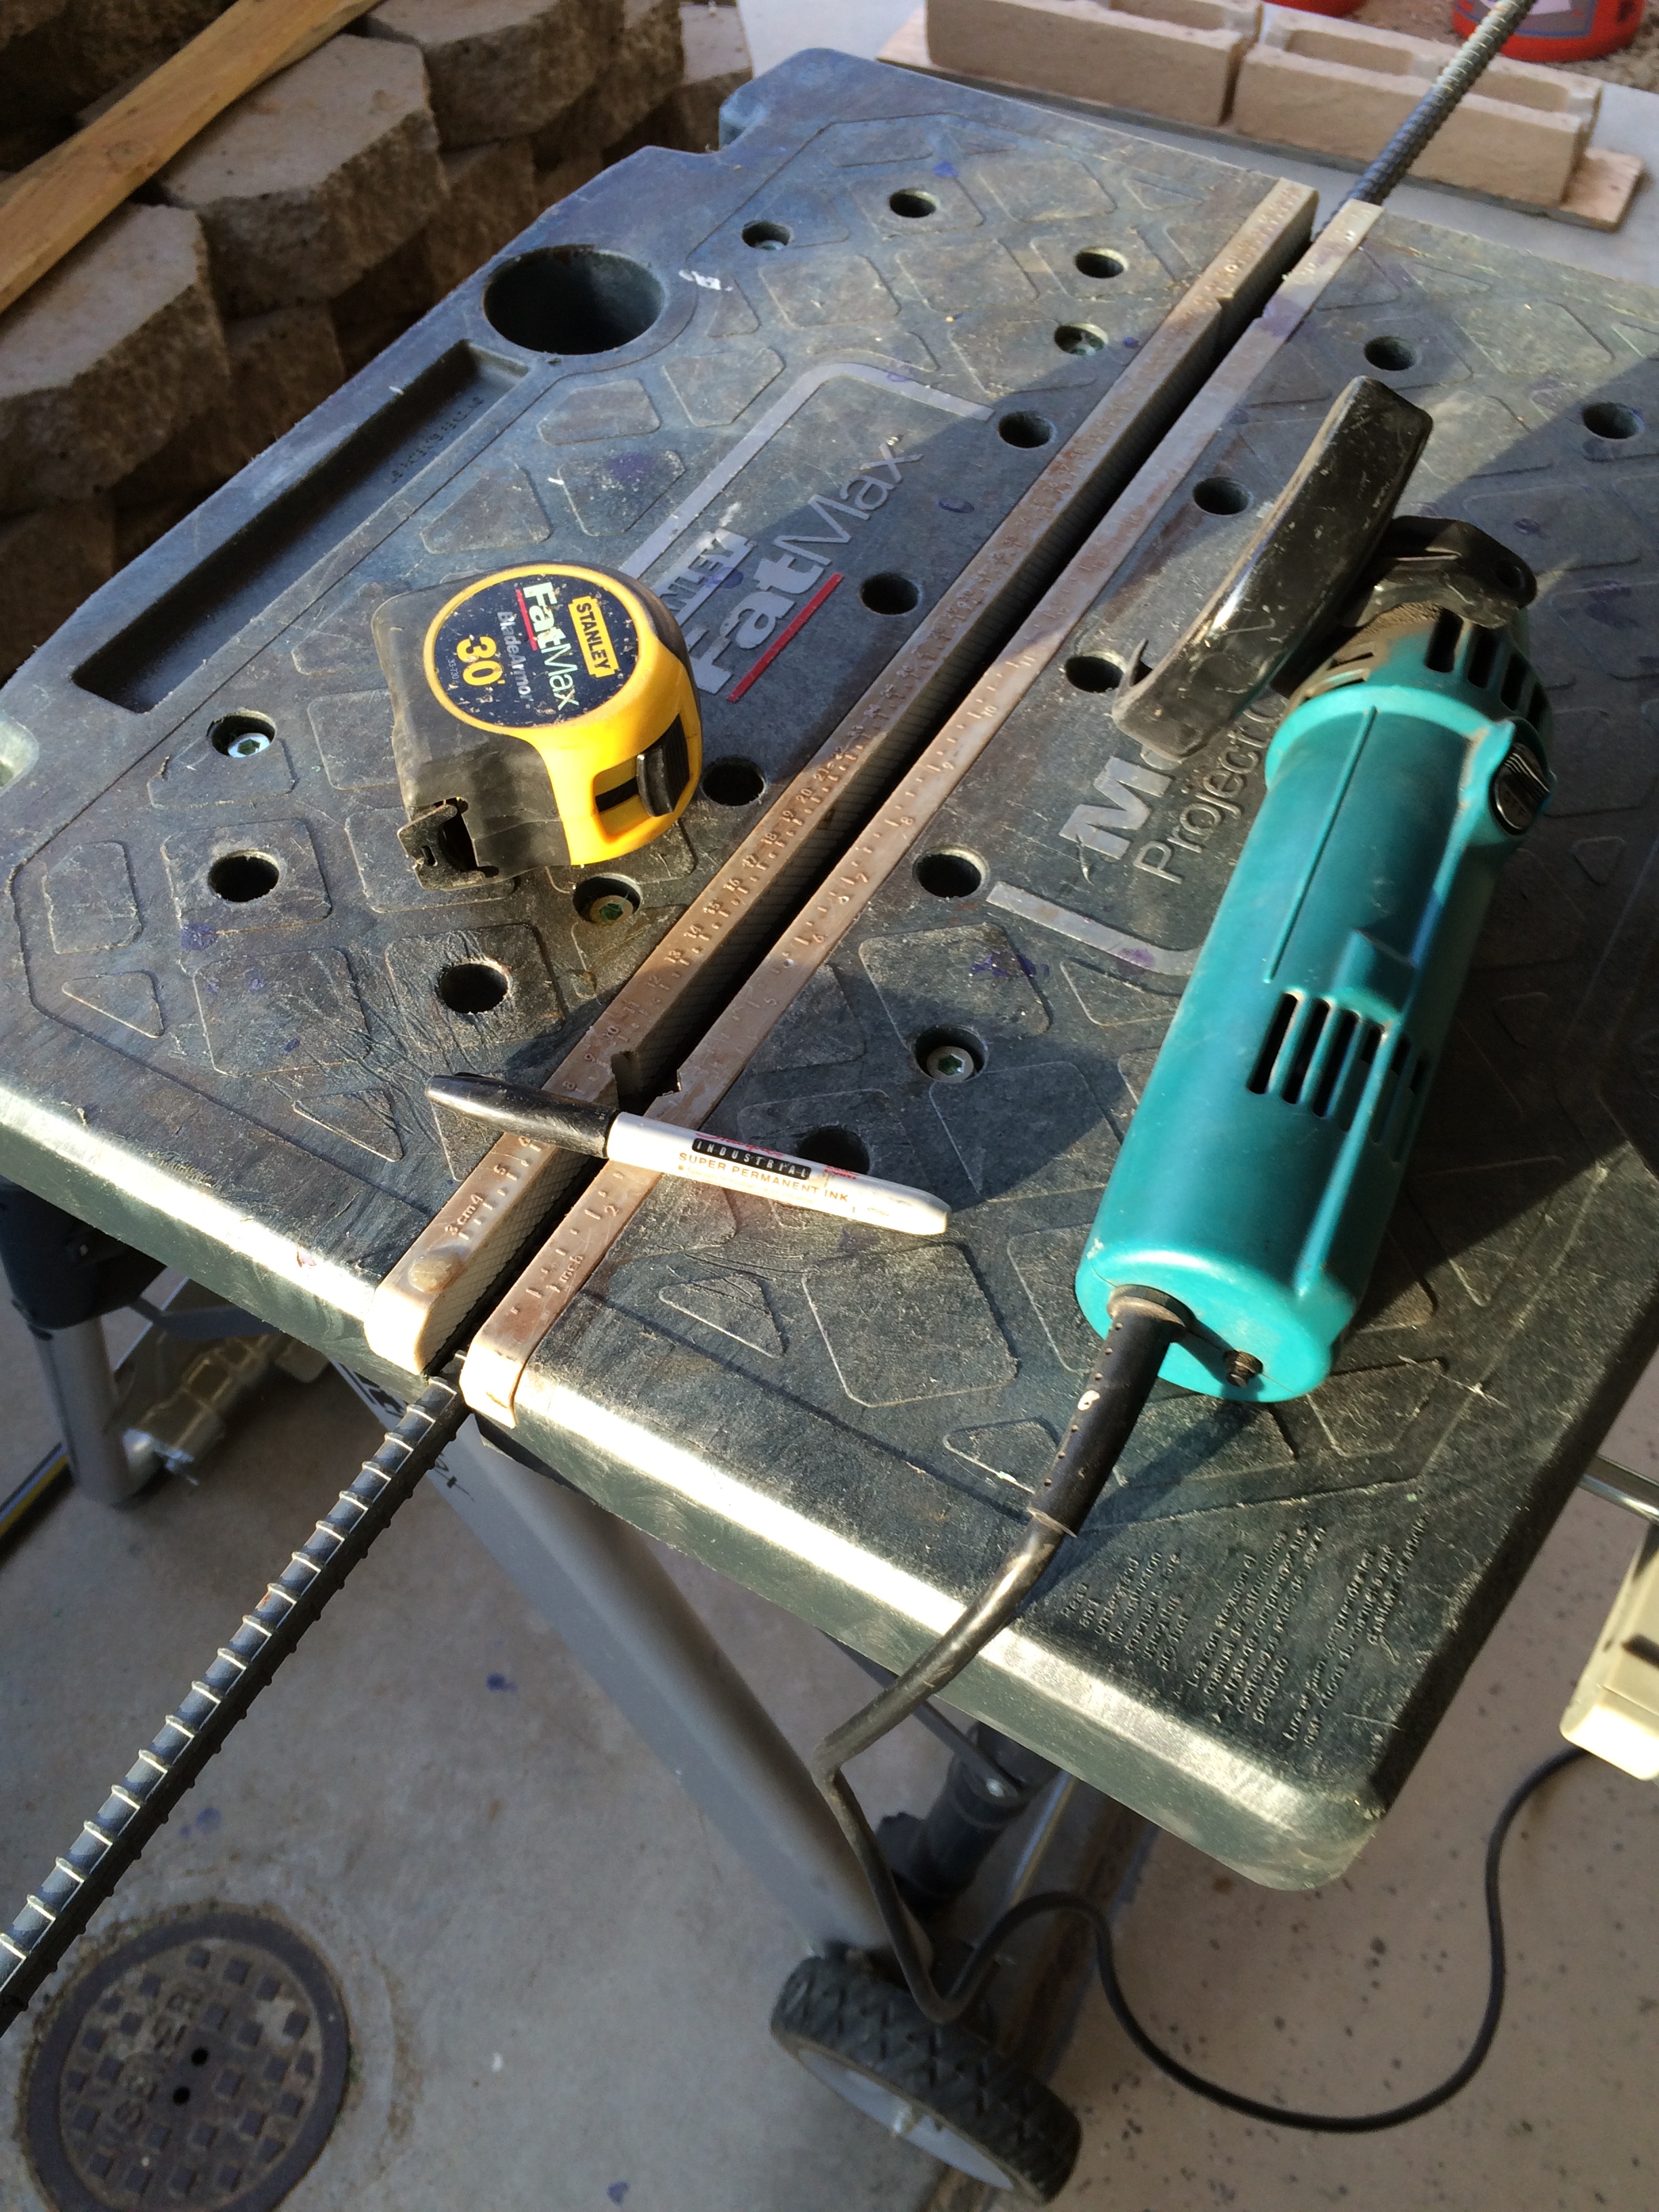
One of the tricks I came up with was to chip off the shoulder that protrudes from the back of each brick. This shoulder is very important because it serves to lock each course to the course below. However, for the base course, it only gets in the way and adds unneeded complexity to the leveling process. So I decided to chip it off for the base course bricks, as shown in this brief video:

Base course, all laid out!
Now that the base course is all in, the job goes really fast. The hardest part is to lug these 30 lb. bricks from your staging area and plop them onto the course below. It’s a simple matter to align the edge of each block to the one next to it, and then to make sure that the shoulder (which you didn’t cut off for these bricks), rests firmly on the course below. The only challenge here is that you need to make sure that each subsequent course is “on bond” which means the brick on top is placed directly over the seam formed by the two bricks below. No big deal if you’re dealing with a straight line, but the bricks will go “off bond” on curves. This is because that shoulder displaces each course inward by about 1″, meaning that the radius of the curves get progressively shorter for outside curves, and larger for inside curves. In this case, I did what the manufacturer recommended, which was to make sure that the straight courses were on bond, and then work towards the middle of the curves. Inevitably, you will find yourself with a space that is too small for a standard brick, in which case, you will need to cut a brick to fit. While it is possible to do this by hand with a brick hammer, it is way easier to use a 7″ grinder with a wet-dry masonry diamond wheel. Fortunately, Santa Claus had the foresight to deliver this to me in my stocking this past Christmas, so I was all set! Seriously, if you are doing a fair amount of masonry work for a hardscape (brick walls, retaining walls, brick patios, etc.), this tool is well worth the money.
Once you have a couple of courses in, it’s important to backfill. This is because the Keystones lock with outward pressure due to the shoulders, but will fall inward if you stack them too high. The manufacturer and distributor both recommend backfilling with gravel, but that could be a major PITA (not the bread). If this were a big time retaining wall in a wet environment, I would do it, but for this little project, I decided to forego the added expense and construction complexity.
One other feature that I added to this wall was to put landscape fabric on the inside of the wall. This prevents plants from growing in between the seams of your brick, and it worked extremely well for a previous wall that I built. This feature is not in any of the manufacturer or distributor instructions, but I know of folks who have made these walls without the landscape fabric, and they constantly struggle with weeds growing out of their walls. This is cheap insurance and better for the environment than spraying a bunch of chemicals all over your wall. Here are some pictures of the finished product.

Two courses on top of the base course with landscape fabric. Ready for backfill.
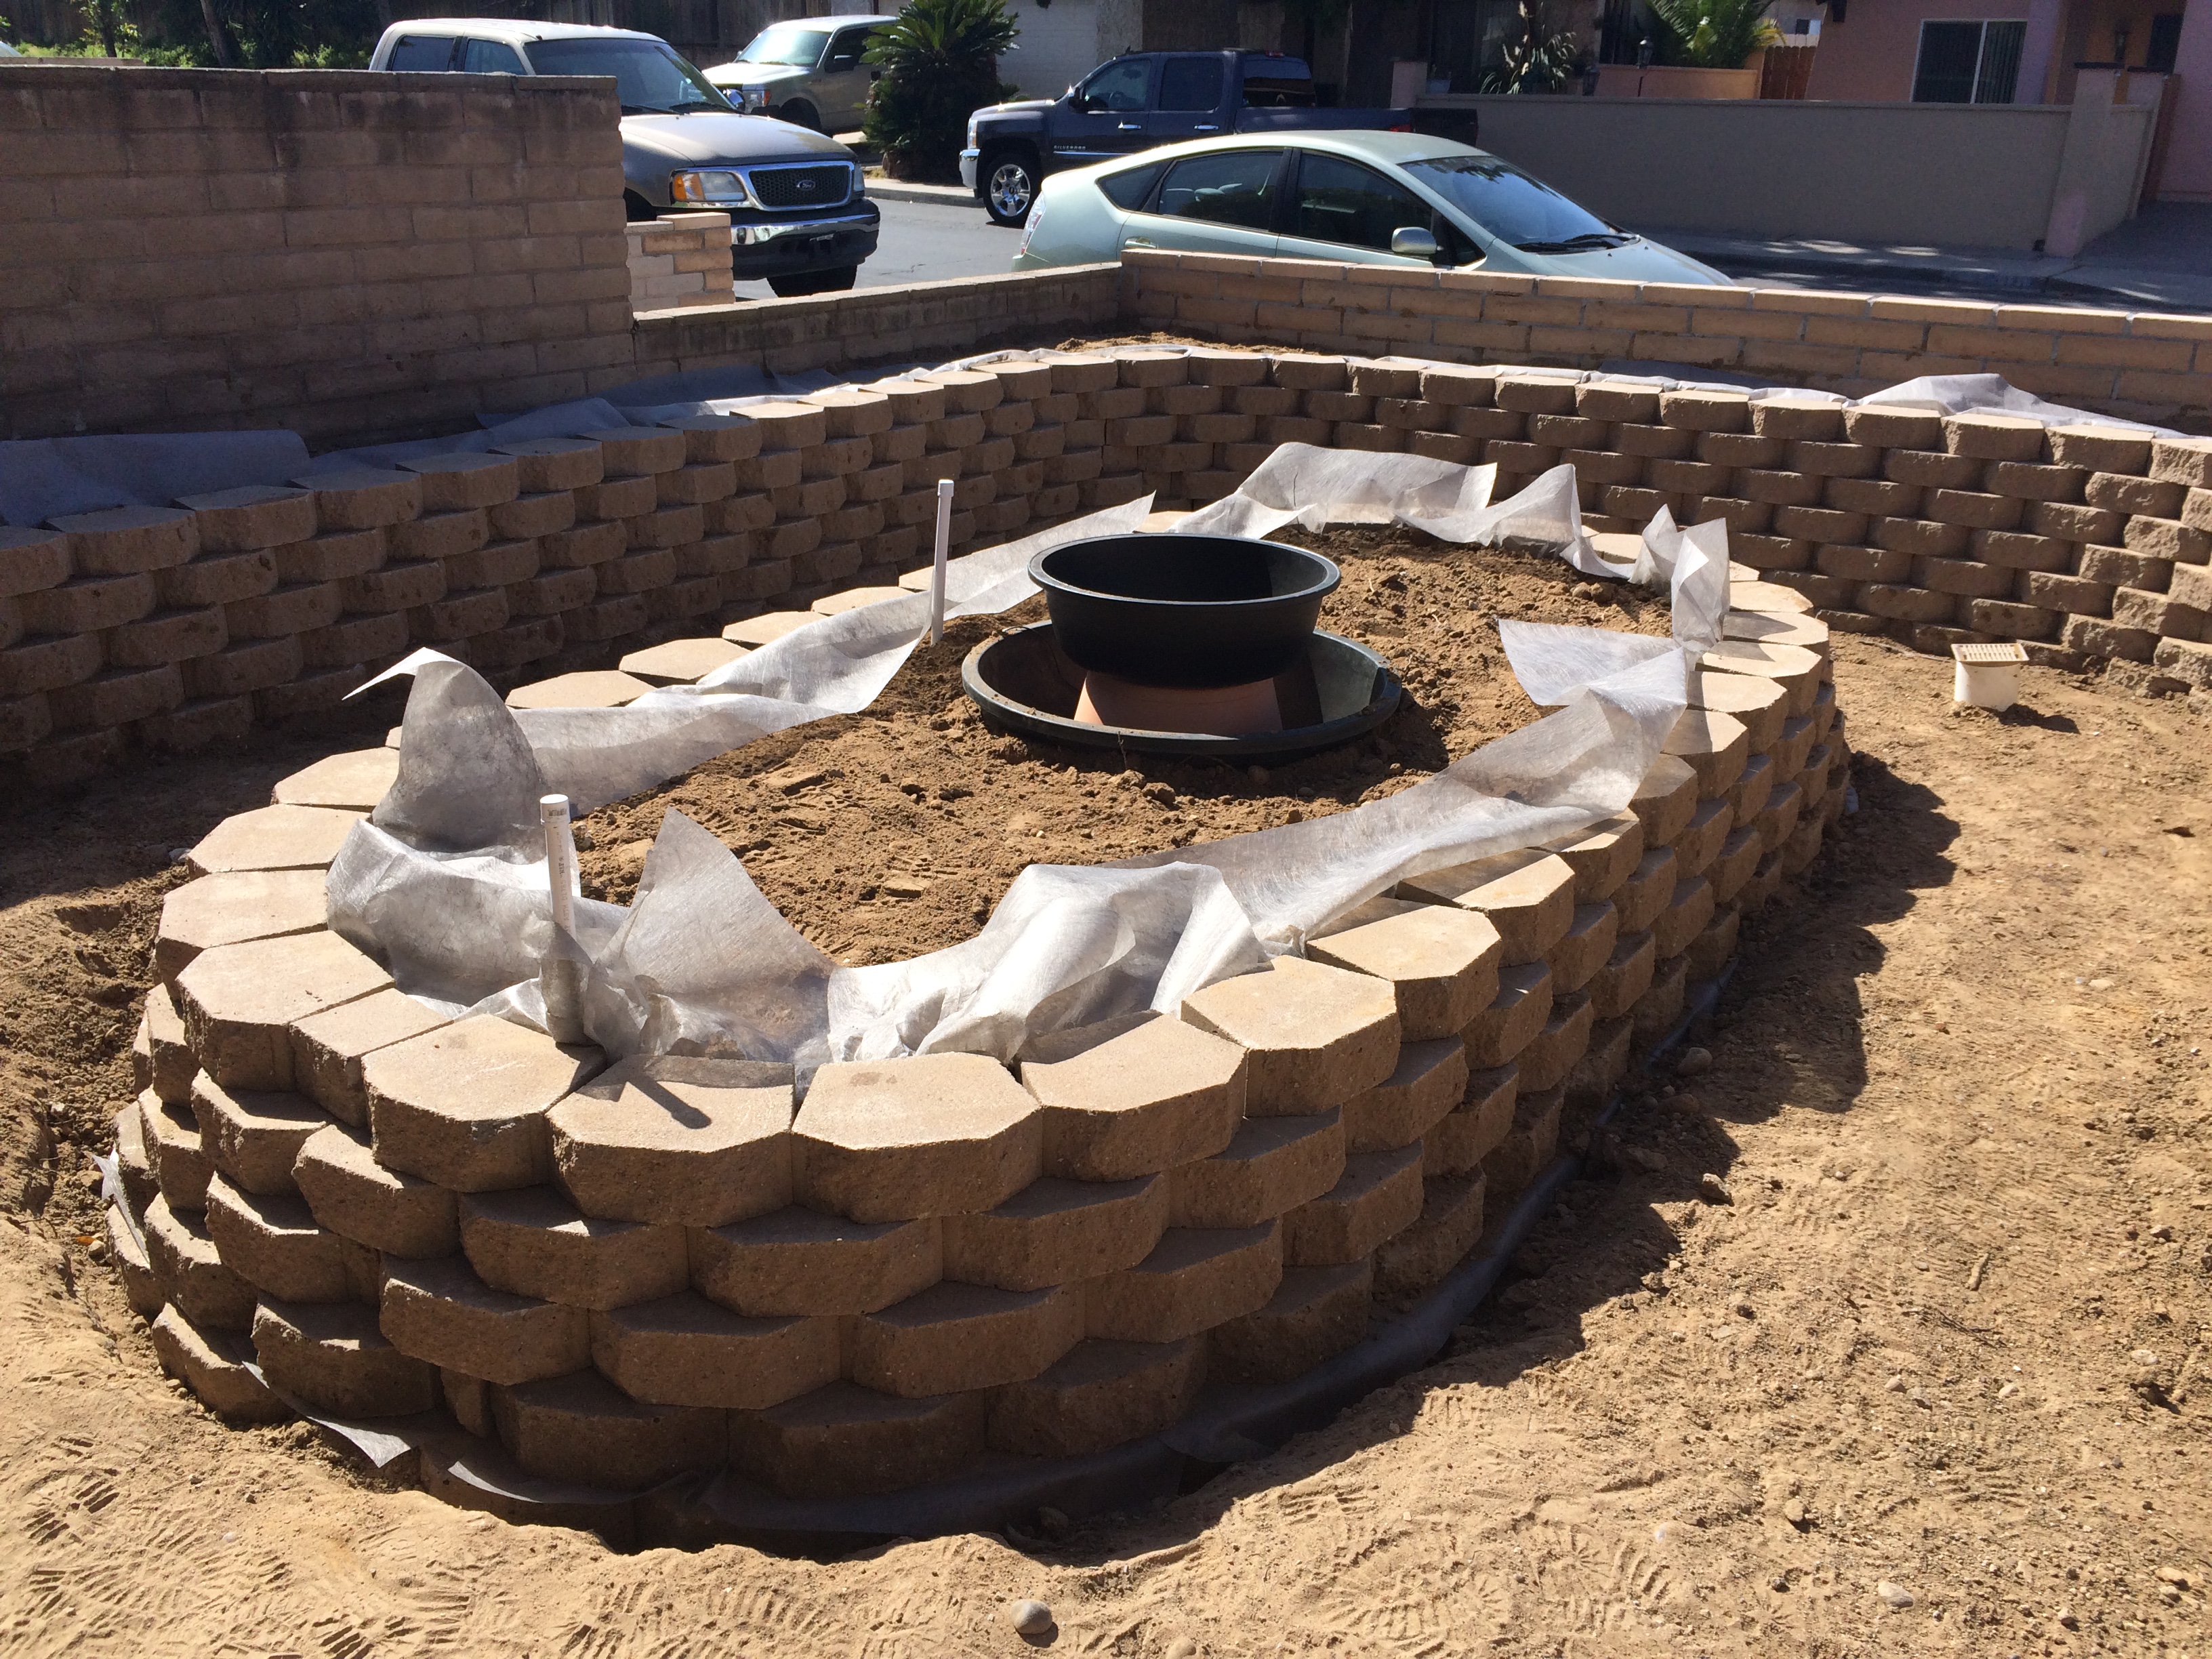
Finished center planter.